19
GB
END GRAIN WORK
controlled against the router fence and can often tear-
out at the completion of the cut. This can be overcome
by using the protractor fitted with an extended wooden
face as described in ‘Cross-trenching’
with the fence fitted (see ‘Edge Rebating’), or with the
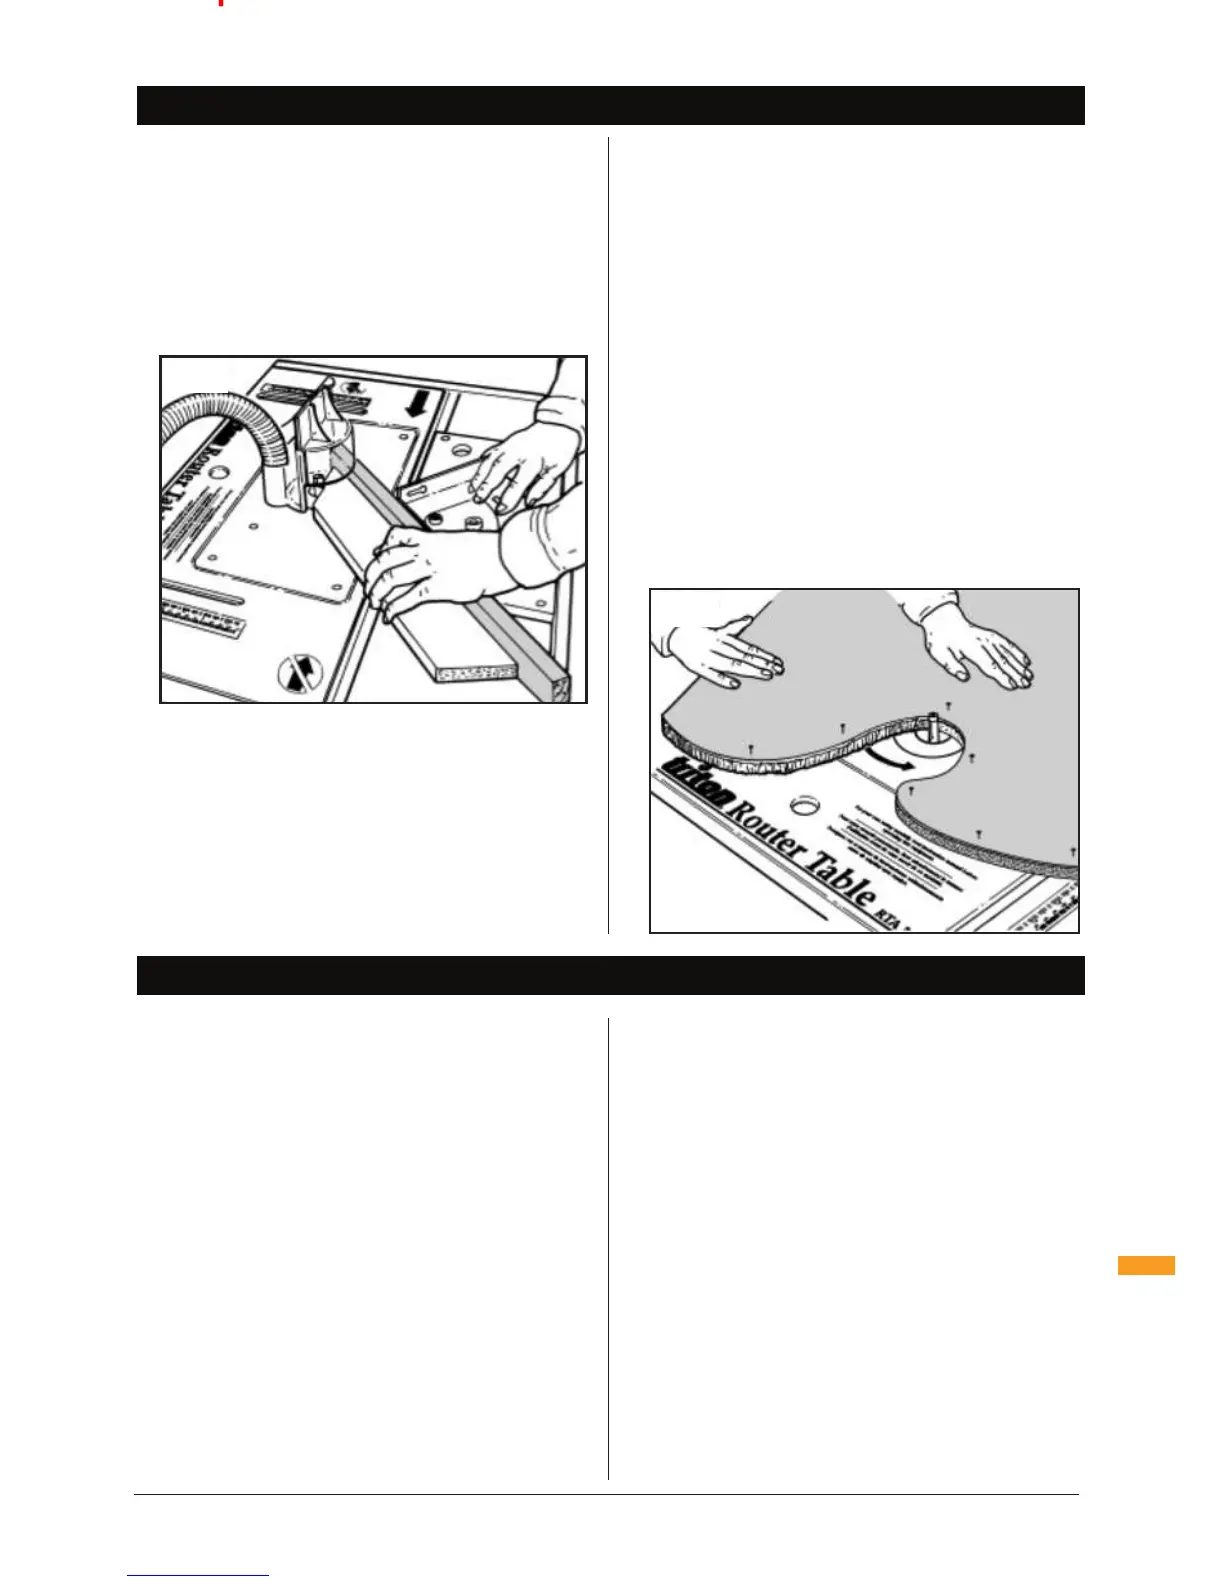
guard fitted to the router plate (Fig 34)
Using a template guide
See Fig 35
possible. If the guard cannot be fitted, due to the nature
of the cut, take great care with your hand positions
edges of curved or shaped components
top bearing (as used for laminate trimming)
should be re-located to the router plate
1. First, rough out the shape of the workpiece with a
jigsaw
2. Then, using tacks or double-sided tape, attach the
template to the top of your workpiece
3. Set the height of the flush trim bit so that the bearing
runs only along the template. The workpiece will then
finish exactly the same size as the template
4. Feed against the direction of rotation, keeping both
hands on top of the workpiece and well clear of the
cutter
MORTICING
WARNING: The cutter cannot be fully guarded when
morticing so ensure your hands are well clear of the cutter
at all times and hold the workpiece firmly.
withyour saw in the Workcentre.
downfinger assemblies to be removed from the fence,
and the guard guide adjusted back behind the face of
the fence
workpiece will be in approximately the right position
above the cutter
your workpiece onto the cutter
perform several cuts at increasing settings
distance. The cutter will tend to push the material away
from the fence, so firm sideways pressure against the
fence is necessary
hold the workpiece against the fence
until satisfied with the position of the mortice
best to work between two stop blocks clamped to the
fence. If the workpieces are too long to use stop blocks
fitted to the fence, replace the MDF faces with longer
ones and fit the blocks to them (Fig. 36)
possible to work between stop blocks) reference the
mortice position by drawing lines on the side of your
workpiece and aligning these with pencil lines drawn
onto the table to indicate the position of your cutter
TIP: For finishing, it is easier to round off the tenons
rather than chiselling the mortices square at the ends.
Fig.34
Fig.35
End Grain Work / Morticing
 Loading...