- 39 -
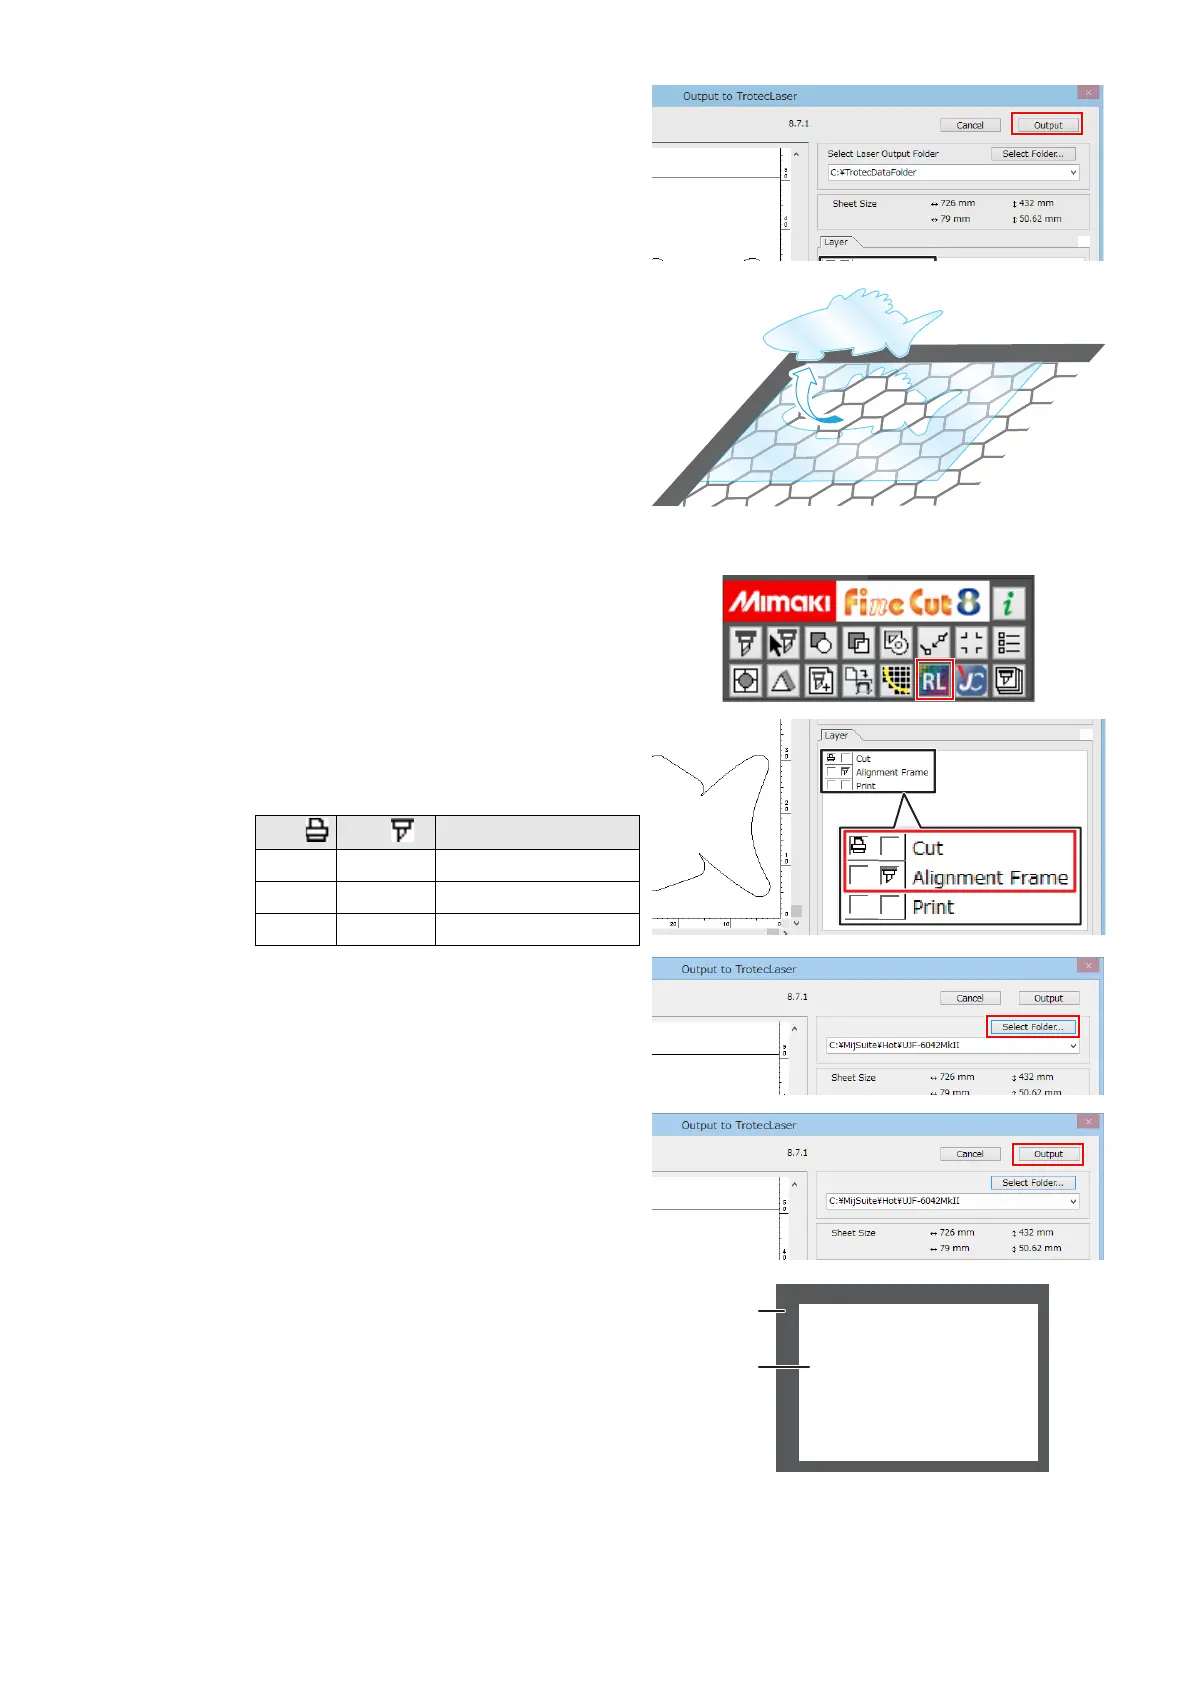
(6) Click the [Output] button.
(7) Laser cutting is started.
4. Output the cut data to the RasterLink hot
folder.
(1) Click the [Output to RasterLink] button on the
FineCut menu.
(2) Set it to print/cut on the [Layer] tab.
• Set Print to ON for the cut layer and Cut to
ON for the alignment frame layer.
(3) Click the [Select Folder] button.
• Select the RasterLink hot folder for the
Mimaki printer to be used.
(4) Click the [Output] button.
• The cut line print data is sent to the hot folder
of RasterLink.
5. Print the cut line(s).
(1) Set the paper media on which you wish to
print the cut line(s) onto the Mimaki printer
surface.
(2) Set the Mimaki printer to REMOTE mode.
Print Cut Layer
ON - Cut
- ON Alignment frame
--Print
 Loading...