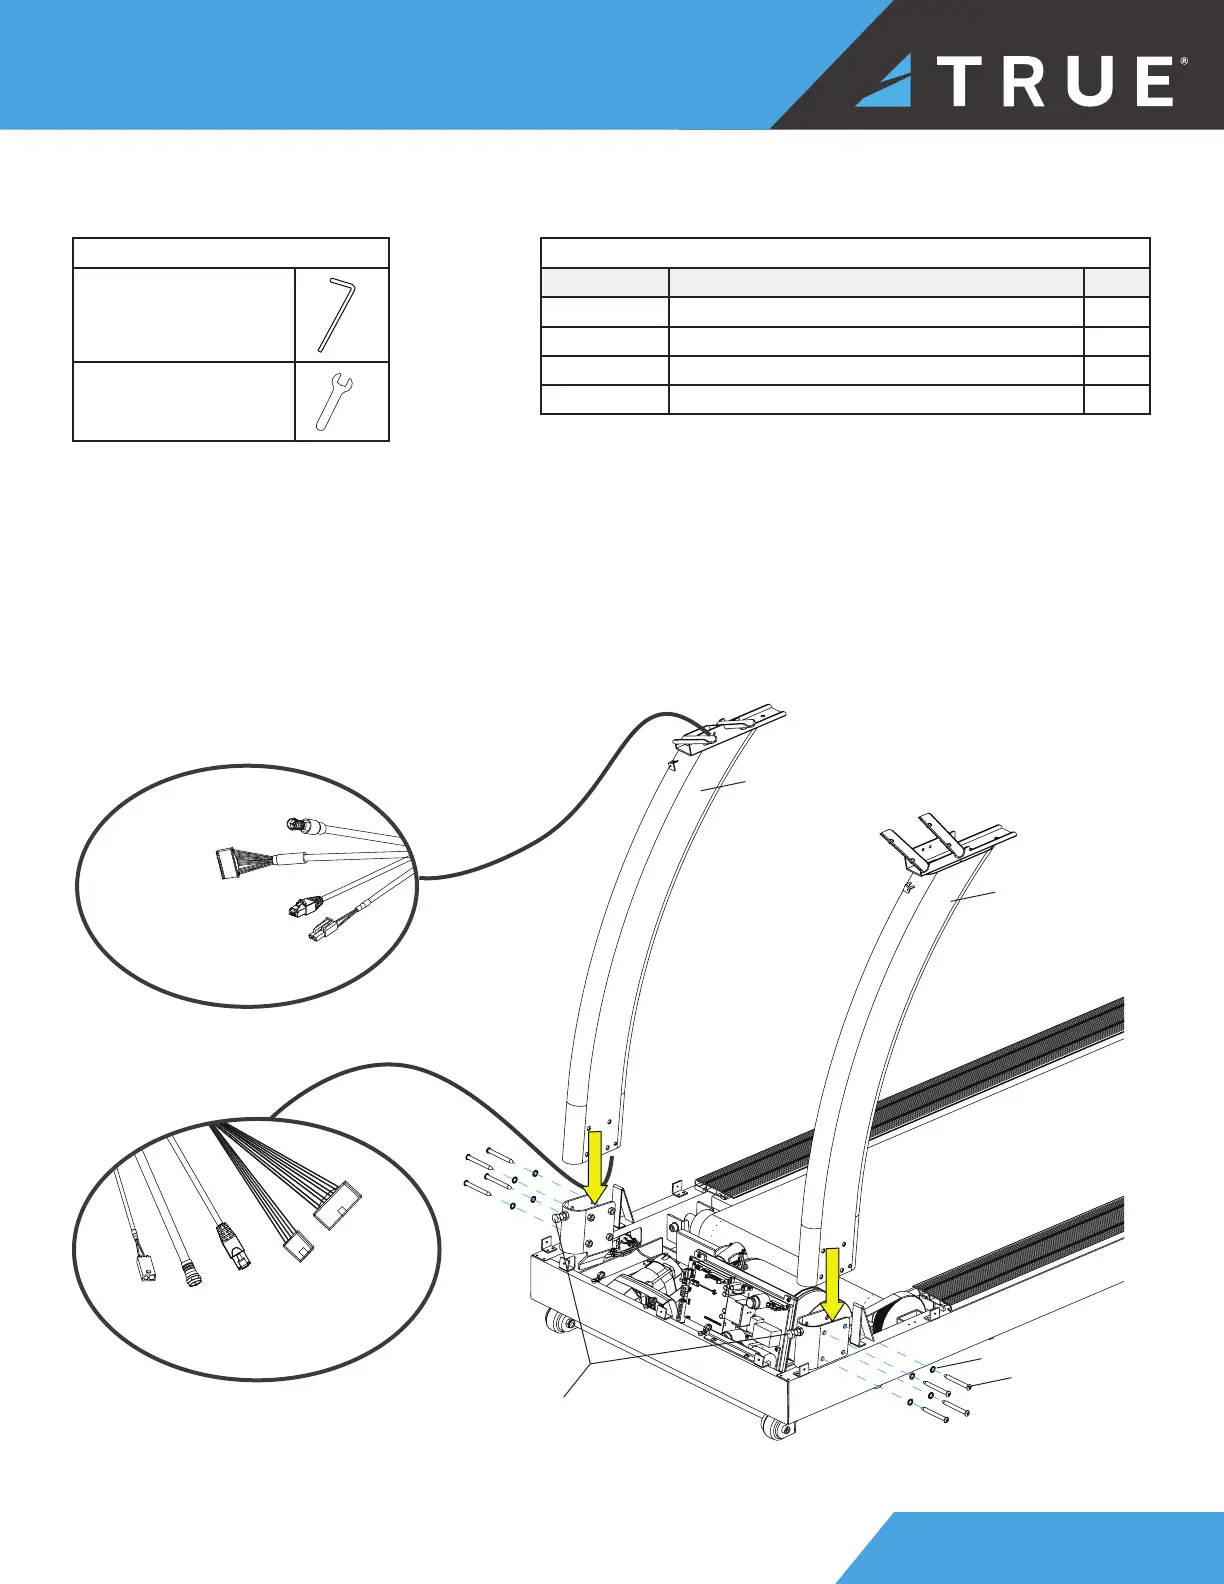
17
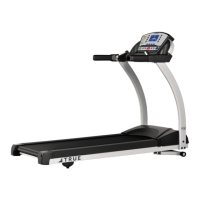
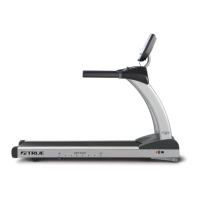
STEP 3—ATTACH LEFT AND RIGHT PEDESTALS
Parts Used in this Step
PART DESCRIPTION QTY
PS0103 BHCS, M8X75MM 8
RT0011 WASHER, STAR, INTERNAL TOOTH, M8 8
TC4016LBK SUBASSEMBLY, PEDESTAL UPRIGHT-LH 1
TC4016RBK SUBASSEMBLY, PEDESTAL UPRIGHT-RH 1
Tools Used in this Step
5mm Allen Wrench
17mm Wrench
1. Using a 17mm wrench, verify the two bolts on the lower front of the frame are backed out enough so the pedestals
can slide into the frame.
2. Slide the left and right pedestals into the frame.
IMPORTANT! Carefully route the cables from the right pedestal through the frame. DO NOT pinch the cables.
3. Finger tighten or use the 5mm allen wrench to loosely attach the pedestals to the frame.
IMPORTANT! DO NOT fully tighten the hardware until step 6.
PS0103
RT0011
TC4016LBK
TC4016RBK
verify the bolts do
not interfere with
the pedestals and
the frame —if the
bolts interfere, use
a 17mm wrench to
loosen them
Network
Cable
Network
Cable
Coaxial
Cable
Coaxial
Cable
Power
AUXPS
Cable
Power
AUXPS
Cable
I/O
Communication
Cable
I/O
Communication
Cable