
B
Brenda GarzaSep 9, 2025
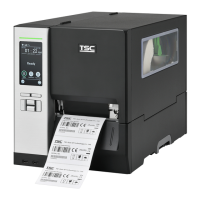
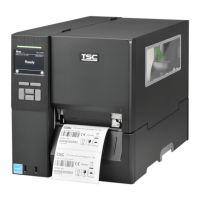
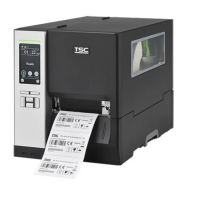
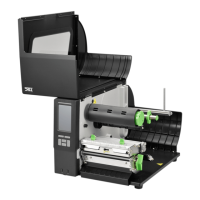
Why is the RTC time incorrect when I reboot my TSC MX241P Barcode Reader?
- AAdriana MillerSep 9, 2025
If the RTC time is incorrect after rebooting your TSC Barcode Reader, the battery may have run down. Check if there is a battery on the main board.