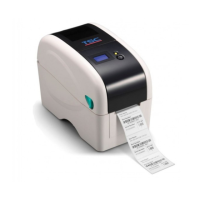
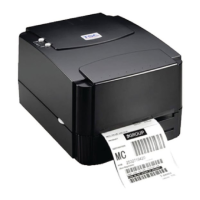
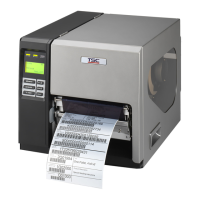
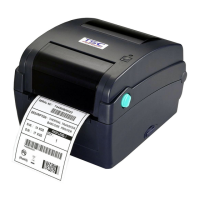
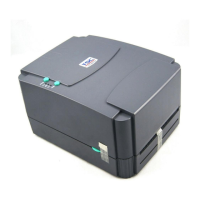
Quick Installation Guide
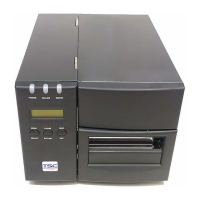
Printer Overview
Note:
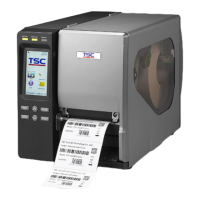
The interface picture in the quick start guide is for reference only. Please refer to the product specification for the
interfaces availability.
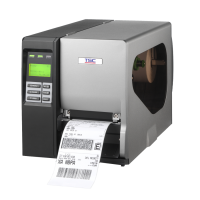
Open / Close the Top Cover
(1) Open the printer top cover by pulling
the tabs located on each side
towards the front of the printer, then
lift the top cover to the maximum
open angle.
(2) A top cover support at the rear of
the printer will engage with lower
inner cover to hold the printer top
cover open.
(3) Hold the top cover and press the top
cover support to disengage the top
cover support with lower inner cover.
Gently close the top cover.
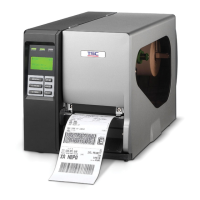
(1) Open the printer’s top cover by
pulling the top cover open levers
located on each side of the printer
and lifting the top cover to the
maximum open angle.
(2) Open the ribbon access cover.
(3) Insert the ribbon right side onto the
supply hub. Align the notches on the
left side and mount onto the spokes.
* Loading Path for Ribbon
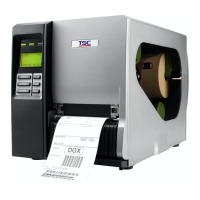
(4) Stick the ribbon onto the ribbon
rewind paper core and insert the
paper core onto the rewind hub.
(5) Turn the ribbon rewind gear until the
ribbon plastic leader is thoroughly
wound and the black section of the
ribbon covers the print head. Close
the ribbon access cover and the top
cover.
Media guide
adjuster knob