V1.0
Microinverter Installation
Pre-installation Check
Check the Package
Although TSUN’s microinverters have surpassed stringent testing and are checked before they leave
the factory, it is uncertain that the microinverters may suffer damage during transportation. Please
check the package for any obvious signs of damage, and if such evidence is present, do not open the
package and contact your dealer as soon as possible.
Check the Installation Environment and Position
When choosing the position of installation, comply with the following conditions:
To avoid unwanted power derating due to an increase in the internal temperature of the inverter,
do not expose it to direct sunlight.
To avoid overheating, always make sure the flow of air around the inverter is not blocked.
Do not install in places where gasses or flammable substances may be present.
Avoid electromagnetic interference that can compromise the correct operation of electronic
equipment.
It’s recommended to install microinverter on structures underneath the photovoltaic modules so
that they work in the shade.
Use a mobile phone to check the Wi-Fi signal strength at the installation position. If the Wi-Fi
signal is bad, try to install the microinverter in another position or move the Wi-Fi router.
Installation Steps
·Only qualified personnel should install, troubleshoot, or replace G3 micro inverters or the
cable and accessories.
·Before installation, check the unit to ensure the absence of any transport or handling
damage, which could affect insulation integrity or safety clearances.
·Unauthorized removal of necessary protections, improper use, incorrect installation, and
operation may lead to serious safety and shock hazards or equipment damage.
·Be aware that installation of this equipment includes the risk of electric shock.
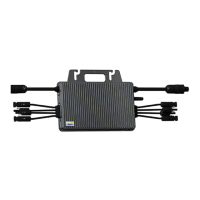
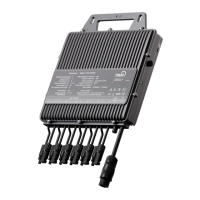
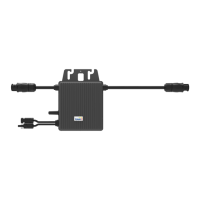
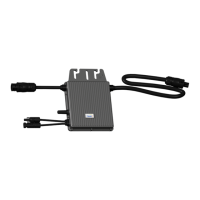
Step 1. Fix the microinverter.
·Do not install the equipment in adverse environmental conditions such as flammable,
explosive, corrosive, extremely high or low temperature, and humid.