39
structure. Prevent any impact with the archway, in
order to avoid possible false alarms.
Do not move the Walk-Through Metal Detector
unit.
5.3.5 Calibration
The equipment is calibrated under close supervision of the
Security Authority according to the Security Levels in use.
This calibration is approved by a Security Authority
representative, which is sole responsible for selecting the
appropriate security level/sensitivity for its application. It is
also the Security Authority representative’s responsibility
(or the screener in charge, if allowed by the Security
Authority requirements) to verify calibration periodically
(at least daily) using the test object(s) appropriate to the
level of security selected, to insure no changes have
occurred in the equipment.
The execution of the test and its result shall be recorded.
In case of a negative result, the equipment should not be
used.
REMARK: the current security level is shown at start-up on
the control unit display and can be visualized at
any moment, by pressing key.
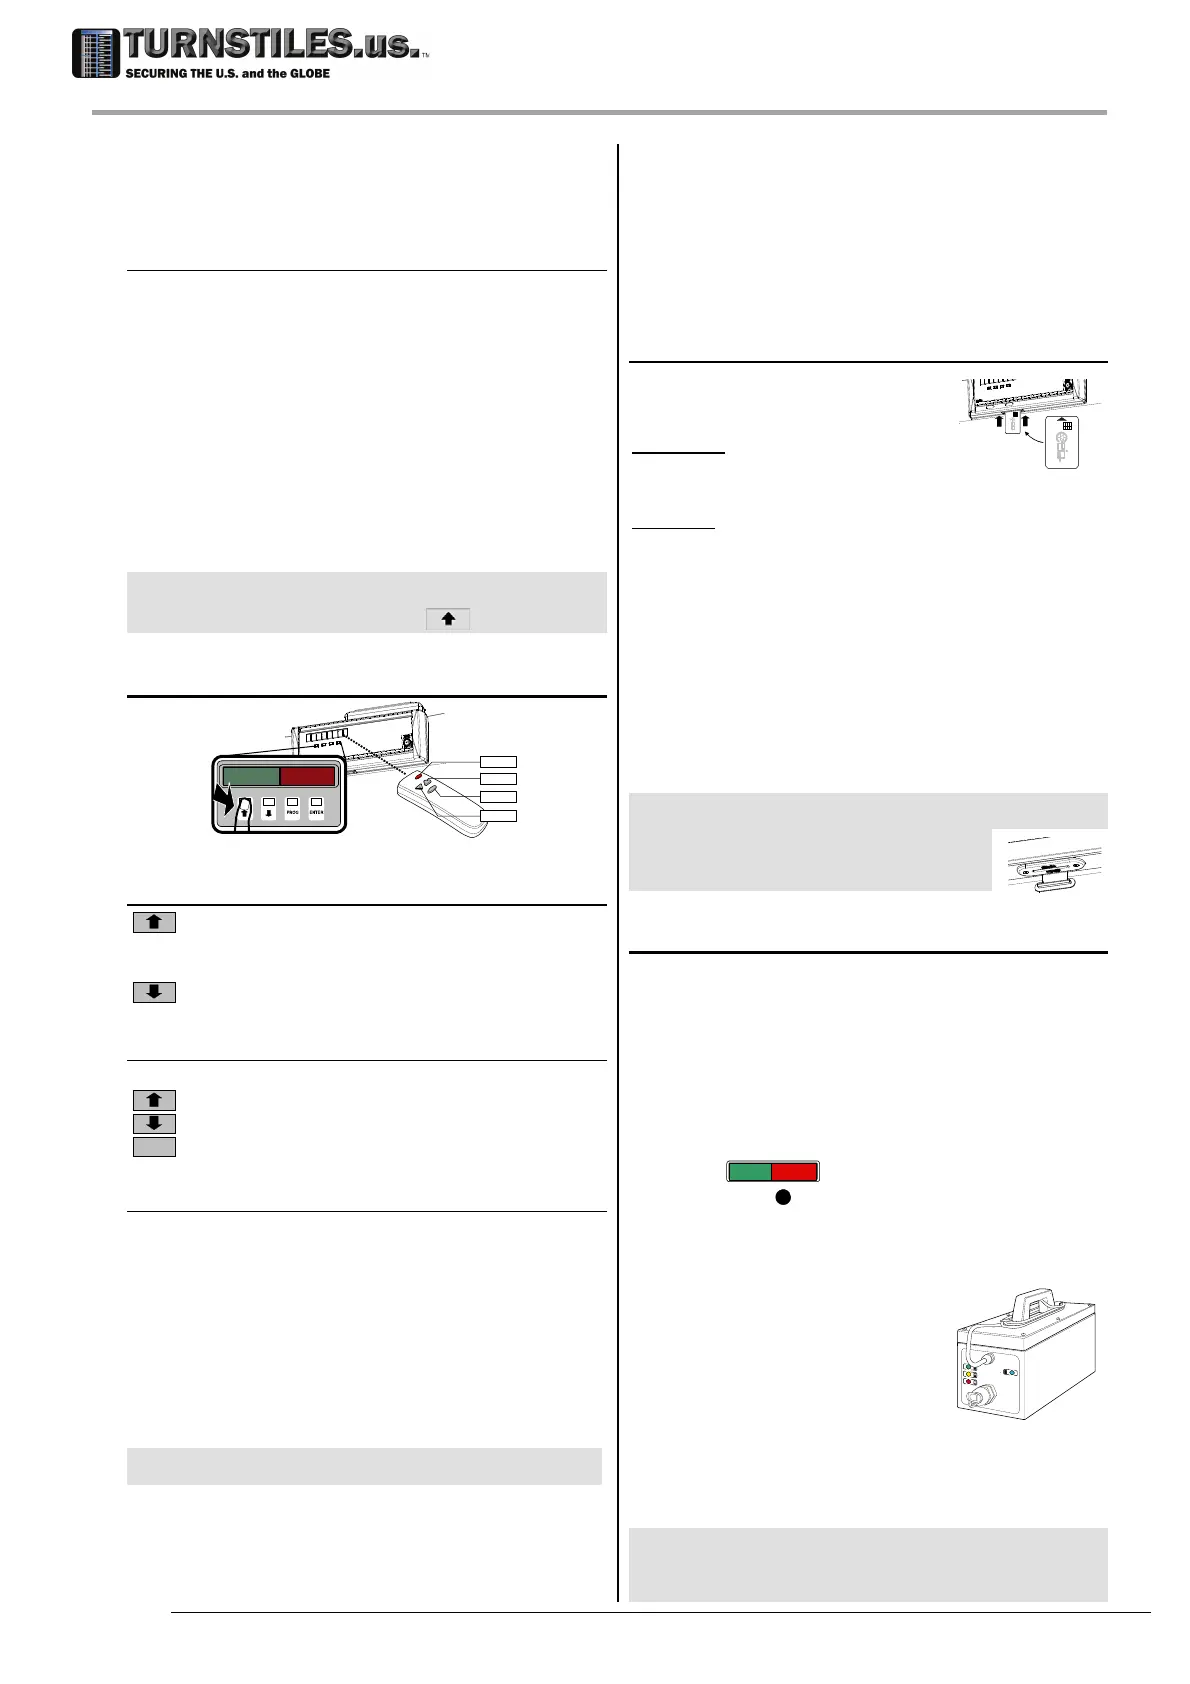
5.4 Keypad /IR Remote Control
PROG
UP
ENTER
DOWN
IR Rem
ote Control is an accessory.
5.4.1 Status reading
Display the current security level (
IS
) and the
transit counters (inward transits
CI
, outward
transits
CO
).
Test of audio and visual alarm signals.
5.4.2 Programming
Enter/exit the programming mode.
Increase a value or scroll up a list.
Decrease a value or scroll down a list.
ENTER
Confirm a selection or execute a command.
5.4.2.1 Example of programming procedure
Alarm Volume / Alarm Tone adjustment
Press the PROG key to enter the programming
phase.
Six dashes will appear on the display (password
prompt).
Enter the password (up to 6 letters or numbers).
Insert each character of the password by
pressing the arrow keys to select it and then
pressing the ENTER key to confirm. Note: each
confirmed character is replaced by a star (‘
*
’).
NOTE
If no password has been defined, simply press the ENTER
key and go to the next step.
The programming phase starts: the last used
command will appear.
Press the arrow keys to select the AV (Alarm
Volume) or AT (Alarm Tone) function, if a
different one is displayed.
Press the ENTER key to change the AV setting:
the acoustic alarm is activated.
Press the arrow keys to change the current
value.
Press the ENTER key to confirm the new value.
Press the PROG key to exit from the
programming phase.
5.4.3 Chip card
Each chip card executes a single
command/selection.
Command: insert the chip card
until it is recognized (a message
appears on the display), then remove it.
Selection: insert the chip card and remove it at the
proper selection.
List of the main available chip cards:
Command Function Code
AV Alarm volume 3538
AT Alarm Tone 3539
AC Alarm counter 3540
CR Counter reset 17866
OFV OFV procedure 26952
TFV TFV procedure 26953
FGA FGA procedure 26954
CC Setting backup 57074
REMARK: when the chip card is inserted, the unit is not operating:
do not use the chip card during the screening
procedures!
NOTE: Control unit in metal case: keep
closed the slot when not in use.
5.5 Battery Operation
Panel models only
Two embedded battery set are available on request:
- 0.8 Ah: built-into APSM Connection Box;
operating time: 30 minutes, depending on the
configuration;
- 9.0 Ah:
installed on the cross-bar; operating time:
5 hours, depending on the configuration.
Emergency batteries switch in automatically
(message
---- B
) in the event of a mains failure.
APSM sounder
11
is activated when battery is
completely discharged. The batteries recharge
automatically when the metal detector is switched on.
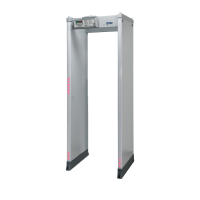
Either Panel or Column models:
external battery pack MBSU-2
This accessory is a portable
device for providing power to
Metal Detectors in outdoor
applications or when AC line can
be unavailable. It allows 8 hours
of independent operation when mains power is not
available (depending on the configuration).
Recharging takes place automatically when mains
voltage is present.
REMARK Observe the recommendations of the instructions
for use provided with the unit. if not used for an
extended period of time. In particular, perform a
complete recharge cycle every two months.
303-670-1099