26
3.5 First Power On and Setup
3.5.1 Power On Sequence
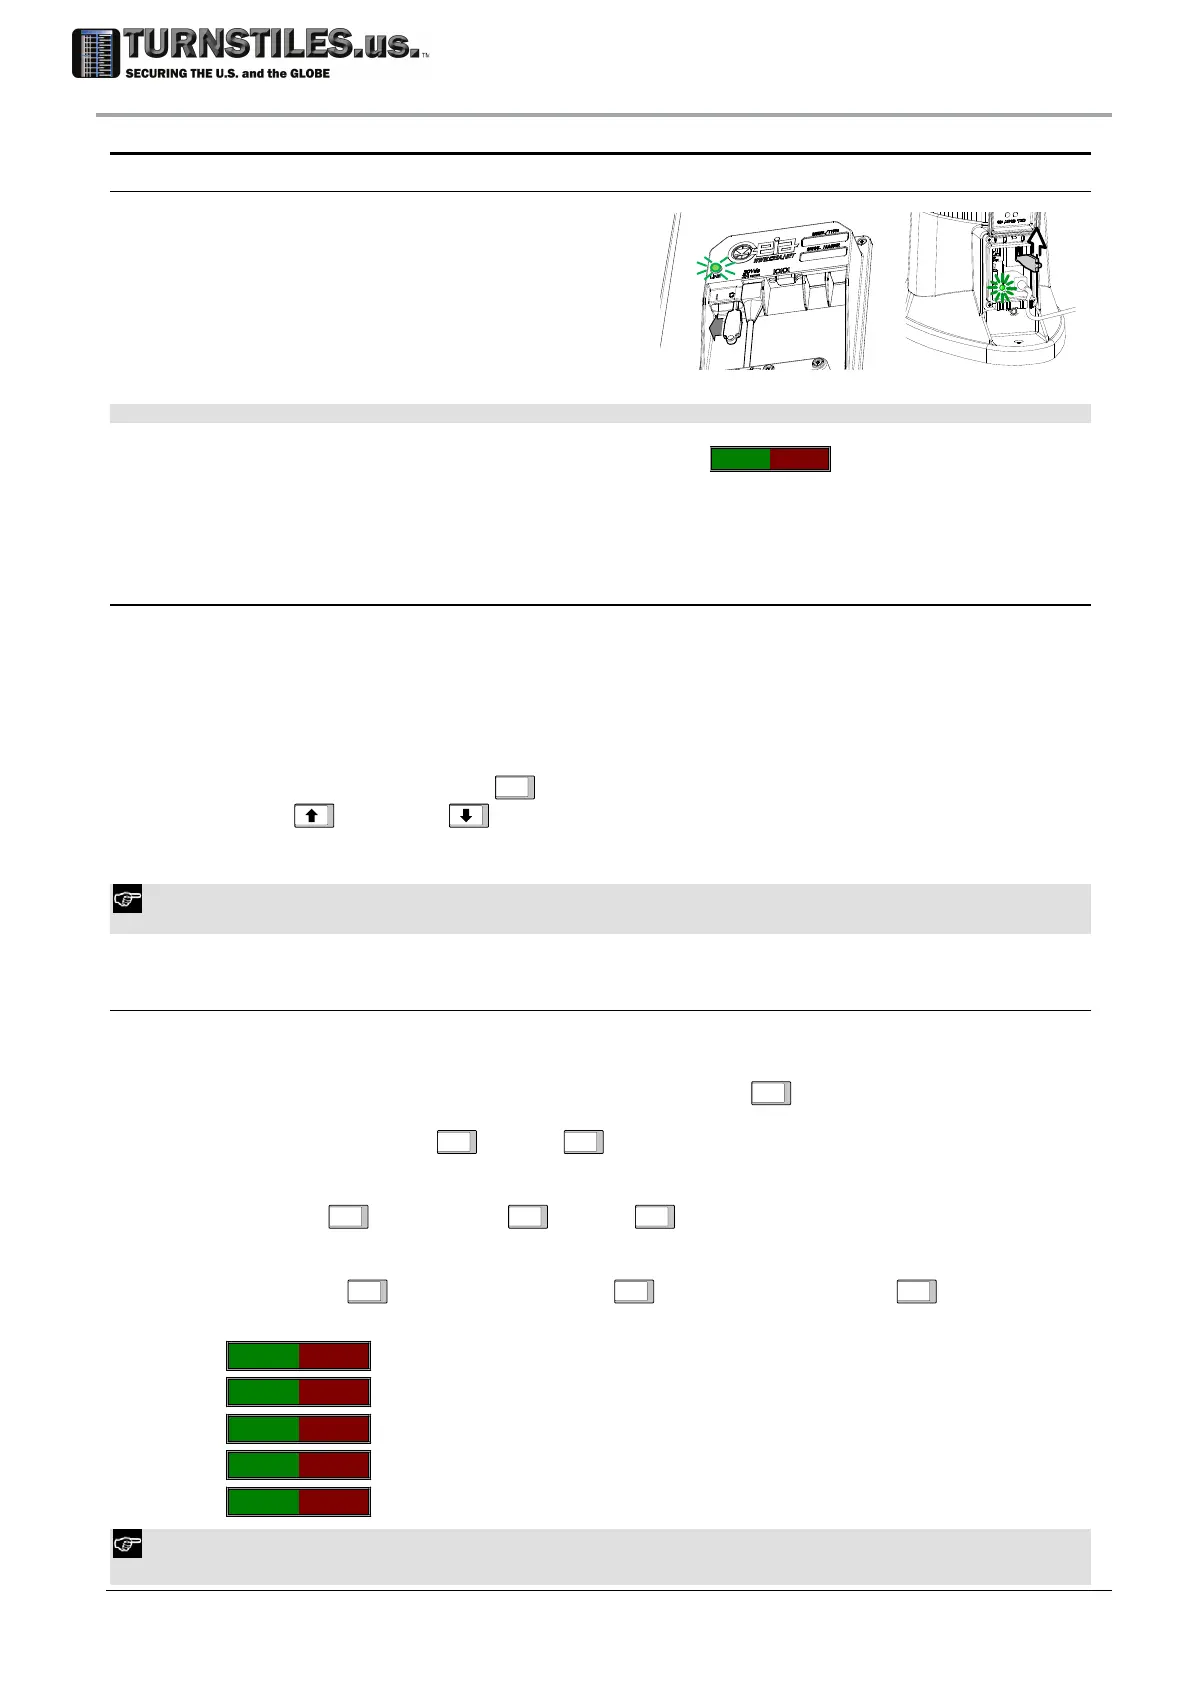
Switching on the MD
The ON/OFF switch is located on the lower
connection module, at the bottom.
Insert the K key into the slot and slide it from
‘0’ to ‘I’ position.
The ‘LINE’ (L1) power indicator located on the
lower connection module should light up.
NOTE: to switch off the WTMD insert the key into the slot and slide it from ‘I’ to ‘0’ position.
At the end of the start-up, the message ‘ready for use’
--------
will appear.
3.5.2 OTS (One-Touch Self-Installation)
The Metal Detector is equipped with an automatic function that guides the installation through a
complete and thorough procedure, ensuring that all essential steps are performed. At the end of
this, the following objectives are attained:
making sure that the Metal Detector is working properly;
environmental compatibility is assessed;
provide means for helping through possible interferences compensation
During the procedure use the
ENTER
ENTER key to confirm a selection or go to the next step; use
the UP
and DOWN keys to change a numeric value or an answer (‘Y’ - yes to N’- no
and vice versa). In the following any operator’s action is indicated between ‘<’ and ‘>’.
OTS function can be executed also at user level: in this case, the functions disabled through UP command are
automatically skipped.
3.5.2.1 OTS Procedure
Enter programming and run OTS command. The following messages appear on the Control Unit
Display:
Run OTS ENTER to continue PROG to exit
ENTER
LED BARS LEDs On
ENTER
<check>
ENTER
Light Bar Verification: all the light bars must be completely activated.
DISPLAY
ENTER
Pixels On
ENTER
<check>
ENTER
Control Unit Display Verification: the display should be completely on.
‘PHOTOCEL
ENTER
Engage EachPhot
ENTER
<photocell engagement>
ENTER
Verification of the Photocells: cover the photocells in sequence.
I-I-O-O-
no photocells engaged
I*I-O-O-
entry side photocell engaged
I-I*O-O-
intermediate entry side photocell engaged *
I-I-O*O-
intermediate exit side photocell engaged *
I-I-O-O*
exit side photocell engaged
* Intermediate photocells appear only if high precision version is installed.
In case photocells are not installed this step is automatically skipped.
K
S1
L1
303-670-1099