TFP645
Page 4 of 8
Step 1. Center Cup Insert at intended
sprinkler location and fasten to con-
crete form with either nails or screws.
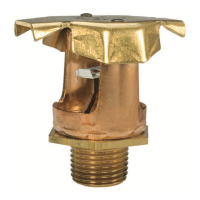
Step 2. Ensure O-ring is properly fitted
beneath threads on neck of installation
cup. Screw Installation Cup into sprin-
kler fitting ensuring top of installation
cup is flush against face of sprinkler
fitting.
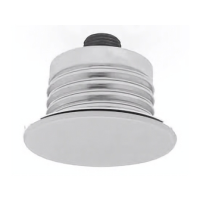
Step 3. Align Installation Cup with Cup
Insert and press against concrete form.
Ensure Installation Cup snaps into
place, fully engaging Cup Insert, and
is flush against concrete form.
Step 4. Connect pipe to sprinkler fitting
per manufacturer’s recommendations.
Repeat steps 1 through 4 for remaining
sprinkler locations in system. Perform
system pressure test only after pipes
have been properly connected to all
sprinkler fittings.
Note: Installation Cup serves as sprinkler
fitting plug during system pressure test.
Step 5. After required pressure test
has been successfully performed, pour
concrete ceiling/floor. Ensure concrete
is distributed evenly around installation
cup, sprinkler fitting and pipe.
CAUTION
Use extreme caution when distributing
concrete around pipe so as not to nick
or split pipe. Failure to do so may result
in equipment damage and/or system
failure.
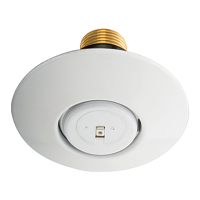
Step 6. After concrete has cured,
remove concrete form with attached
Cup Insert.
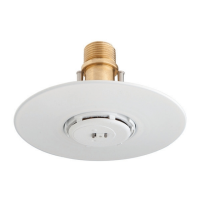
Installation
Poured Concrete Ceiling/Floor
Application
For poured concrete ceiling/floor appli-
cations, TYCO Model FSC 80 K-factor
Flush Sprinklers must be installed in
accordance with Steps 1 through 12 of
this procedure:
Step 1
Step 3
Step 2
Step 5Step 4 Step 6