4
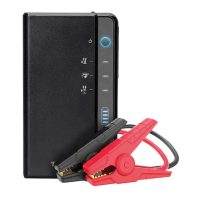
Press the power button to check the capacity of the Jump Starter.
When charging, the indicator lights will ash one by one. The
number of solid lights indicates the battery capacity. When all the
indicator lights are solid then the
Jump Starter
is fully charged.
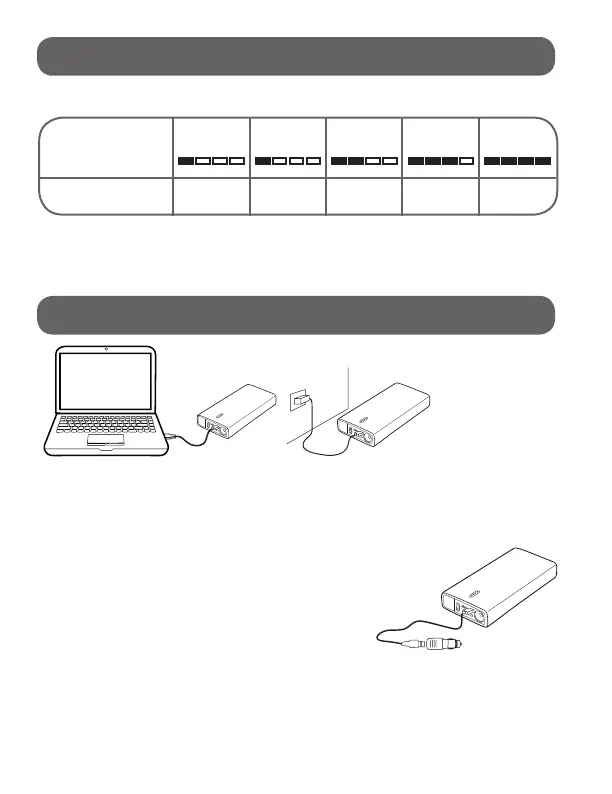
Indicator Lights: 1 Flashing 1 Solid 2 Solid 3 Solid 4 Solid
Battery Capacity: Below 5% 5-25% 26-50% 51-76%
76% - Full
POWER LEVEL INDICATOR LIGHTS:
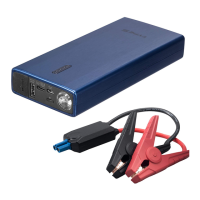
CHARGING THE JUMP STARTER:
At home:
1. Plug the USB cable into computer or any USB
2A wall adaptor (not included).
2. Connect the micro USB cable onto the
Jump Starter
.
In Car:
1. Plug the USB car adaptor (included) into an
available 12V socket.
2. Connect the micro USB cable onto
the
Jump Starter
.
NOTE: In order to reduce
the risk of re or electric
shock, an adapter shall
be chosen that is suitable
for the application and
is certied as a Class 2
or LPS power supply or
power adapter.
NOTE: Please fully charge the Jump Starter when you rst
receive the unit. It is recommended to recharge the Jump Starter
every 2-3 months and after every use to maintain the efciency
and prolong the service life of the internal battery.