ULEAD VIDEOSTUDIO USER GUIDE
46
2. To create a movie file using the current project settings, select Same as
Project Settings.
Or, select one of the preset movie templates. These templates let you create a
movie file that is suitable for the Web or for output to DVD, SVCD or VCD.
You can also use the settings of the first video clip in the Video Track by selecting
Same as First Video Clip.
3. Enter the desired file name for your movie and click Save. The movie file will
then be saved and placed in the Video Library.
You can also render your project partially. SmartRender allows "changes only"
rendering, eliminating the need to re-render an entire video sequence when slight
modifications have been made.
To create a video file of the preview range:
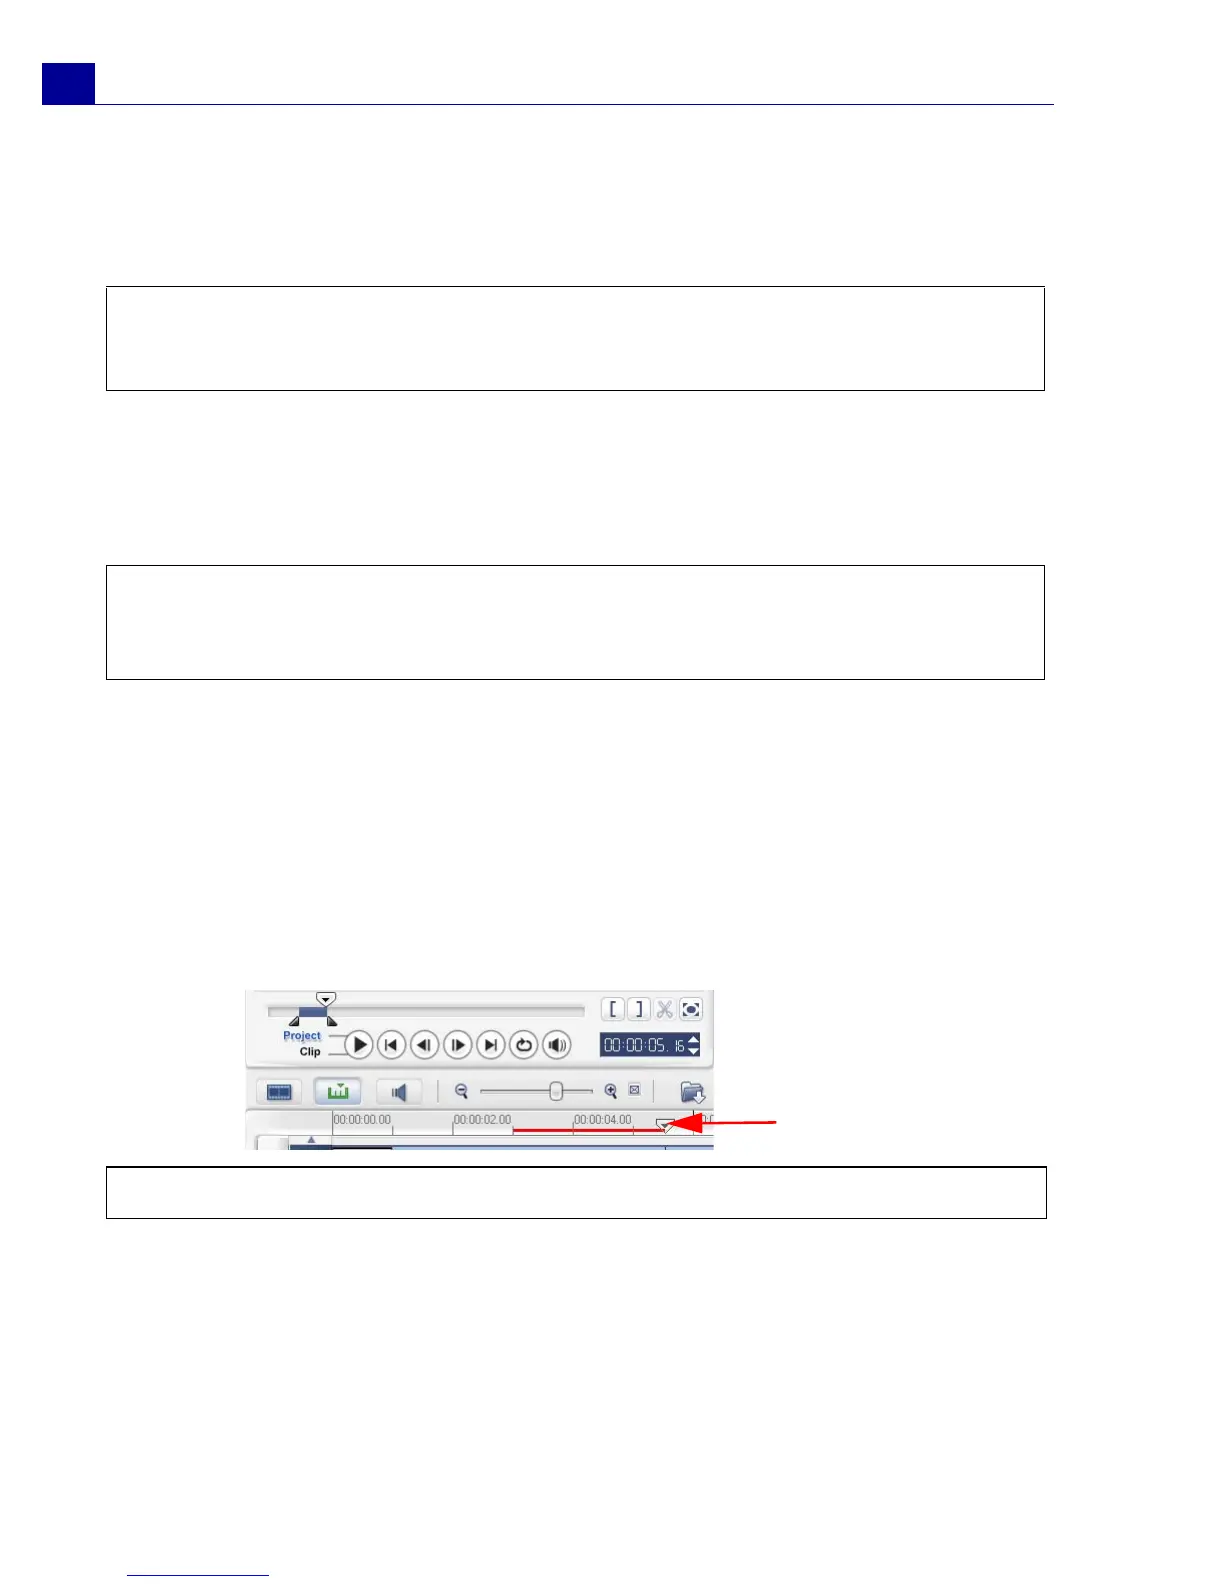
1. Click the ruler on top of the Timeline to make sure no clip is selected.
2. Select a preview range using the Trim Handle. Or, drag the triangle along the
ruler then press [F3] and [F4] to mark the start and end points respectively.
3. Click Create Video File in the Options Panel.
Note: To check current project settings, select File: Project Properties. To check
the saving options provided by a movie template, select Tools: Make Movie
Manager.
Tip:
• To save on rendering time, use the same settings for your source video (e.g.
captured video), VideoStudio project, and movie template.
Note: A red line representing the selected range should appear on the ruler.
Trim Handle