2
Page.
/ 8
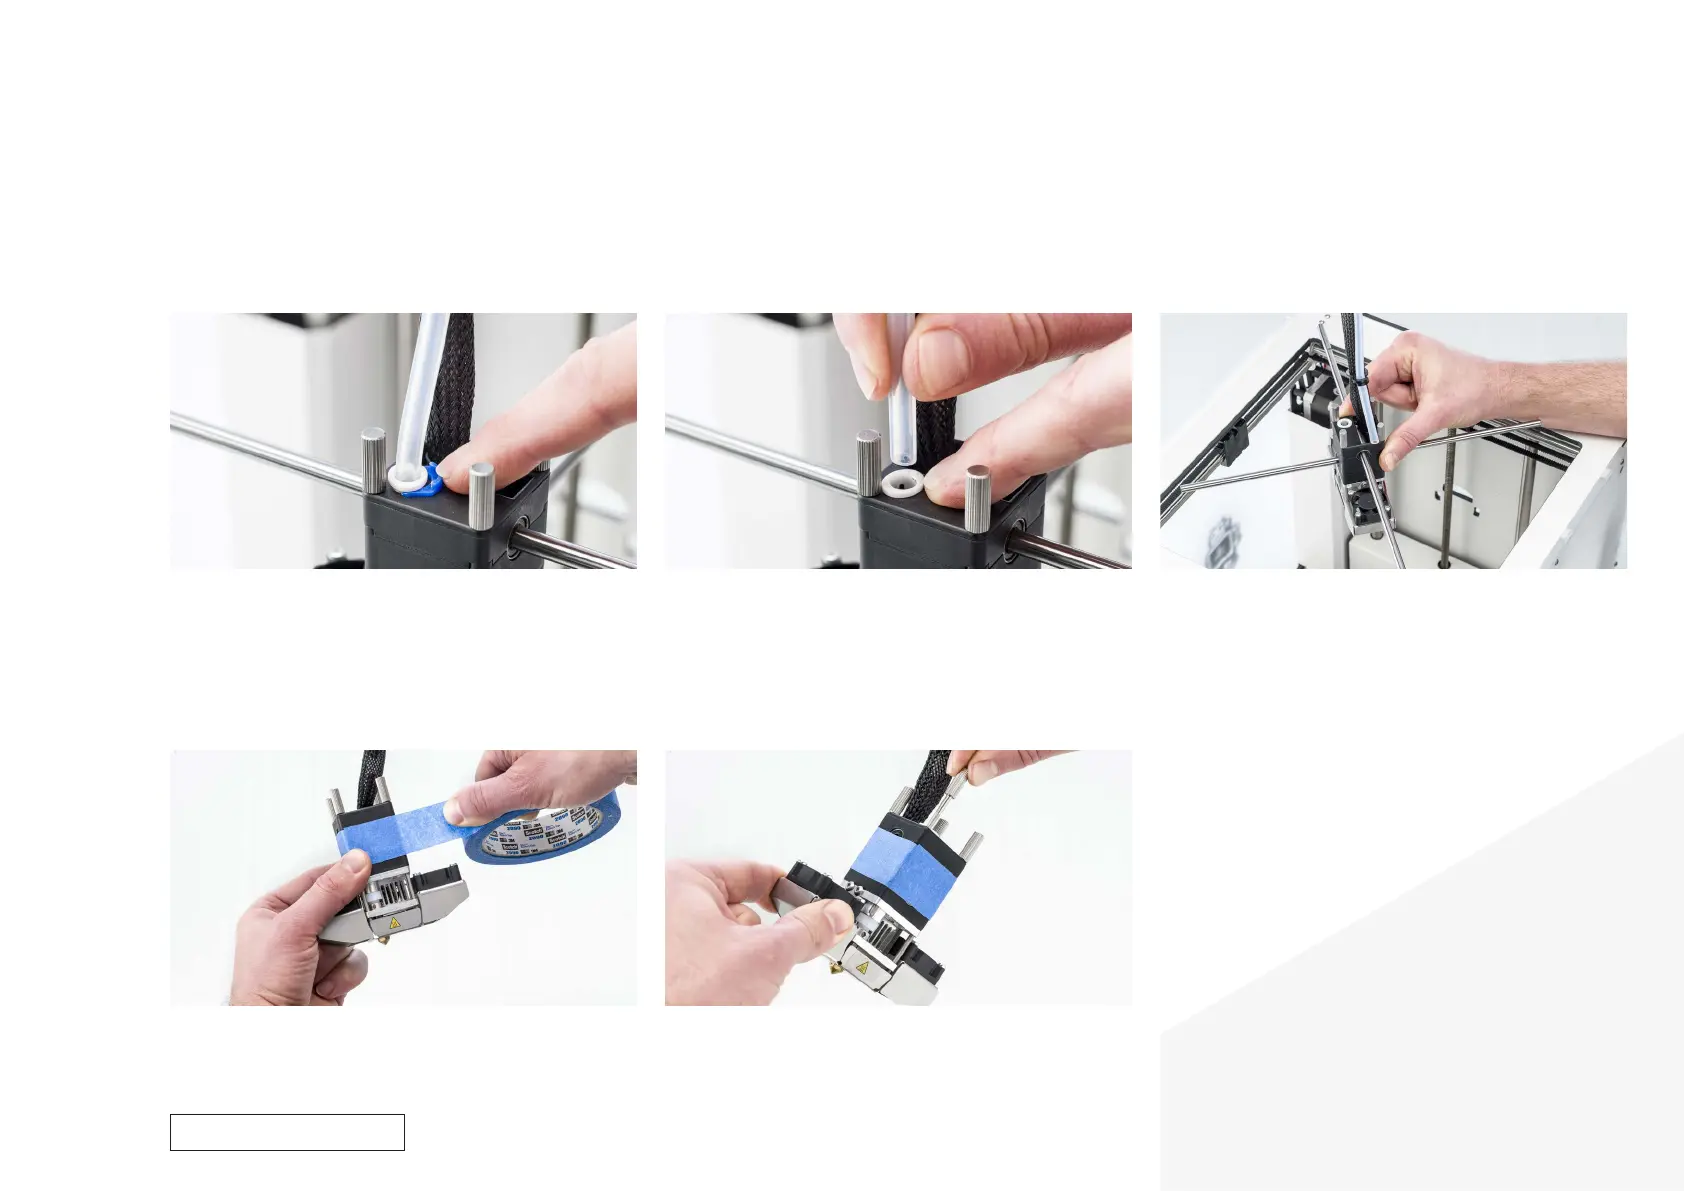
1. Remove the clamp clips
• Place the print head in the front right corner.
• Remove the blue clamp clip..
3. Take the print head out of the printer
• Pull the Y print head shaft forward so it snaps out of the sliding
blocks.
• Tilt the left and right sliding blocks so that the X print head shaft
also comes loose.
• Rotate the print head 45 degrees so you can lift the print head and
shafts out of the printer, then put the print head shafts aside.
4. Tape the print head housing
• Put some tape around the three parts of the print head housing.
This ensures that the parts stay together.
2. Remove the Bowden tube
• Press down on the white tube coupling collet.
• At the same time, pull the Bowden tube upwards, out of the print
head.
Disassembly
5. Remove the thumb screws
• Loosen the four thumb screws and take them out of the print head.
• Move the print head housing up, keep it out of the way using more
tape.
For internal use only