EasyManuals Logo

Ultimaker 3 Extended Cleaning

Ultimaker 3 Extended
6 pages
To Next Page IconTo Next Page
To Previous Page IconTo Previous Page
Page #2 background imageLoading...
Page #2 background image
Clean the nozzles
While using the Ultimaker 3, material can get stuck to the nozzles. Although this will not
damage your printer, it is recommended keep the nozzles clean in order to achieve the
best print results.
Before starting a new print, always check the nozzles. At least once a month, remove the
plastic from the outside of the nozzles by taking the following steps:
1.
On the Ultimaker 3, navigate to Material/PrintCore > PrintCore 1 > Set temperature.
Rotate the dial and set the temperature to 150 °C. Repeat this for print core 2 and
make sure this print core is lowered
2.
Wait for the plastic on the outside to get soft. When the nozzles are hot, carefully
remove the material with tweezers
Caution
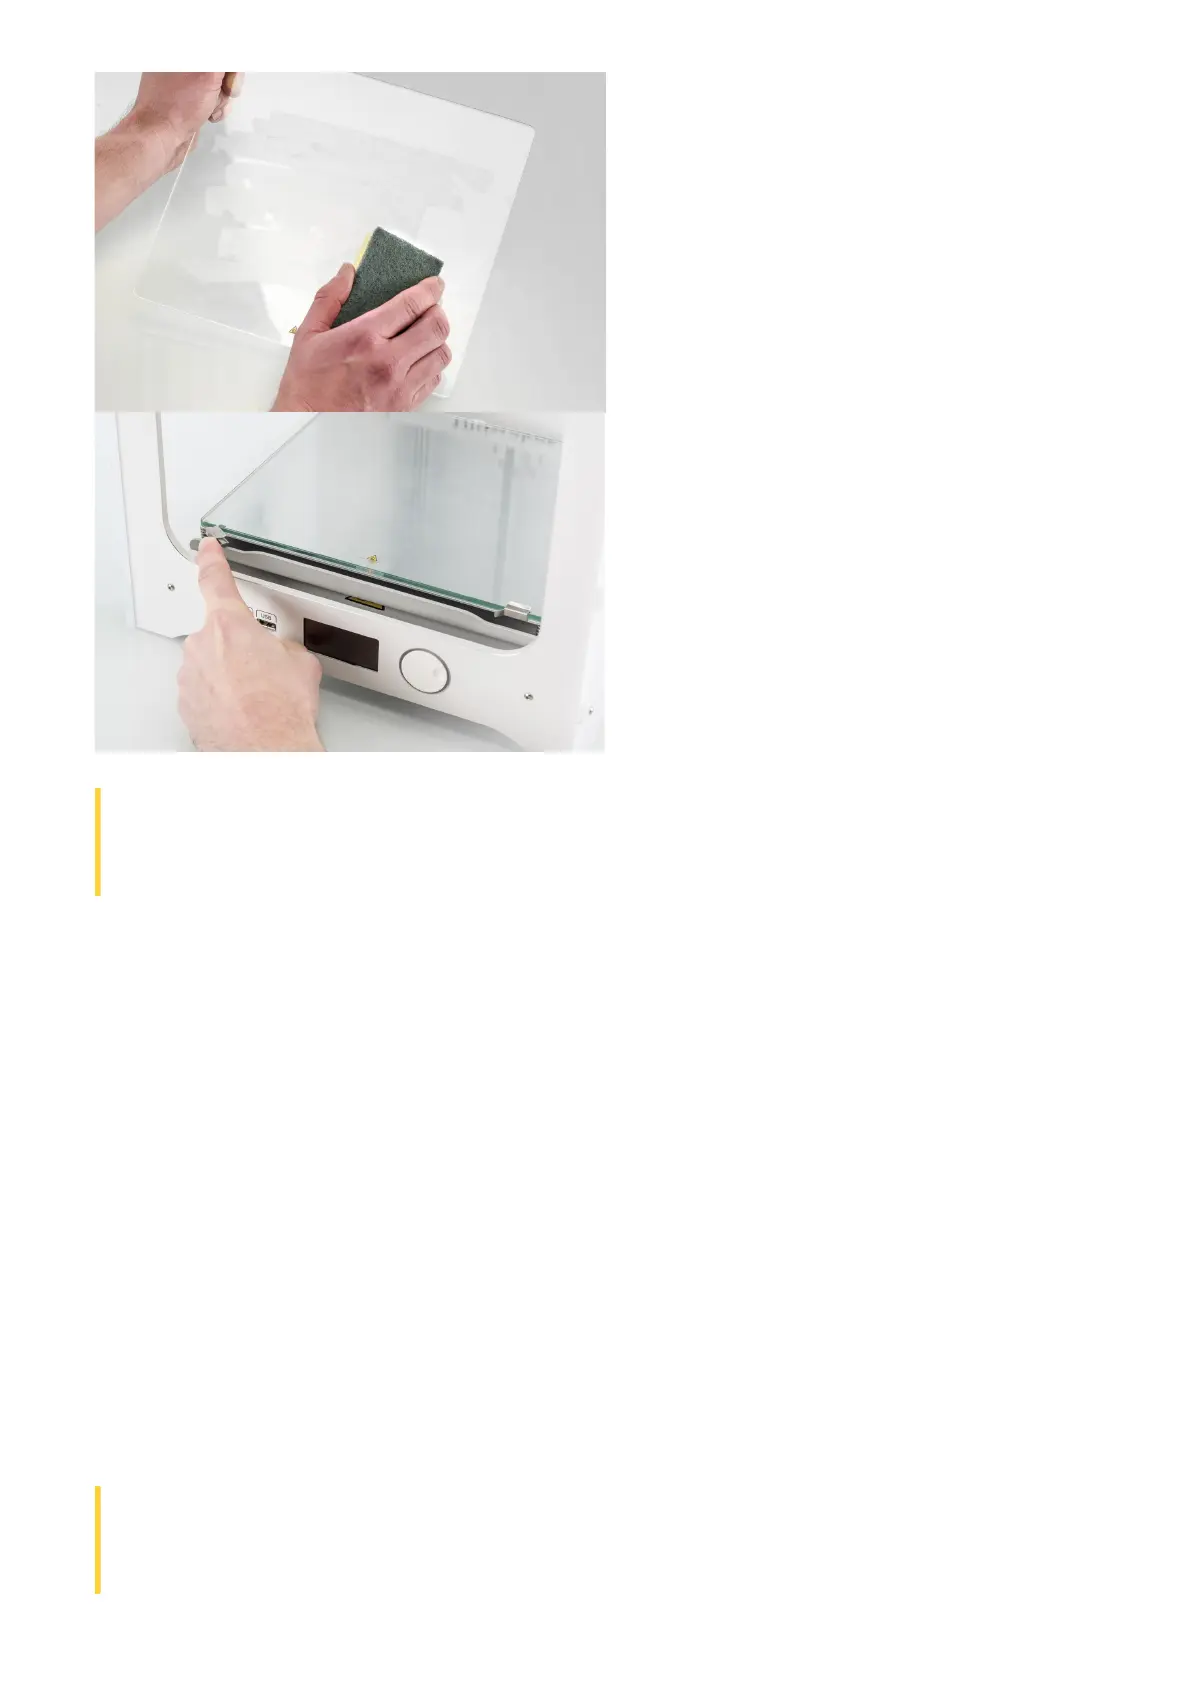
: Leaving the build plate clamps open may damage your Ultimaker 3 when
the build plate is raised.
Caution
: Do not touch the nozzles and be careful while cleaning it as they will
become hot.
Cleaning the Ultimaker 3 – Ultimaker Support https://support.ultimaker.com/hc/en-us/articles/...
2 of 6 12/15/20, 1:51 PM

Other manuals for Ultimaker 3 Extended

Questions and Answers:

Question and Answer IconNeed help?

Do you have a question about the Ultimaker 3 Extended and is the answer not in the manual?

Ultimaker 3 Extended Specifications

General IconGeneral
Build Volume215 x 215 x 300 mm
Layer Resolution20 - 200 microns
Print TechnologyFused Filament Fabrication (FFF)
Filament Diameter2.85 mm
Operating SystemWindows, MacOS, Linux
Print SpeedUp to 24 mm³/s
SoftwareUltimaker Cura
Weight11.3 kg
Print HeadDual extrusion
Nozzle Diameter0.4 mm
Supported MaterialsPLA, ABS, Nylon, CPE, PVA
ConnectivityUSB, Ethernet, Wi-Fi
Display4.7" color touchscreen
Power Requirements100 - 240 V / 50 - 60 Hz
Travel SpeedUp to 300 mm/s

Related product manuals