25
PC MENU OPERATION (VGA)
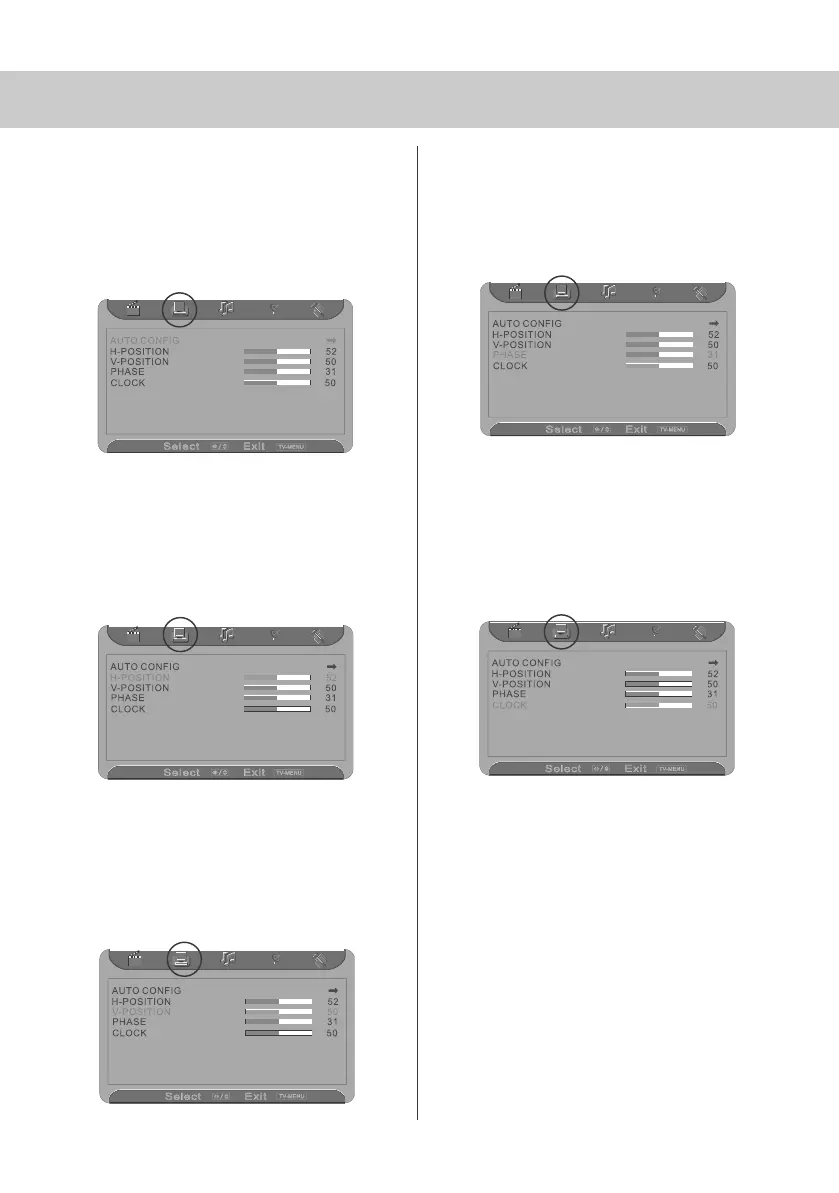
PC SCREEN SETTINGS
Auto Configuration of Screen
Lets you automatically configure the television
to be used as a computer monitor
1) Press [LCD-MENU] to enter menu
2) Press [>] to select PC settings
3) Press [\/] to select Auto Config
4) Then press [>] for the TV to automatically
configure itself
5) Press [LCD-MENU] twice to exit
Horizontal Position
Changes the horizontal position of the picture
1) Press [LCD-MENU] to enter menu
2) Press [>] to select PC settings
3) Press [\/] twice to select H-Position
4) Then press [>] or [<] to move the picture
to left or right
5) Press [LCD-MENU] twice to exit
Vertical Position
Changes the vertical position of the picture
1) Press [LCD-MENU] to enter menu
2) Press [>] to select PC settings
3) Press [\/] 3 times to select V-Position
4) Then press [>] or [<] to move the picture up
or down
5) Press [LCD-MENU] twice to exit
Phase
To adjust delay time of phase in order to reduce
the noise of picture
1) Press [LCD-MENU] to enter menu
2) Press [>] to select PC settings
3) Press [\/] 4 times to select Phase
4) Then press [>] or [<] to increase or decrease
the phase
5) Press [LCD-MENU] twice to exit
Clock
Alter this in order to reduce the noise within the picture
1) Press [LCD-MENU] to enter menu
2) Press [>] to select PC settings
3) Press [\/] 5 times to select Clock
4) Then press [>] or [<] to increase or decrease
the clock
5) Press [LCD-MENU] twice to exit
19_18 english manual 25.pdf 4. 5. 2009 9:57:11