BASIC SYSTEM FEATURES
Section 6-7
Keypad Menu System
MAIN MENU
After the system is powered ON, the laser systems model name will appear, along with the model
version, copyright date, company name, and if the Universal Control Panel is not running,
DISCONNECTED will be displayed. After the Universal Control Panel is launched and after a few
seconds pass it will home to the upper right corner. The display on the keypad will automatically
change to the main menu which will display the last printed file, FILE, XY, and Z. If a file is sent to the
laser system for cutting or engraving the display will change with the Color, Power, Speed, and PPI
settings of the file.
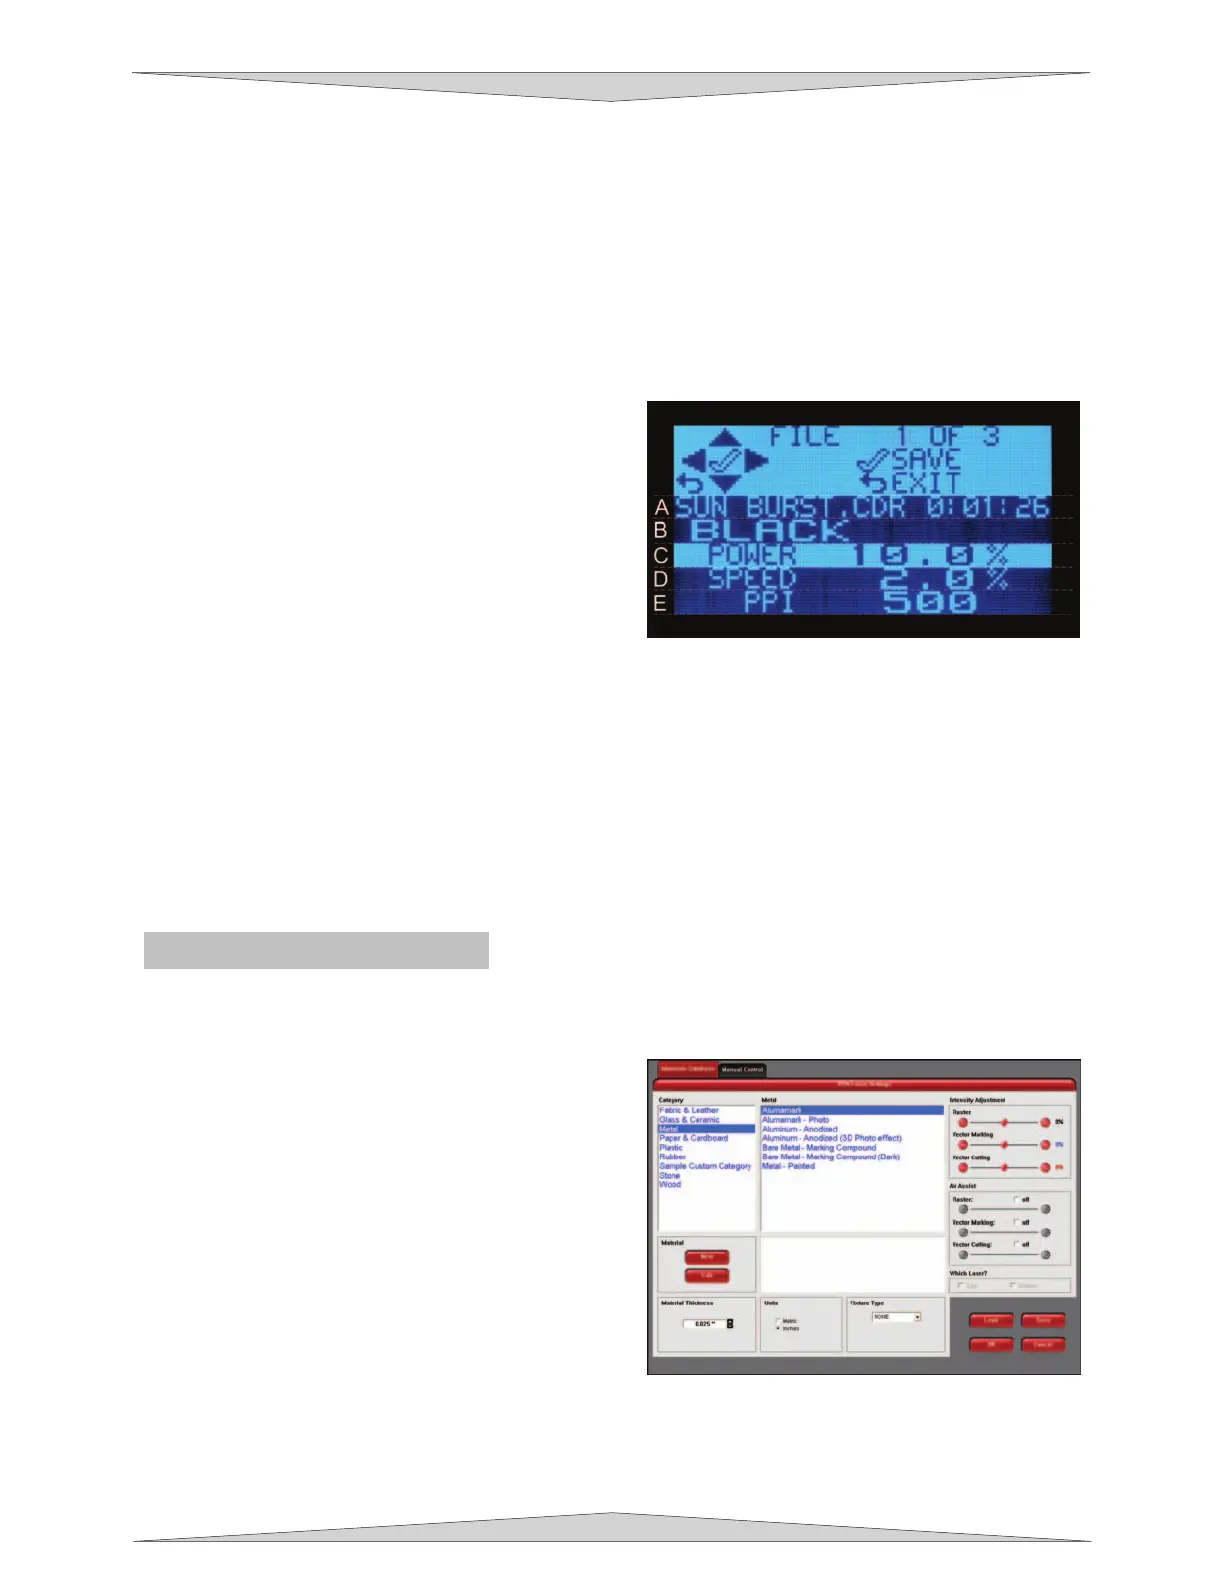
FILE
This menu appears automatically after the first
file has been sent to the laser system.
Utilizing the LEFT or RIGHT buttons while on
the File Name (A) displays the appropriate
downloaded file and pressing the START
button will begin laser processing. Utilizing
the UP and DOWN buttons allow you to scroll
through the File Name and timer (A), Color
(B), Power (C), Speed (D), and PPI (E). The
Power, Speed, and PPI of the file being
engraved can be changed, on the fly, by
pressing the LEFT and RIGHT buttons as the file is being processed. The timer will pause when
the PAUSE button is pressed and starts up again when PAUSE is pressed.
XY
This menu displays the current position of the focus carriage according to the engraving table
rulers and allows you to move the focus carriage back and forth and left to right.
Z
This menu displays the current position of the engraving table relative to the inside base of the
laser system and allows you to move the table up and down.
Printer Driver Controls
This part of the section describes the use of the Materials Database Tab of the printer driver.
Materials Database Tab
This tab of the printer driver is for the beginning user
and requires little knowledge about the laser system.
Category List
This section allows you to choose from 8 original types
of material categories.
Material List
Once you choose a category a variety of material
types will appear to the right of the category section.
Intensity Adjustments
Intensity Adjustments give you the opportunity to
change the intensity of your Raster Engraving, Vector
Marking, and Vector Cutting. The default settings are set to 0% but they can be changed from -50% to
+50%. Increasing the settings increases the intensity of the engraving process giving you deeper results.
Decreasing the intensity decreases the engraving process and gives you shallower results. Always start
at 0% on a scrap piece of material and make any appropriate changes accordingly. There is not need to
make changes to these controls only if undesired results are produced.