ACCESSORIES
Section 8-7
The control box also has built in pressure sensors that will detect insufficient supply pressure and will shut
down the laser system. An error message, “The air pressure is low or unstable” will appear on the
computer monitor, indicating that there is a problem with your supply of either air or gas.
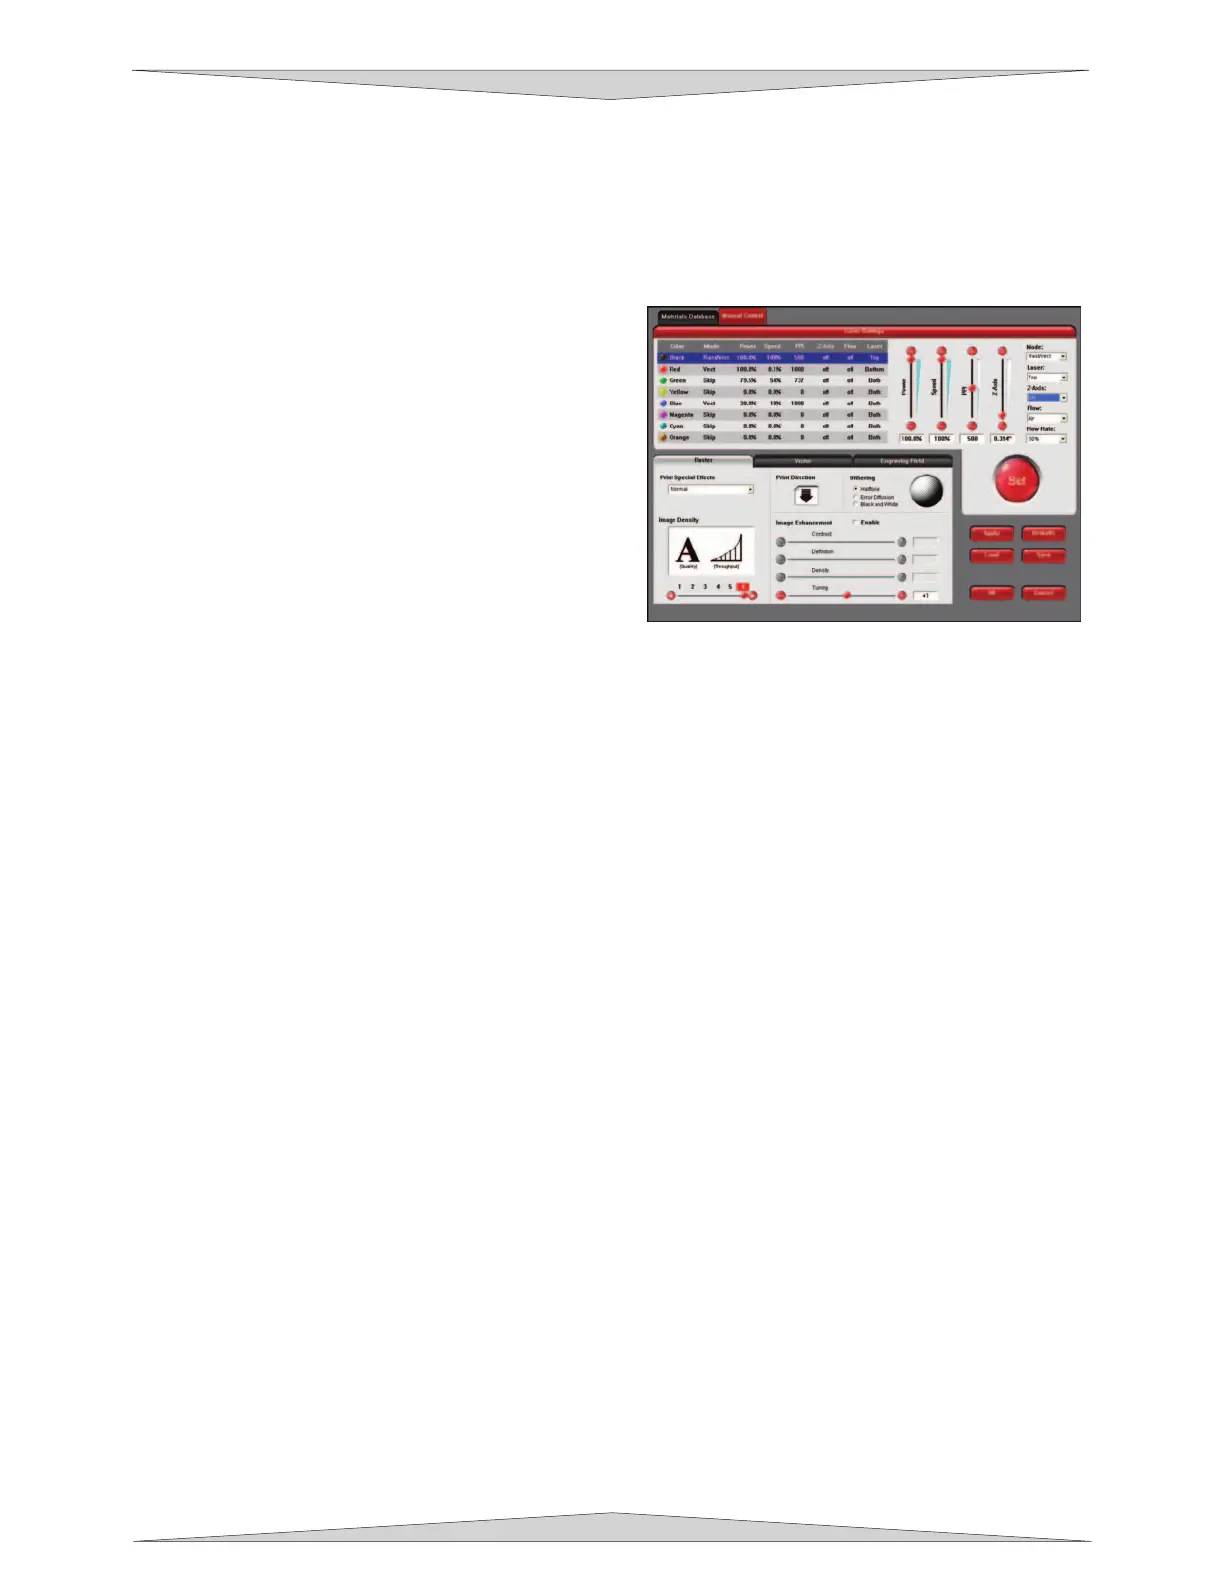
Programming the PC Printer Driver
The Air Assist option provides printer driver controlled activation and deactivation of solenoid valves that
direct the flow through one of three paths with its final destination being the cone. It also has been
designed to work in conjunction with the optional Air Compressor to turn it ON and OFF when the job
starts and finishes, respectively. The needle valves
control flow through the cone when the solenoid valves
are activated. The gauge provides a visual indication
of how much flow is going through the cone. You can
choose between “OFF, “AIR”, or “GAS” valve
activation setting for each one of the eight colors in the
printer driver.
Power up your PC and open up or create a graphic to
print to the laser system. When ready to print, go to
the laser system printer driver and set all of your
parameters. After selecting a color, choose which
pathway you desire by selecting from “OFF, “AIR”, or
“GAS” from the dropdown list for the “Flow” option
which is on the right hand side of the printer driver.
Choose the rest of your parameters and send the file to the laser system. Make sure the cone is
installed. Insert your material into the laser system and set the focus by using one of the focus methods
in Section 9-17. Make sure that your air and gas supplies (if using) are ON. Turn on your exhaust blower
and press the START button.
Air Flow Setting Guidelines (both styles)
Use as much or as little air flow necessary to produce the desired results. There are no particular settings
that we can offer to you. As a rule of thumb, start with low flow and adjust upward until flaming is
suppressed. Setting the flow too high can result in excessive particulate matter being blown around
causing faster system contamination, which would require an increase in maintenance. It can also push
the hot engraving or cutting smoke back onto the material or into the cut line and cause contamination of
the surface or side edges of the material. On some scrap material play around with different flow settings
to obtain the best results, then write down your settings for various materials. Remember, the intent of
the Air Assist option is to suppress flaming and/or melting of the material during laser processing.
Maintenance (both styles)
• Keep your air supply and/or gas supply moisture free. Check your desiccant (water dryer) frequently.
Replace desiccant when saturated or use the manufacturer’s recommendation to remove water
moisture from the desiccant crystals. Water moisture may contaminate the air assist system and can
cause malfunctions as well as damages to the unit.
• Clean your laser system more frequently when using Air Assist. You will need to check, and possibly
clean, your optics frequently. Do not let the optics protection part of the Air Assist system lead you to
a false sense of security. Since more debris gets kicked up by the downward air or gas flow through
the Cone, the laser systems rails, bearings, and other motion system components will get dirtier
faster than by not using the Air Assist option.
• Periodically check the cone alignment with the laser beam especially if you have replaced or adjusted
the laser systems optics. You will know if your cone is not aligned if you suffer a substantial loss in
laser power when laser cutting or engraving with the cone installed as opposed to the cone removed.
A misaligned cone will cause the beam to make contact with the inside of the cone, possibly splitting
the beam and/or reducing the power at the focus point.
Windows XP printer driver