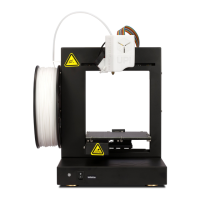
ur printer is brand new, it is best to check you have the latest ROM version number i
Currently the ROM update can only be updated using the Windows sof
In the UP software click “Help” and “About UP”.
System” “UP Plus x.xx.ROM”
If your ROM version on the “About” page is lower, then follow 3.) otherwise
Click “Tools” “Update ROM” and select the relevant RO
low the on screen instructions.
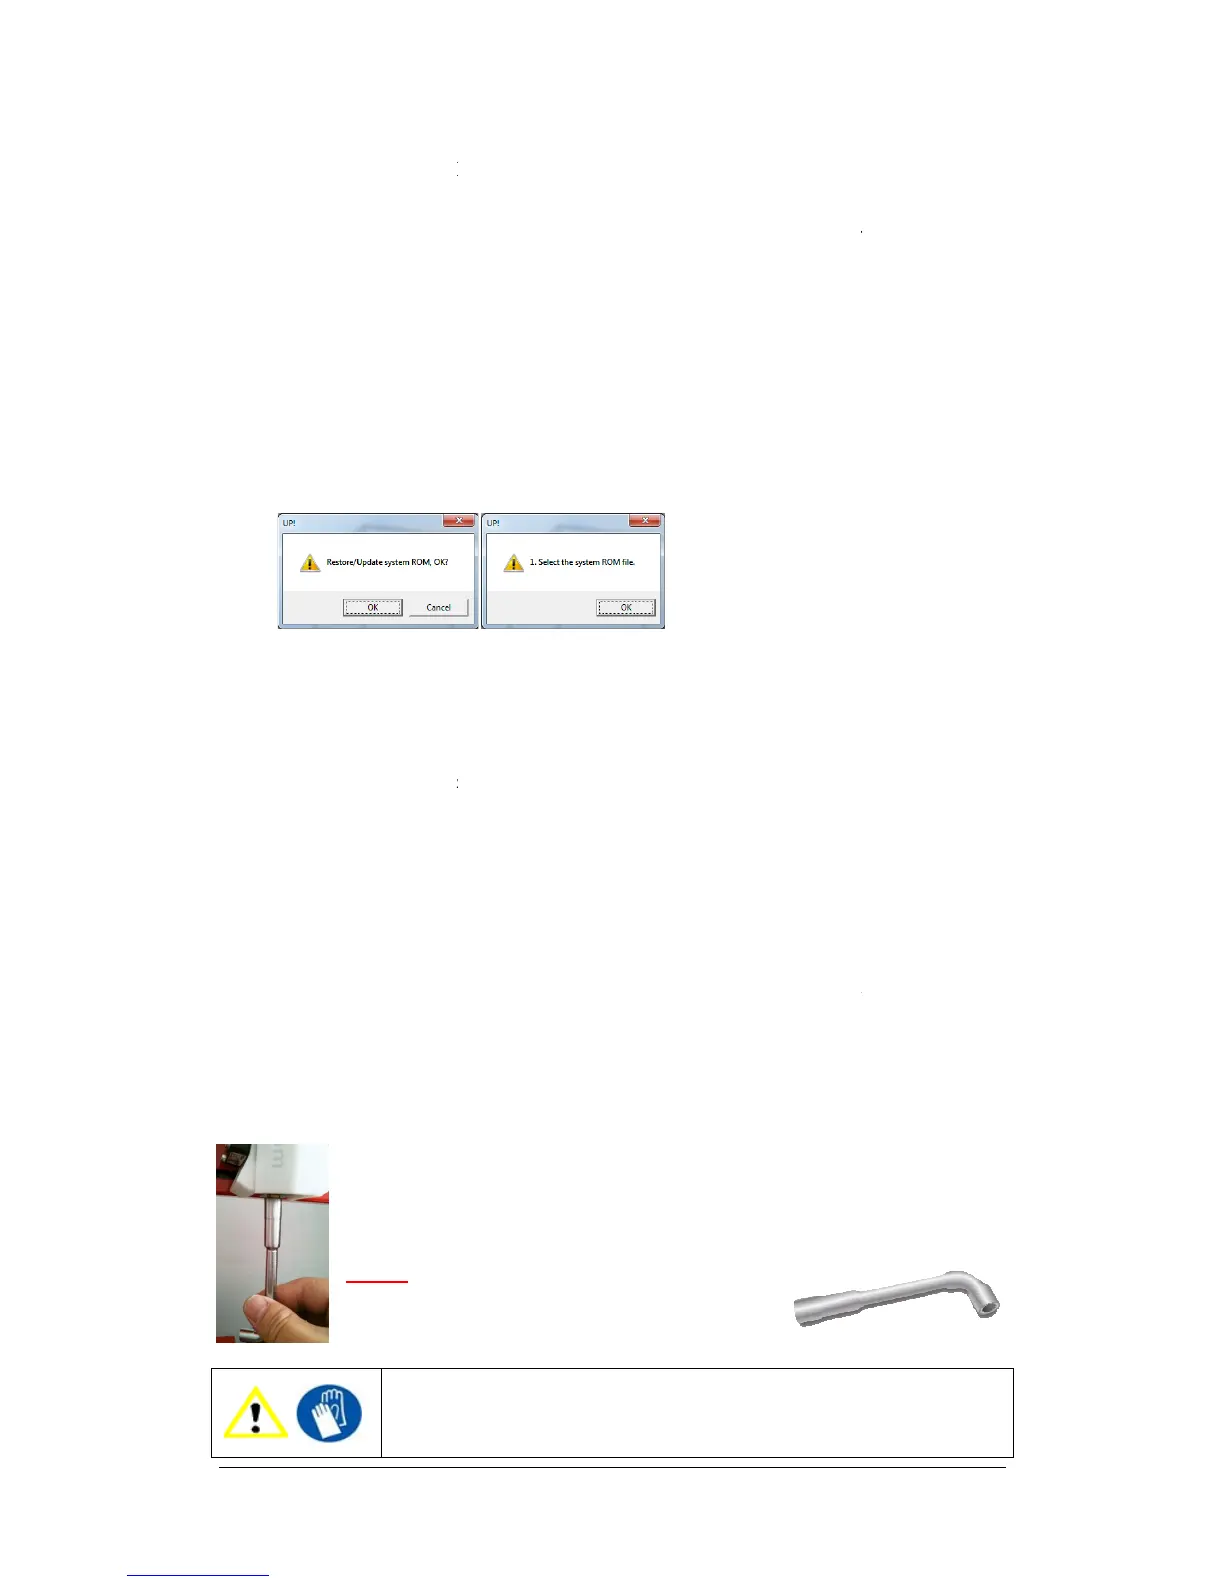
After a lot of printing, the nozzle may be covered with a layer of oxidized
. When the printer is printing, t
ate discoloured spots in the
model. To avoid this you need to regularly clean the nozzle.
move the platform to the bottom, then do a
oxidized ABS.
Lastly, use some heat-
resistant material, like 100 percent cotton cloth or soft paper. A pair of twee
ers will also be required. Then clip paper or some other heat
ld the nozzle become blocked, you may need to remove it in order to unblock.
once the printer is at 260c,
remove the nozzle when it is
trying to remove it while cold will damage
If the nozzle is blocked, remove the nozzle and clean it.
ur printer is brand new, it is best to check you have the latest ROM version number i
Currently the ROM update can only be updated using the Windows sof
In the UP software click “Help” and “About UP”.
the about page to the file located in to “C:\
System” “UP Plus x.xx.ROM”
If your ROM version on the “About” page is lower, then follow 3.) otherwise
Click “Tools” “Update ROM” and select the relevant RO
M file for your printer and fo
low the on screen instructions.
After a lot of printing, the nozzle may be covered with a layer of oxidized
. When the printer is printing, t
his oxidized ABS may melt on the nozzle, and may cr
model. To avoid this you need to regularly clean the nozzle.
move the platform to the bottom, then do a
heat the nozzle to melt the
resistant material, like 100 percent cotton cloth or soft paper. A pair of twee
ers will also be required. Then clip paper or some other heat
resistant things with tweezers to clean
ld the nozzle become blocked, you may need to remove it in order to unblock.
in the maintenance screen, then
once the printer is at 260c,
use the nozzle wrench provided in the toolkit that comes
remove the nozzle when it is
trying to remove it while cold will damage
If the nozzle is blocked, remove the nozzle and clean it.
ur printer is brand new, it is best to check you have the latest ROM version number i
Currently the ROM update can only be updated using the Windows sof
If your ROM version on the “About” page is lower, then follow 3.) otherwise
M file for your printer and fo
his oxidized ABS may melt on the nozzle, and may cr
model. To avoid this you need to regularly clean the nozzle.
heat the nozzle to melt the
resistant material, like 100 percent cotton cloth or soft paper. A pair of twee
resistant things with tweezers to clean
ld the nozzle become blocked, you may need to remove it in order to unblock.
in the maintenance screen, then
use the nozzle wrench provided in the toolkit that comes