page 21 of 27
Documents are only to be used and distributed completely and unchanged. It is strictly the users´ responsibility to check carefully
the validity of this document with respect to his product. 25/11/2013 // 999281
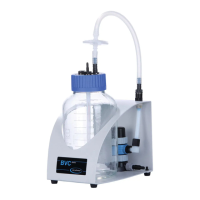
➨ Fill the hose to the vacuum sensor with disinfectant soluti-
on.
➨ Emptythehoseaftertheexposuretime.
Decontaminate all disassembled parts and the used tools in an
appropriate disinfectant solution or by autoclaving.
Comply with exposure time.
Prior to reassembling let the parts dry completely.
If the device is send for repair disassembled, ensure that all parts are packed
safely.
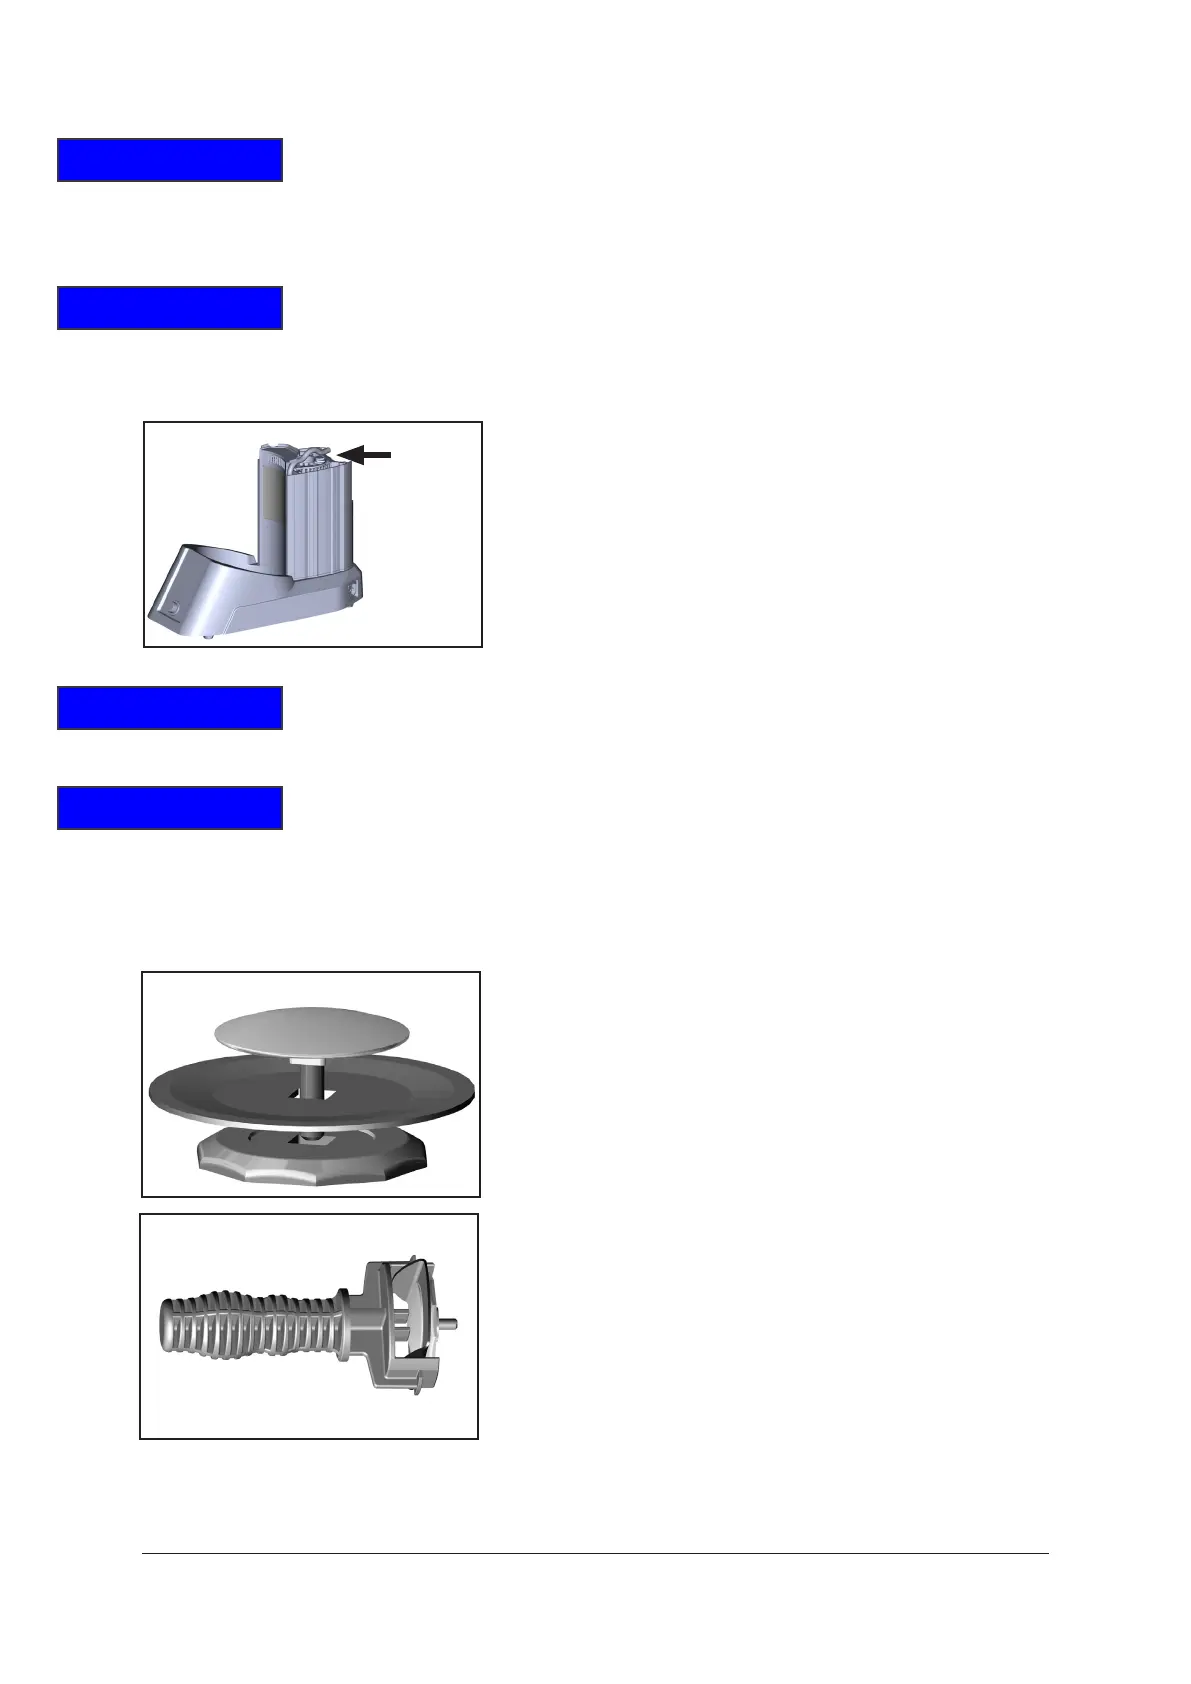
➨ Lift the diaphragm at the side. Place the diaphragm care-Lift the diaphragm at the side. Place the diaphragm care-
fully together with diaphragm clamping disc and diaphragm
support disc in the diaphragm key.
+ Avoiddamageofthediaphragm:Donotexcessivelybend
or crease the diaphragm.
➨ Assemble the original number of washers between dia-
phragm support disc and connecting rod.
+ Too few washers: The pump will not attain vacuum spe-
cication. Too many washers: Diaphragm clamping disc
will hit head cover, causing noisy operation and possibly
causing the pump to seize up.
➨ Position diaphragm between diaphragm clamping disc
withsquareheadscrewanddiaphragmsupportdisc.
+ Note: Position diaphragm with pale side towards dia-
phragmclampingdisc(facingpumpchamber).
+ Makesurethatthesquareheadscrewofthediaphragm
clamping disc is correctly seated in the guide hole of the
diaphragm support disc.
Reassembling
Priortodecontaminationcleansurfaceswithadampclothifnecessary.Usewateror
a mild detergent as cleaning agent.
NOTICE
NOTICE
NOTICE
NOTICE
 Loading...