CHAPTER 3________________________________________________ INSTALLATION AND MAINTENANCE
VAISALA __________________________________________________________________________ 7
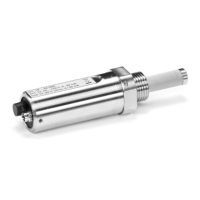
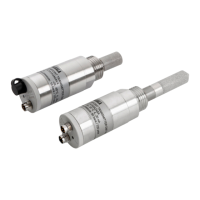
Figure 5 Mounting the probe in a duct or channel.
When the probe is installed in a duct or channel, it is recommended to
use the optional mounting flange GM45156. All you need to do is to
drill a hole with minimum diameter of 22 mm in the wall. The flange
is then attached onto the duct with four screws so that the gasket ring
seals the attachment. The probe is placed through the flange so deep
that the perforated head is completely in the duct (see Figure 5).
NOTE
If there is clearly lower air pressure in the duct, an additional sealing
may be necessary. This is to avoid possible CO
2
concentration
variation due to leaking through the attachment.
Electrical connections
The nominal 24 V supply is connected between terminals + and - on
the motherboard (right-hand side). The analogue outputs are available
at remaining terminals (see Figure 6). The common wire is connected
to terminal 0 and the other wire either to terminal V (voltage output)
or to terminal mA (current output). The current output is chosen with
the jumper 4mA (see Figure 6): 4...20mA is chosen by connecting the
jumper (default) and the 0...20 mA is chosen by disconnecting the
jumper.
CAUTION
Connecting power leads to the output terminals can seriously damage
the product.
*DVNHWULQJ
 Loading...