53
Model Code Page
21. Engine
1. 4. 1997
6000--8750
212 3
1. 9. 1992
F. Changing valve seat inserts
Exhaust valves are fitted with separate valve seat inserts.If the
sealing surface is damaged so badly that itcannotberepaired
with machining, the seat inserts should be changed.
1.Grindthevalveheadonadiscardedvalvesothatitsits
down in the valve seat. Fit the valve and weld it in place in the
seat. Cool with water.
2.Turnthecylinderheadoverandknockoutthevalveand
seat.
3. Clean the valve seat location. Cool the new seat in liquid ni-
trogen until it stops bubbling, or alternatively place it in dry ice.
4. Fit the seat with a suitable drift. Machine the seat.
N.B. Where necessary, standard size seats can be replaced
by inserts with a larger outer diameter. See Specifications.
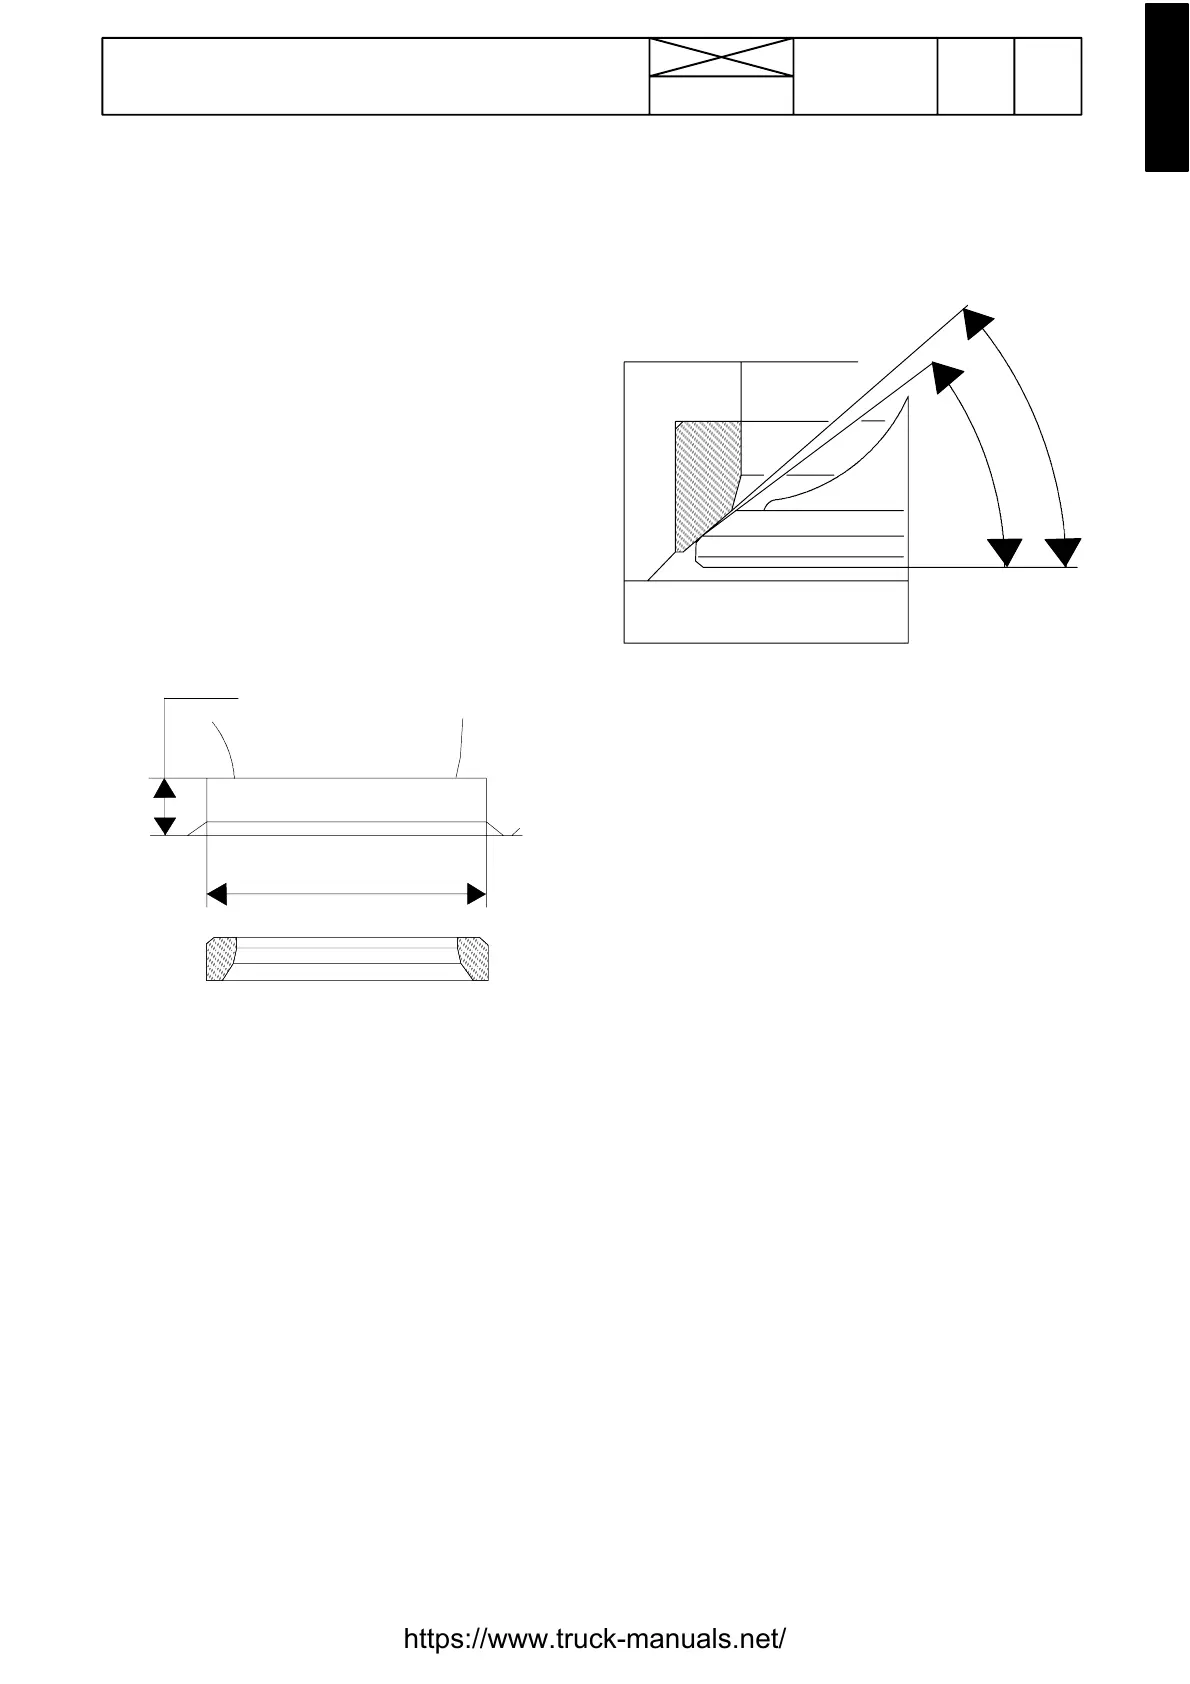
48,500...48,525
11
±0,1
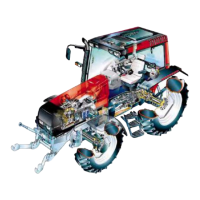
The inlet valve seat machined direct on the cylinder head, can
be provided with a separate valve seat insert, order no 8366
47936. Machine the seat insert location on the cylinder head
(see figure above). Fit the insert like a seat of the exhaust
valve.
Note! Engines on tractors 8550 and 8750 have the valve seat
inserts also on the inlet valves. From March 96 these cylinder
heads have been marked with letter V, which is stamped on
the cylinder head front upper surface on the exhaust side. As
a spare part these heads can be fitted on all engines. The
V---marked cylinder heads are also availabl e for the 4---cylin-
der engines.
G. Grinding valves
In order to ensure that there is a proper seal around the valves,
there is a difference in the sealing surface angles. Thus there
is a very narrow sealing surface which seals effectively even
after prolonged running.
A
B
AB
INLET 35˚---20’ 35˚+20’
EXHAUST 45˚ ---20’ 45˚+20’
1.Grindthedamagedvalvediscwithavalverefacer.Adjust
angles to 45˚--- 2 0 ’ for exhaust valves and 35˚--- 2 0 ’ for inlet
valves.
2. Iftheedgeofthevalveheadislessthan1,5 mm after it has
been ground, or if the valve stem is bent, the valve should be
discarded.
3. If necessary, grind the end of the valve st em.
4. Lap the valves with lapping paste and check the contact
surface with marking paint.
5. Clean the cylinder head and valves of any remaining lap-
ping paste.
H. Fitting valves
1. Check the valve springs for straightness, length and ten-
sion using a spring tester. Compare with specifications.
2.Lubricatethevalvestemsandfitthevalvesinthecorrect
order in the cylinder.
3. Fit the springs, spring guides and valve keepers with the aid
of a lever for compressing valve springs, 9101 66200.
4. Tap the end of the valve stems lightly after fitting the valve
in order to ens ure that t hey are secure.
https://www.truck-manuals.net/
 Loading...