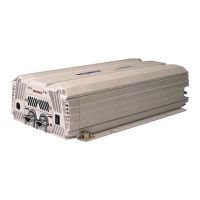
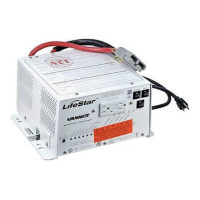
Section 2: Installing the 20-1050CUL
Unpacking the Inverter
Inspect the shipping container and equipment for loose or damaged parts. If
any damage is found, immediately notify the freight carrier.
Installing the Inverter
Step 1: Turn the inverter OFF/disconnect power to the wiring harness. Make
sure power to the vehicle wiring harness is disconnected. Verify
that the inverter is turned OFF by checking that the ON-OFF/RESET Inverter Switch is
in the OFF-RESET position. (The
button should NOT be pushed in.)
Step 2: Select a location for the unit.
An ideal installation location has the following characteristics:
• Close to the battery (within six feet using #2 AWG wire)
• Protected from the weather
• Protected from the weather
Step 3: Route DC input cables.
Route the negative and positive DC input cables from the inverter (through the quick
connector) to the battery. If required, protect cables where they contact hard, sharp edges.
Step 4: Install inline fuse.
Install an inline Bussman ANN 125 or equivalent fuse (Vanner p/n 03640-fuse and 03637-fuse
holder) in the red, positive DC input cable between the battery and inverter, within 18 in. of
the battery or DC wiring bus system.
Step 5: Connect bonding lug.
Use a AWG #8 or larger copper conductor to connect the chassis bonding lug to the vehicle
chassis and/or earth ground.