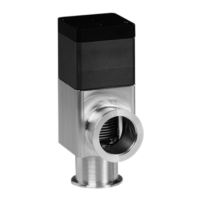
Series 150 MAINTENANCE
11. Install new gate (4) by screwing the gate on the gate fixation bolt.
12. Tighten the screw (6) with the appropriate torque specified in chapter
«6.2 Tightening torque specifications».
13. Remove bonnet seal (3) from groove; use O-ring removal tool.
14. Check and clean sealing surface of bonnet seat; use cleanroom wiper.
15. Install new bonnet seal (3).
• Press O-ring into groove on one short side.
• Distribute seal uniformly over long sides to opposite short side and press it
fully into groove.
Align gate with bonnet flange of upper part of body.
16. Apply compressed air supply (air pressure approx. 1 bar) and move the gate slowly into
upper valve body (5).
Provide sufficient free space in order to prevent the gate from touching any
objects.
17. Disconnect compressed air supply.
18. Lift upper valve body (5) carefully back into the lower valve body (1) without touching
the body wall.
The shape of the gate has to fit to the tips of the triangles «∇» of the lower
body; see «Figure 6-2» on page 20.
 Loading...