Installation, Operating & Maintenance Instructions
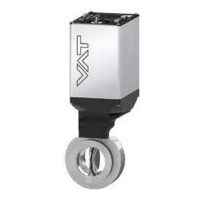
Series 29, DN 25 - 50 (I.D. 1" - 2")
VAT Vakuumventile AG, CH-9469 Haag, Switzerland
Tel +41 81 771 61 61 Fax +41 81 771 48 30 CH@vatvalve.com www.vatvalve.com
257676ED
2006-05-11
10/13
5.1 Replacement of vacuum seals
The item numbers in brackets refer to the drawing on page 11
5.1.1 Dismounting of "actuator/plate assembly"
• Remove 4 screws (7) uniformly and crosswise
Attention: Loaded spring!
• Withdraw "actuator/plate assembly" carefully from body
• Remove bonnet seal (O-ring, 6) from groove
5.1.2 Replacement of plate seal
• Stick a needle into the O-ring (1) and pull it out of groove
Attention: Do not damage the sealing surface!
• Check sealing surface and clean it with alcohol
• Put new O-ring (1) on plate groove and press it crosswise at 4 points into the groove
• Press O-ring uniformly into groove
5.1.3 Replacement of plate seal (intermediate position)
• Remove bottom plate (4)
- DN 40 and DN 50: by removing the screws (2)
- DN 25: by turning the bottom plate (4) with an Allen wrench (Allen key)
• Stick a needle into the O-ring (3) and pull it out of groove
Attention: Do not damage the sealing surface!
• Pull O-ring (5) out of groove
• Insert new O-rings (3 + 5)
• Mount bottom plate (4)
- DN 40 and DN 50: by inserting the screws (2)
- DN 25: by turning the bottom plate (4) with an Allen wrench (Allen key)
5.1.4 Mounting of "actuator/plate assembly"
• Check and clean sealing surfaces of bonnet flange and valve seat
• Put bonnet seal (O-ring, 6) into groove
• Insert "actuator/plate assembly" carefully into body. Do not cant!
• Fasten 4 screws (7) uniformly and crosswise, in 2 to 3 steps
• Perform function and leak test
 Loading...