VX-110 OPERATING MANUAL4
Basic Operation
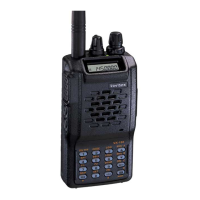
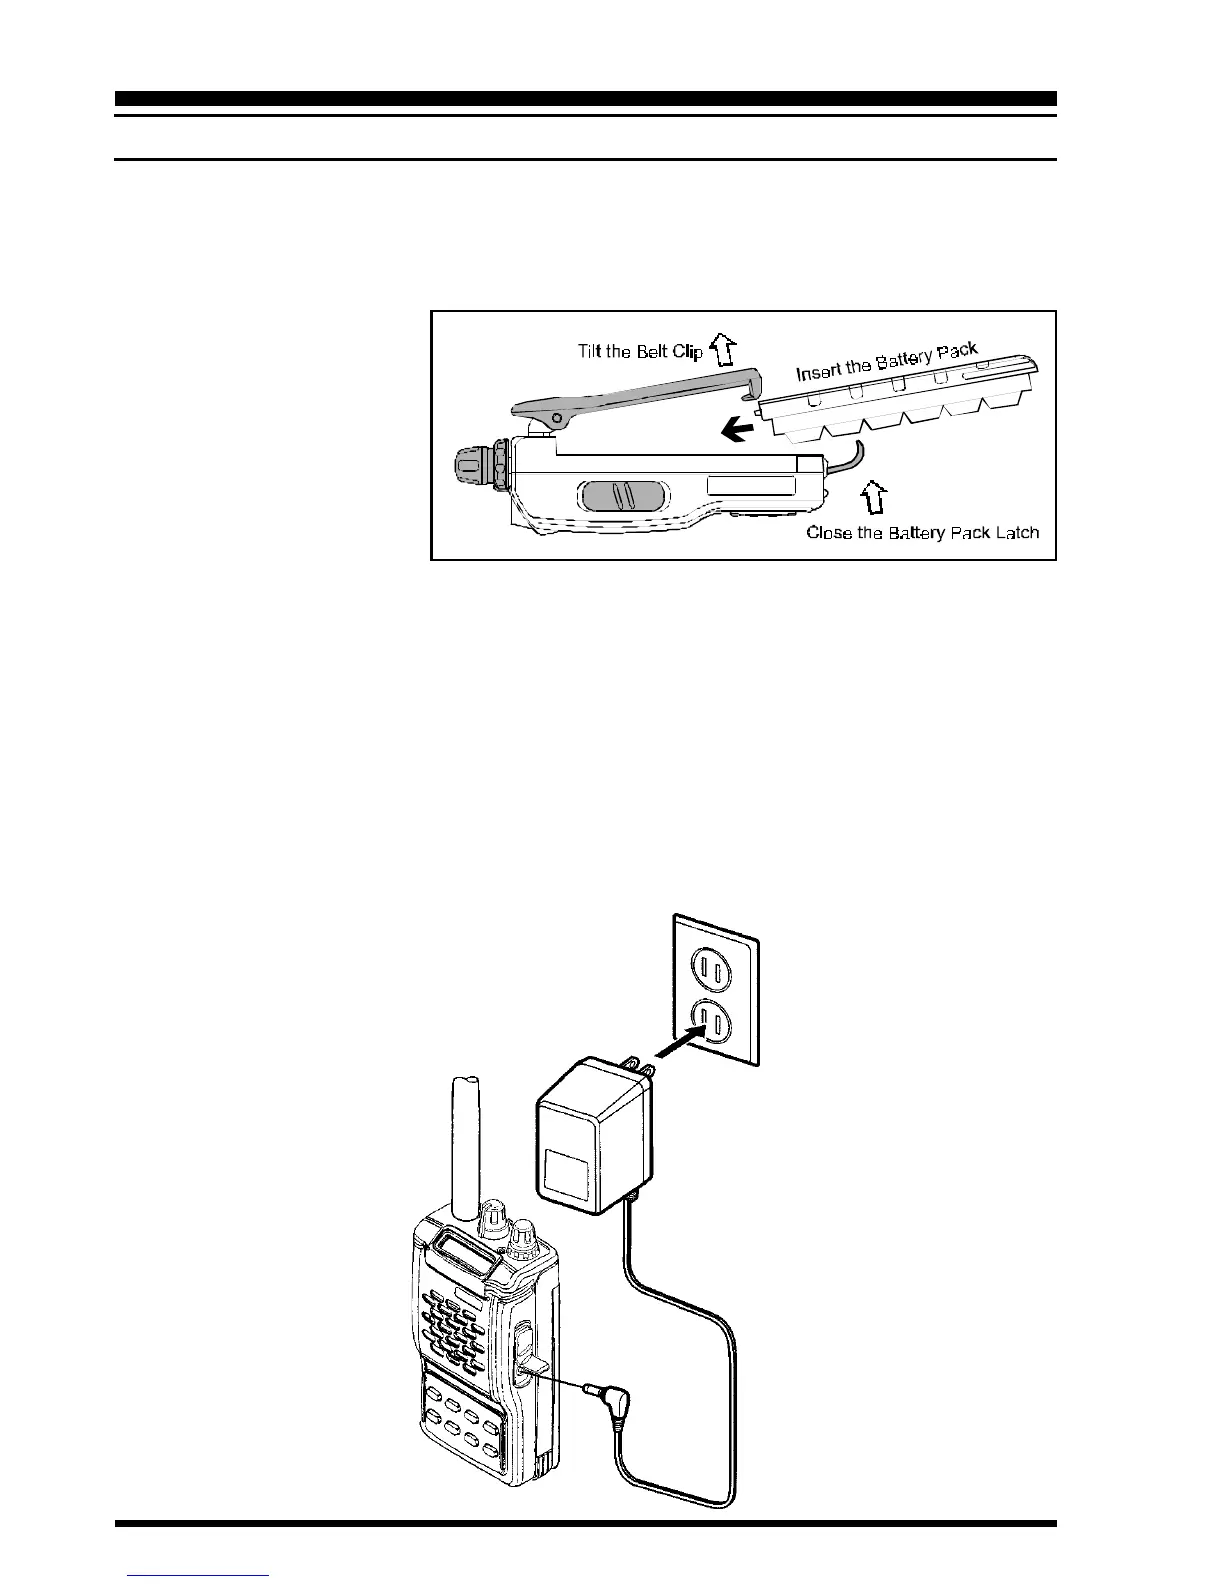
BATTERY PACK INSTALLATION AND REMOVAL
To install the battery, hold the transceiver with your left hand, so your palm is over the
speaker and your thumb is on the top of the belt clip. Insert the battery pack into the battery
compartment on the back of the radio while tilting the Belt Clip outward, then close the
Battery Pack Latch until it locks in place with a “Click.” To remove the battery, turn the
radio off and remove any
protective cases. Open the
Battery Pack Latch on the
bottom of the radio, then
slide the battery downward
and out from the radio while
unfolding the Belt Clip.
Do not attempt to open any of the rechargeable Ni-Cd packs, as they could explode if
accidentally short-circuited.
If the battery has never been used, or its charge is depleted, it may be charged by connect-
ing the NC-72A/B/C/F/U Battery Charger, as shown in the illustration, to the EXT DC
jack. If only 12 ~ 16 Volt DC power is available, the optional E-DC-5B (with its cigarette
lighter plug) or E-DC-6 DC Adapter may also be used for charging the battery.
The optional FNB-V57 high-capacity battery can not be charged using the NC-72; please
use the optional CD-16.