ITEM DESCRIPTION
1 Monitor size
2 Number of displays
3 Native monitor resolution
Table 2.13 Computer Setup Window
6. Configure the location of the monitors by dragging and dropping the monitors into position.
See Configuration examples on page 25 for acceptable multiple monitor setups.
7. Click Complete Setup to generate and download the configuration file.
Configuration examples
Each monitor is labeled with its computer number and monitor number in the KM configuration utility.
The monitors can be touching or separated by distance based on the geometry settings required.
After the monitors are placed into a layout, a bridge between the two monitors is shown in yellow to
indicate the mouse cursor area for switching monitors. Clicking the yellow area removes it from the
configuration and you will not be able to switch between the monitors using the mouse cursor.
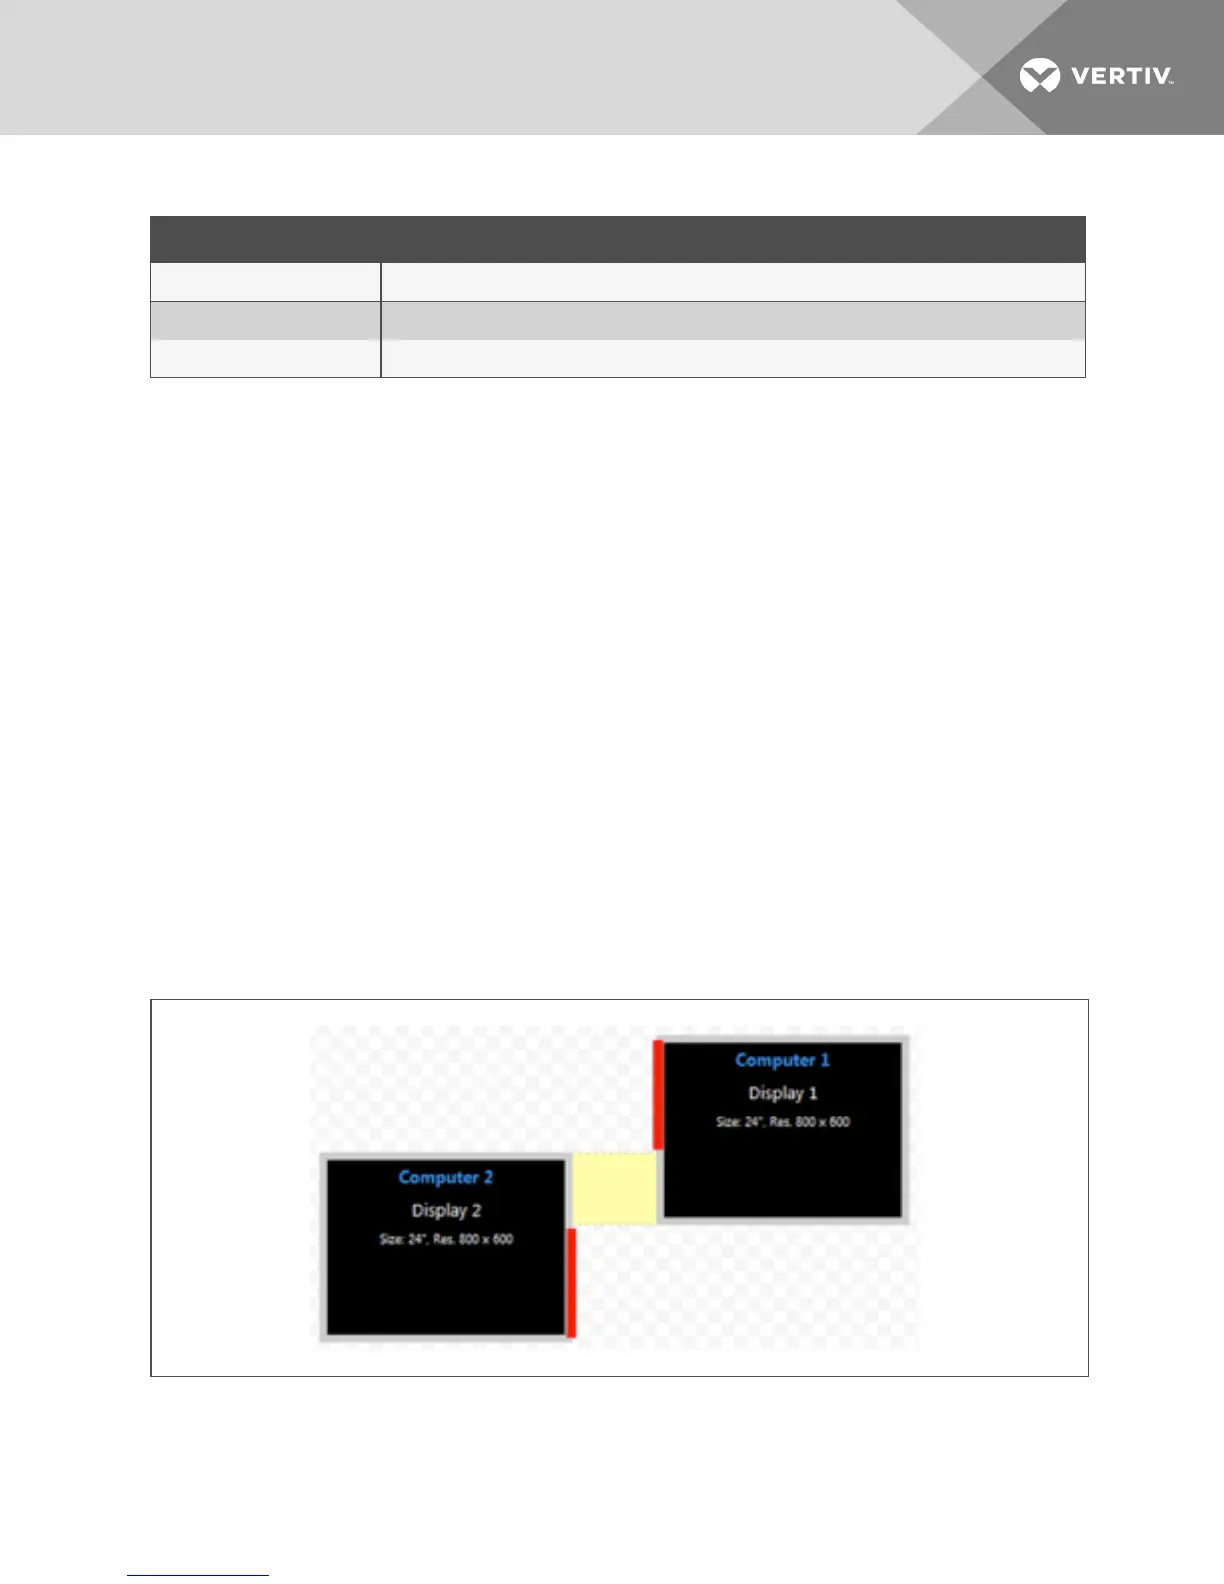
Example 1
The monitor configuration in example 1 establishes a mouse cursor bridge between the bottom left corner
of display 1 and the top right corner of display 2. The mouse cursor bridge is indicated by the yellow area
and it is the only area where the mouse switching between the two monitors is enabled. When the mouse
cursor switches from display 1 to display 2, the active computer switches from computer 1 to computer 2,
respectively. The red lines indicate areas where mouse cursor switching is disabled.
Figure 2.16 Example 1 Physical Layout
2 Basic Operation
25

 Loading...