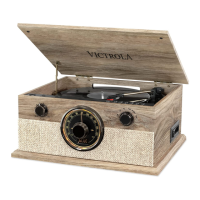
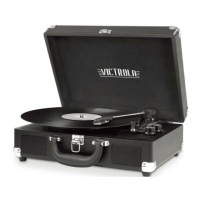
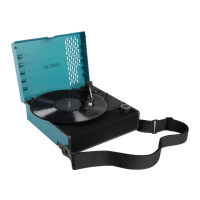
GENERAL OVERVIEW
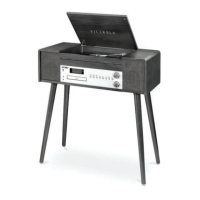
ASSEMBLY
If you want to place the unit on a shelf, you can leave the short rubber feet (pre-installed) on the unit.
OR
To install the included legs on the unit:
1. Remove the short rubber feet.
2. Take all 4 legs out of the packaging.
3. Loosen the screws under the unit.
4. Insert the wooden leg into the hole and fix it with the screws firmly.
5. Repeat the above for all 4 legs.
POWER SUPPLY
This product is designed to operate on 120V~60Hz AC only. Attempting to operate from any other
power source may cause damage to the system, and such damage is not covered by your warranty.
NOTE: If this plug will not fit into your outlet you probably have an outdated non-polarized AC outlet.
You should have your outlet changed by a qualified licensed electrician.
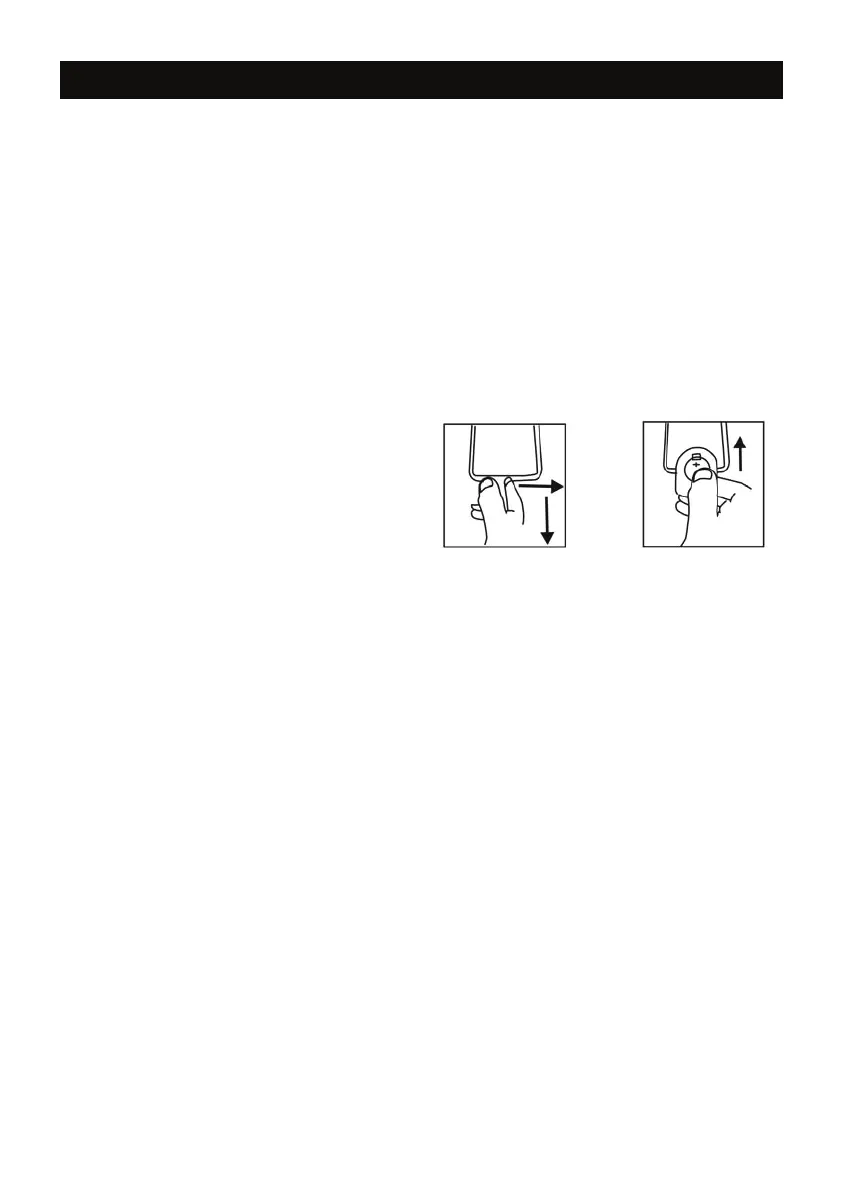
REMOTE CONTROL BATTERY INSTALLATION
1. Remote Control requires 1 CR-2025 (3V)
Lithium Battery.
2. See the diagram (to the right) for how to open
the Remote Control Battery cover.
3. Make sure to insert the battery properly.
Battery Precautions:
• Be sure to insert the batteries with correct positive “+” and negative “-” orientation.
ALWAYS use batteries of the same type. Never mix different types of batteries together.
• When using rechargeable batteries, refer to the precautions on their labels.
• When the remote control unit is not to be used for extended periods of time (more than a month),
remove the batteries to prevent them from leaking.
• Do not heat or disassemble batteries, and NEVER dispose of old batteries by throwing
them in a fire.
• Do not dispose device into standard garbage disposal sites. Dispose of device at available Battery
Recycling Sites after fully discharging battery. Not doing so may violate disposal laws and
regulations.
• Please refer to local regulations for proper battery disposal.
BASIC OPERATIONS
See the next page for location of controls on the unit.
Power ON/OFF:
1. Connect the power cord located on the back of unit into a wall outlet.
2. Press POWER/MODE to power on the unit.
3. Press and hold POWER/MODE to turn off the unit.
Adjusting Volume
1. On the unit – Turn the VOLUME KNOB to the left to lower the volume. Turn the VOLUME KNOB to
the right to raise the volume.
2. On the Remote Control – Press the VOLUME UP or VOLUME DOWN buttons.
3. Press MUTE to mute the sound, and press again to un-mute.
EQ Settings
During playback, press the EQ SETTINGS button to switch between POP/CLASSIC/ROCK/JAZZ/FLAT.
3