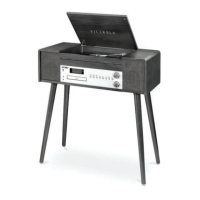
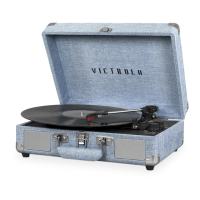
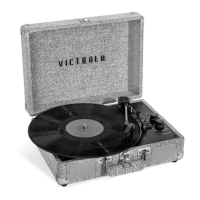
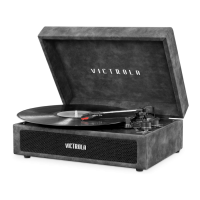
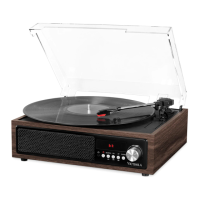
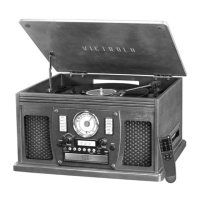
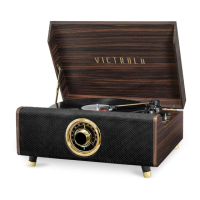
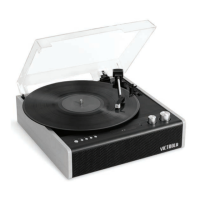
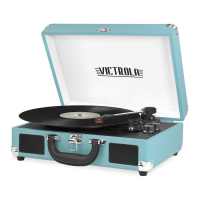
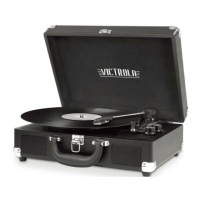
TURNTABLE OPERATION
Before use, be sure to remove the white stylus guard off of the needle. Always make sure that the
tone arm is unlocked and free to move across the record while operating. Lock the tone arm in place
again when it is not in use. *IMPORTANT: To prevent damages during transportation, a transit screw
is located at the upper right side of the turntable platter. Before use, turn the transit screw in a
clockwise direction with a screwdriver. Remember to re-tighten the transit screw if moving the unit.
1. Press the POWER/MODE button to select “PHON” (Phono) mode.
2. Place a record on the TURNTABLE PLATTER and select the desired speed
(33 1/3 / 45 / 78) by sliding the SPEED SELECTION SWITCH to the speed
according to the type of record.
NOTE: When playing a 45 RPM record, use the included 45 RPM adaptor.
3. Open the TONE ARM CLIP to release the TONE ARM. Push the LIFT LEVER backwards to raise
the arm. Gently move the tone arm to the desired position over the record. The turntable will
begin to spin only when the tone arm is moved toward the record. To begin playing, push the lift
lever forward to lower the arm slowly onto the desired position of the record.
4. Once the record is finished, the TONE ARM will automatically return to the TONE ARM REST and
the record will automatically stop turning.
NOTE: If the AUTO RETURN / AUTO STOP function is not working properly, see the following:
Peel off service sticker on the back of the unit, make sure to store it in a safe place in order to
re-apply when finished.
• If the TONE ARM is not reaching the end of the record properly,0 causing the auto-return to
malfunction and auto-returns before the TONE ARM reaches the end of the record – Use a
screwdriver to turn the screw clockwise in 45 degree increments until the issue is resolved.
• At the end of the record, if the TONE ARM does not auto-return and the record is still
spinning – Use a screwdriver to turn the screw counter clockwise in 45 degree increments
until the issue is resolved.
HOW TO REPLACE THE TURNTABLE NEEDLE
(Replacement Needle # ITNP-C1)
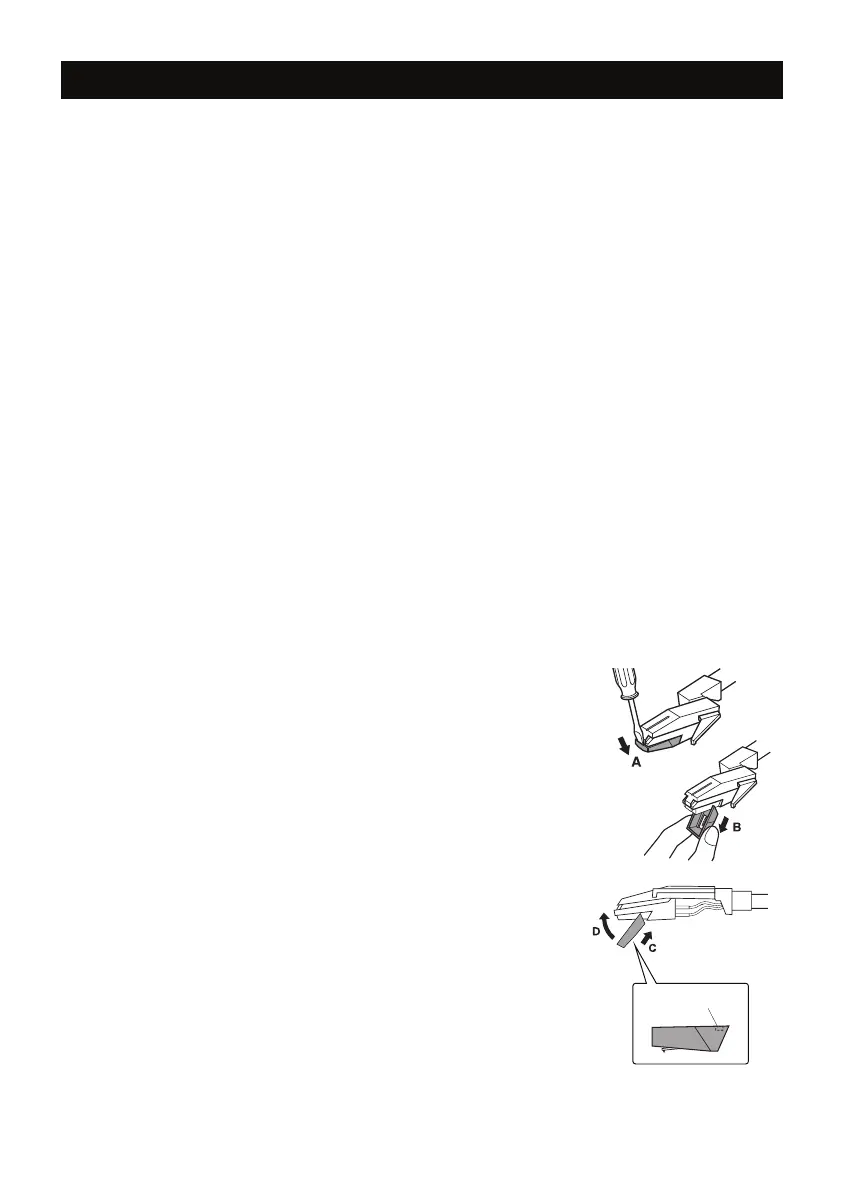
Removing the Stylus from the Cartridge
1. Set a screwdriver at the tip of the stylus
and push down to the direction “A”.
WARNING: When applying force to stylus,
too much may damage or break the stylus.
2. Pull the stylus out toward the direction “B”.
Installing the Stylus
1. Hold the tip of the stylus and insert the other edge by
pressing toward direction “C”.
2. Push the stylus up toward direction “D” until it locks at the tip.
Caution:
� Do not remove or bend the stylus needle.
� Do not touch the needle to avoid injury to your hand.
� Turn off the unit’s power before you replace the stylus.
� Keep out of reach of children
.
Please note: The stylus should last about 50 hours under
normal use. It is recommended that the stylus be replaced
as soon as you notice a change in sound quality.
Guide Pins (inside)
6