- 17 -
6200 Series
Art.6296 - Installation instructions
ENABLE BOOTLOADER MODE
In case of rmware update failure (i.e. because of mains failure or cable disconnection during the update etc.) and the videophone is
no longer recognised by the Videx IP Wizard software, you can try to restore it by manually putting it into boot mode.
It is strongly recommended that this operation is carried out by a
qualied engineer and in any case after a contact with videx support.
• Disconnect the videophone from power supply (ethernet
connector if supplied by POE or +12Vdc terminal connector
if supplied by a power supply unit).
• Press and keep pressed button then connect again the
power supply source (ethernet connector if supplied by POE or
+12Vdc terminal connector if supplied by a power supply unit).
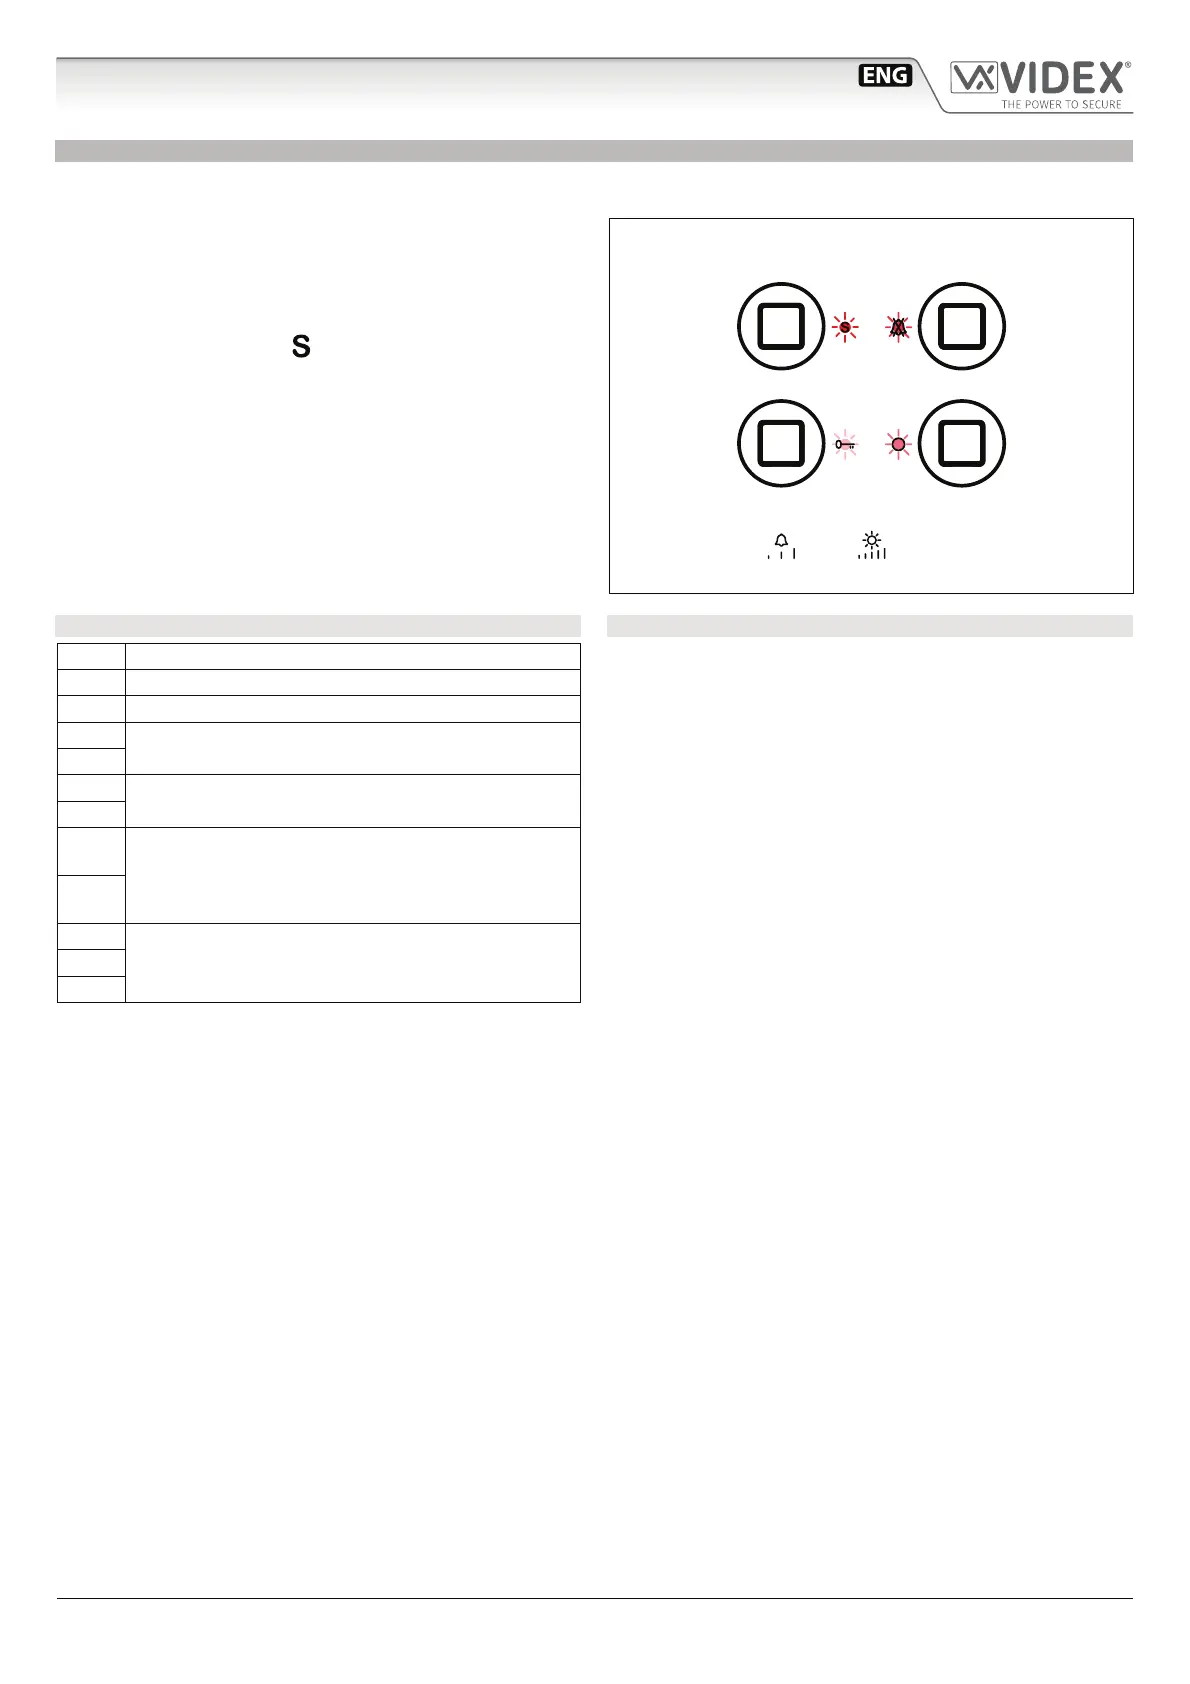
• The videophone will go into boot mode which is indicated
by the four LED’s ashing alternatively (Fig. 69).
• Now proceed using the utility “VidexFirmwareUpdater.exe”
to upload the rmware to the device.
• If the update process terminates correctly, the device should
be restored and ready to work.
• If the device still does not work, please contact the supplier
to proceed according to the warranty terms.
SIGNALS ON CONNECTION TERMINALS
GNDI Ground for IN1 and IN2 inputs
IN2 Active low input 2 (to implement)
IN1 Active low input 1 (to implement)
OUT2
Relay 2 - C & NO dry contacts (to implement)
OUT2
OUT1
Relay 1 - C & NO dry contacts
OUT1
+12
12 Vdc power supply input. This is not used if the vide-
ophone is connected to a POE Switch or Router
GND
A
RS-485 connectionB
GND
TECHNICAL SPECIFICATIONS
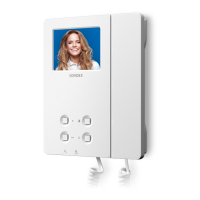
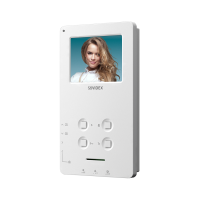
Housing/Mounting: 6200 Series Videophones
Surface mount
Push buttons: Yes, 4
Programming: Yes, carried out by the buttons and
the PC.
Controls: Call tone volume, brightness
Power Supply: 12Vdc or POE
Power consumption: Stand by: 250mA
Operating: 250mA
Working Temperature: -10 +50 °C
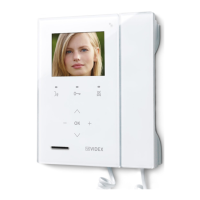
Fig. 69 Monitor in boot mode
Art.6296 IP Videophone for VIDEX IP System
 Loading...