Initial Start-up and Service
24
Steps (continued)
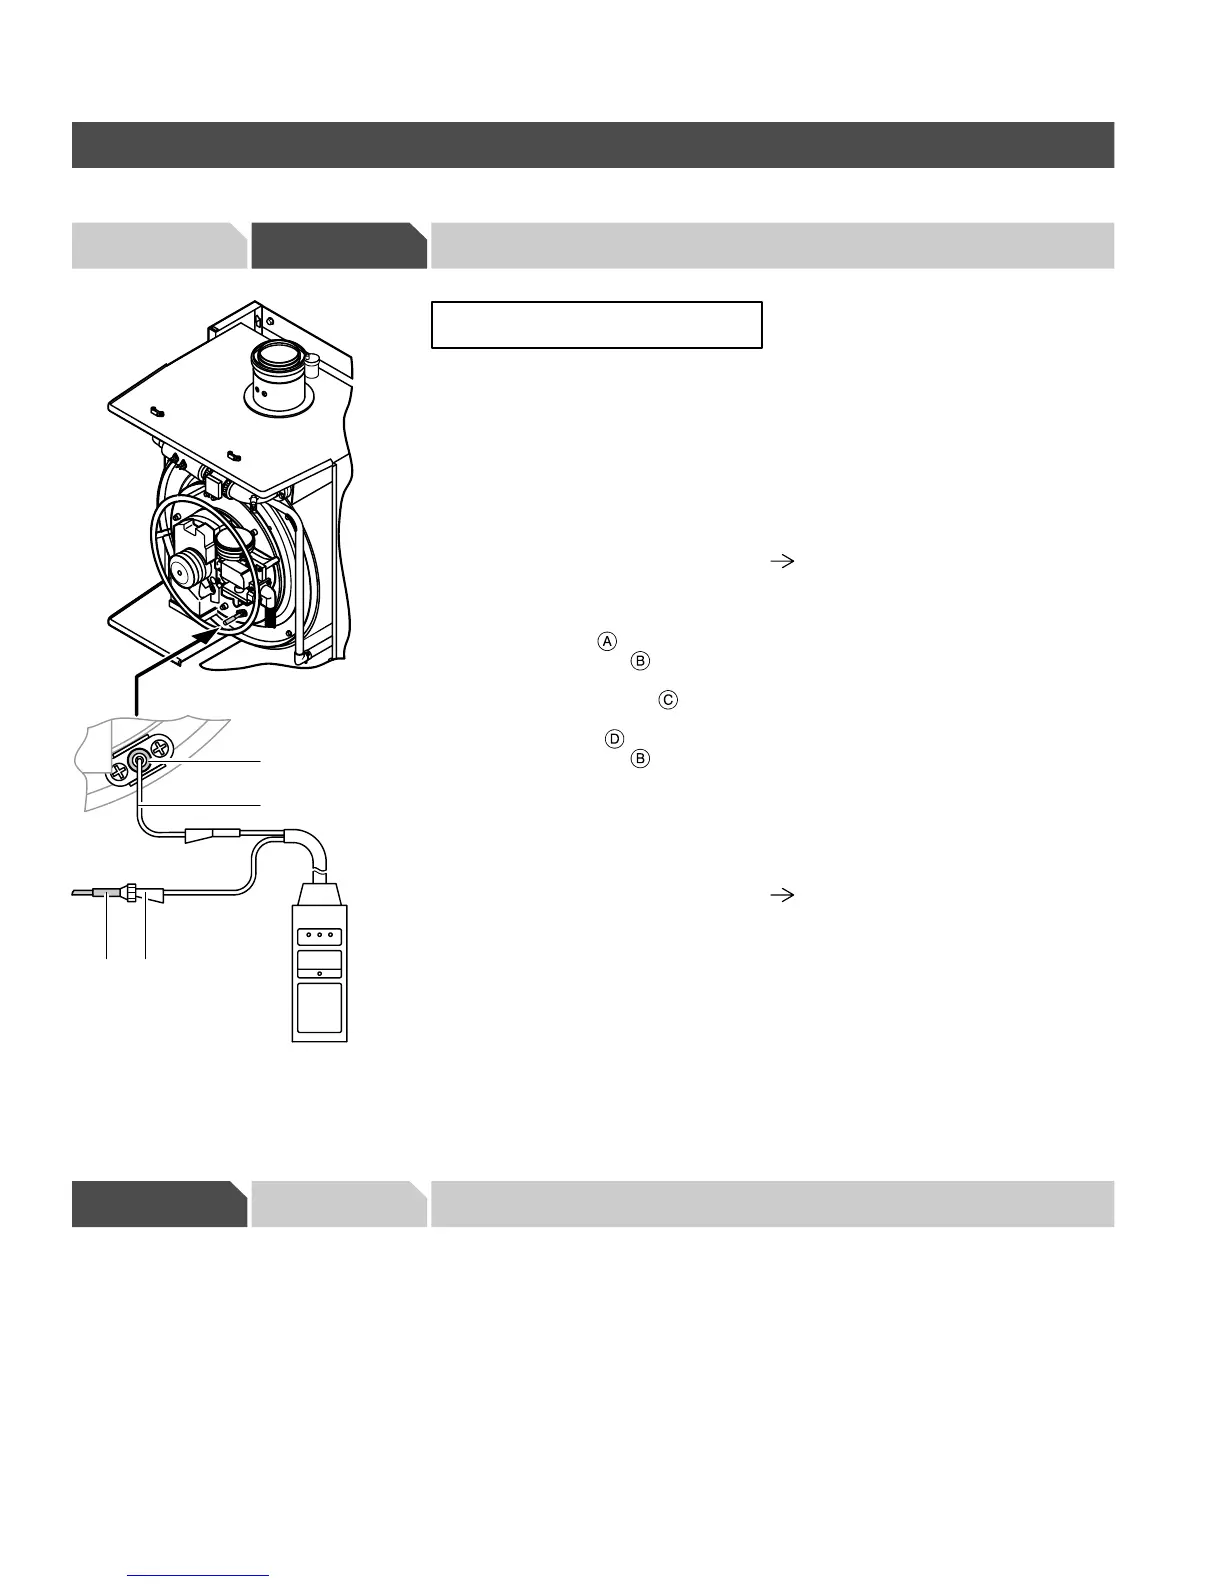
25. Measure ionization current
Service
Switch off heating system on
the control unit before connecting the
measuring instrument.
1. Remove burner cover panel (if still
installed) as per the removal and
reinstallation instructions on page 7
in this manual, and reinstall panel
upon completion of service work.
2. Connect a DC μA multimeter in
series with the ionization cable as
follows:
a)Disconnect the socket of the
ionization cable
from the
ionization electrode
and
connect to the plug of the
multimeter via adaptor
.
b)Connect additional ionization
measuring cable
to the
ionization electrode
and the
socket of the multimeter.
3. Start up boiler to its maximum input:
Turn emissions test switch ”S”on
the control unit to ”h”.
Please note:
The measurement can be made with
a multimeter (measuring range 0 to
100 μA).
4. If the ionization current is less than
5 μA
H check the electrode clearance (see
page 20).
H check the power supply
connection of the control unit.
Please note:
The minimum ionization current must
be at least 5 μA w hen the flame is
formed (approx. 2-3 seconds after
opening the gas combination valve).
5. After completing the measurement,
turn emissions test switch to ”a”.
6. Enter the value measured in the
Maintenance Record on page 70 in
this manual.
26. Verify programming unit system coding addresses
Initial start-up
The control unit must be adjusted according to the system equipment. See
H page 48 onwards for programming unit.
For details on coding procedure and for an overview of the coding addresses, see
H page 50 onwards for programming unit.
5285 961 v1.3
B
A C
D
IMPORTANT