Conguring Client Settings
Conguring System Settings
38
3. Type in the desired description for the snapshot, and then click Apply.
4. A message appears prompting for conrmation. Click OK to conrm.
5. The system will restart to complete the process automatically.
NOTE
• Please wait for the process to complete automatically. Taking a snapshot needs
several minutes and requires system reboot more than one time. In addition,
the Sysprep process will not be shown on the desktop but only be performed
in the background.
4.2.7 Deploying a System Image with a Created Snapshot
Your snapshots may be stored on a remote computer over the network or on a USB ash drive. Depending on where
your snapshot is located, you can deploy a system image either through a network or a USB ash drive.
NOTE
• For detailed information on how to take a snapshot, please refer to section “4.2.6
Taking Snapshots for Mass Deployment” on page 37.
With a Snapshot on a Remote Computer
To deploy a system image on your SC-T47 with a snapshot on a remote computer, please do the following:
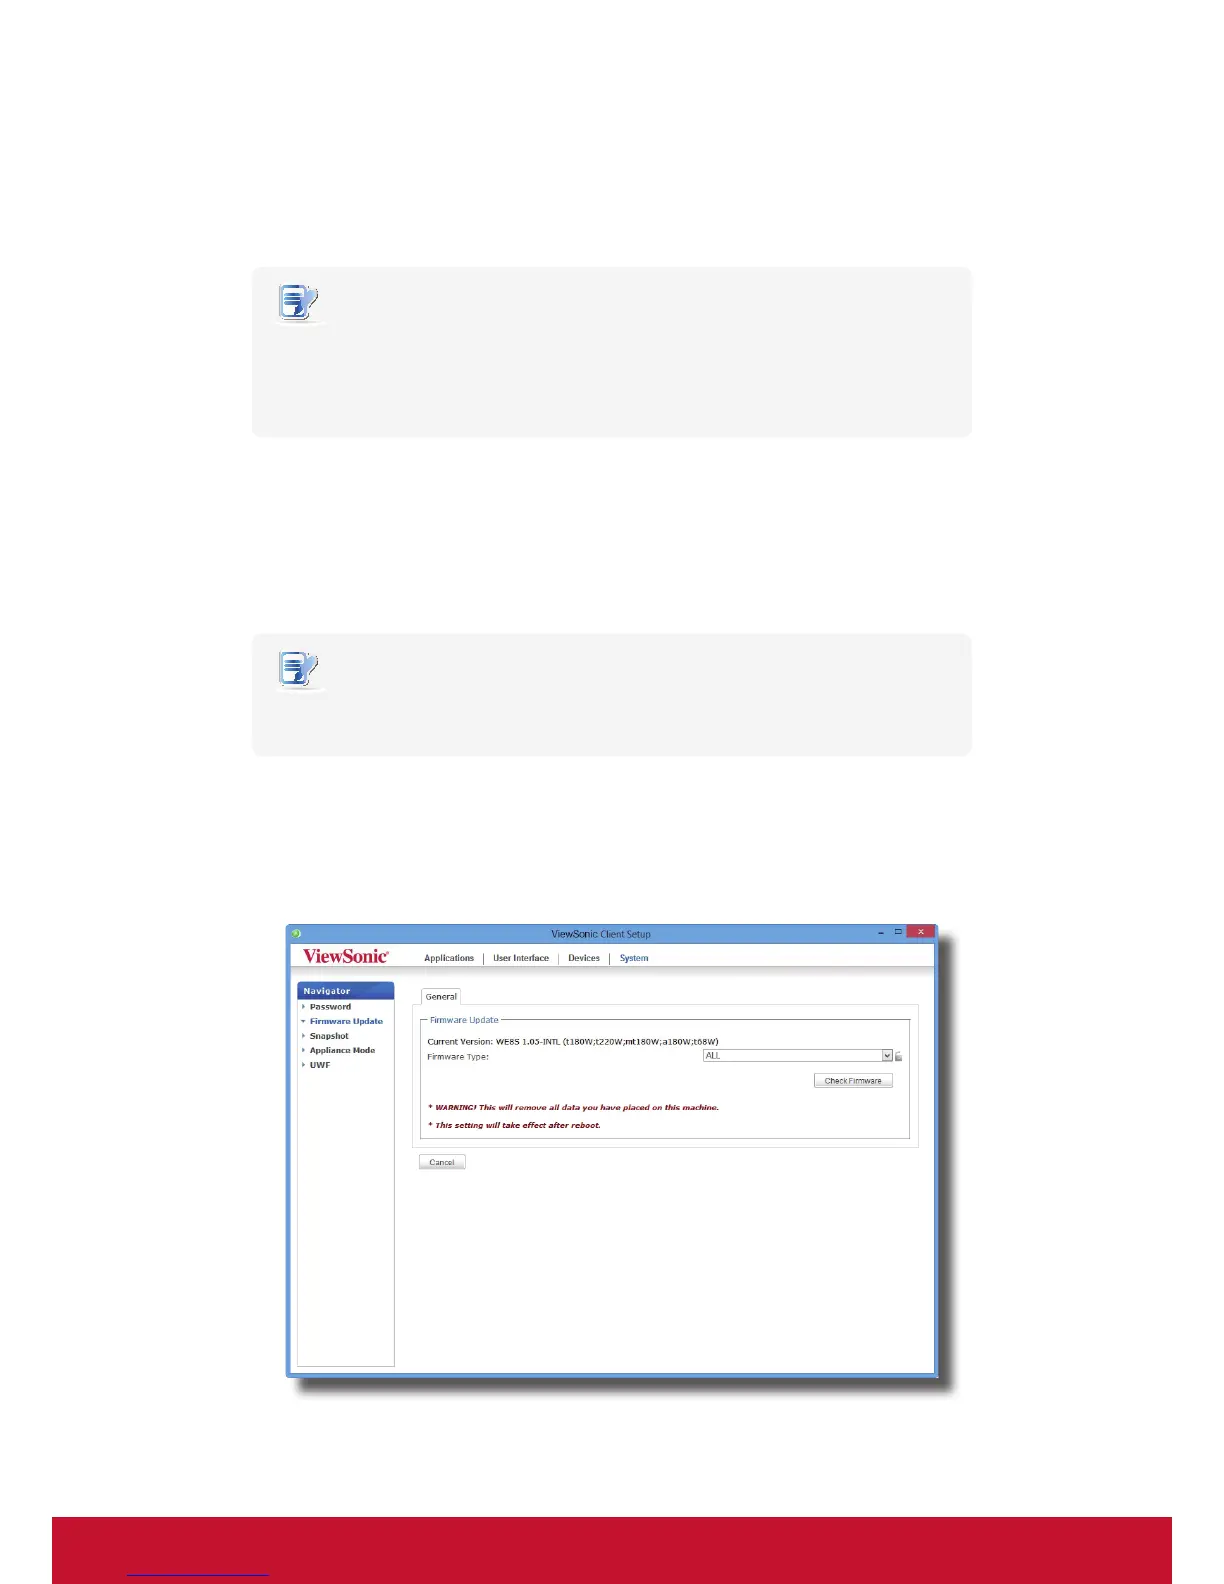
1. On ViewSonic Client Setup, click System > Firmware Update.