8ViewSonic VT2430
ENGLISH
Getting Started
Mounting ViewSonic LCD Display to the wall
The LCD Display can be used in a free standing position or wall-mounted. Before installing
the product to the wall, please consider the following guidelines:
• Due to safety concerns, if the VESA mounting kit is purchased separately please make
sure the mounting kit is UL-Listed, and replaceable only by service personnel.
• Read the Important Safety Instructions, at the start of this manual.
• Do not install in a moist or wet environment. This equipment is intended for indoor use.
• Do not install near heat source, or strong magnetic elds.
• Use only ViewSonic approved wall-mounting brackets to support the LCD Display weight.
• Before attaching the wall mount plate to the back cover, ensure the product is working.
• If your LCD Display is already set up for free-standing operation, you need to rst remove
the stand before mounting the device to the wall.
To attach the wall-mount bracket to LCD Display safely, please use the following guidelines:
• Disconnect the power and any other cables that might hinder moving the LCD Display.
• Set the LCD Display on a table or work surface, placing the screen face down on a towel or
woolen blanket to protect the screen surface from damage while installing plate.
• Before installing the LCD Display on the wall, ensure you have recorded the product serial
number on page (i) of the User Guide, as you will need the serial number to request
service should there be a service need.
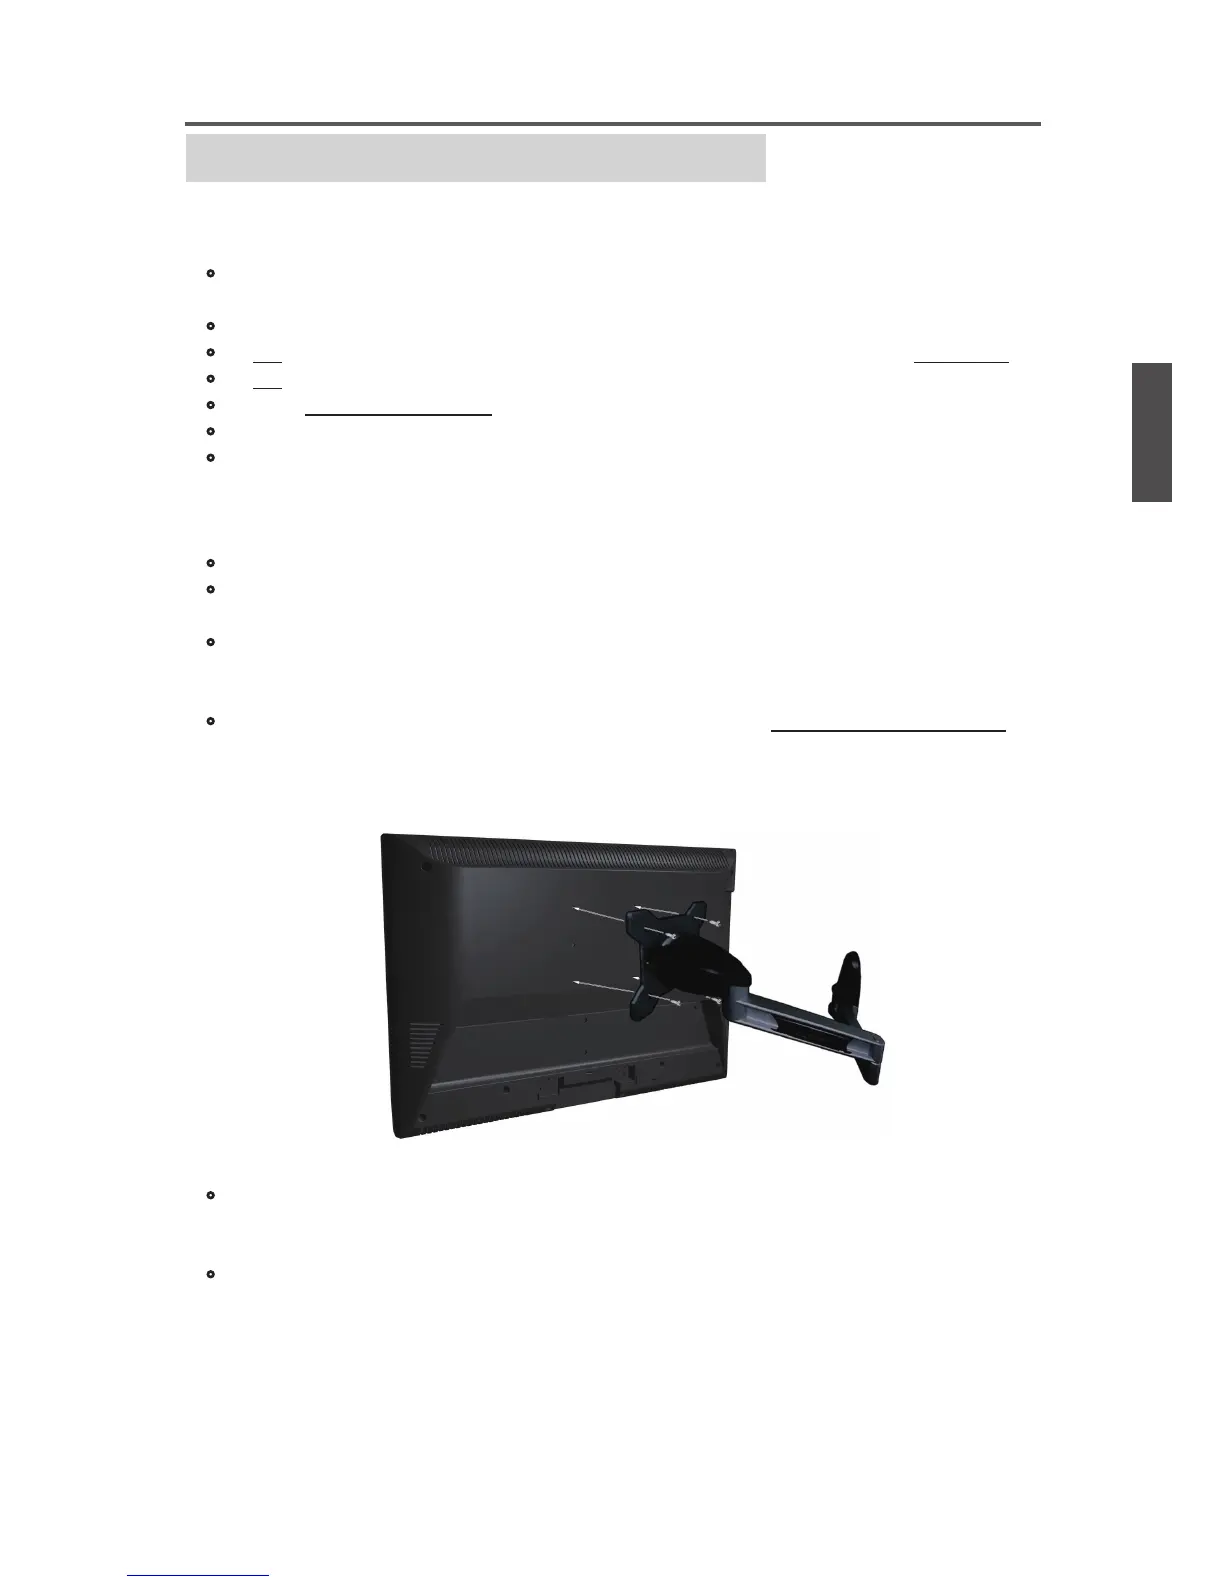
• Install the wall mount plate to the LCD Display using screws NO LONGER than 10mm, as
longer screws found in universal (non-ViewSonic) wall mount kits may damage the
power supply causing the unit to fail. The wall-mount screw type is M4 x L10.
• Mount the wall mount bracket to the wall ensuring use of proper screws to support the
installation. Ensure there is at least 3cm of space surrounding any air-vents of your
LCD Display to allow adequate cooling during operation.
• Hang the LCD Display wall mount plate to the wall mount bracket, completing installation.
Enjoy your ViewSonic LCD Display!