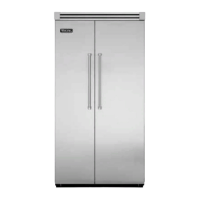
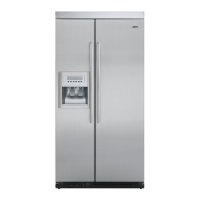
WATER LINE CONNECTIONS
Avoid routing tubing behind ovens and other
cooking appliances. Avoid kinking,
smashing the tubing as this can cause leaks
or diminished flow. The tubing can be cut
to the proper length, but leave enough slack
coiled below your refrigerator to allow it to
be rolled out for cleaning and service.
Make sure that all tubing ends are cut
square and not at an angle.
To Avoid Property Damage, Observe the
following:
• Confirm inlet water pressure to water
valve is alt least 35 pounds per
square inch(PSIG).
• Confirm water pressure to water
valve does not exceed 120 PSIG.
• Maximum operating temperature is
125°F.
• Check carefully for water leaks
immediately after installation and 24
hours after installation.
TO ROUGH IN WATER LINE
1. Turn OFF main water supply. Turn
ON nearest faucet long enough to
clear line of water.
2. Vertical cold water line: Use
grounded electric drill or hand drill
to drill 3/16” (4.5cm) hole in an
easily accessible location in water
ling.
Horizontal cold water line: Use
grounded electric drill to drill 3/16”
(4.5cm) hole in the TOP of the water
line. This will keep sediment from
collecting in valve.
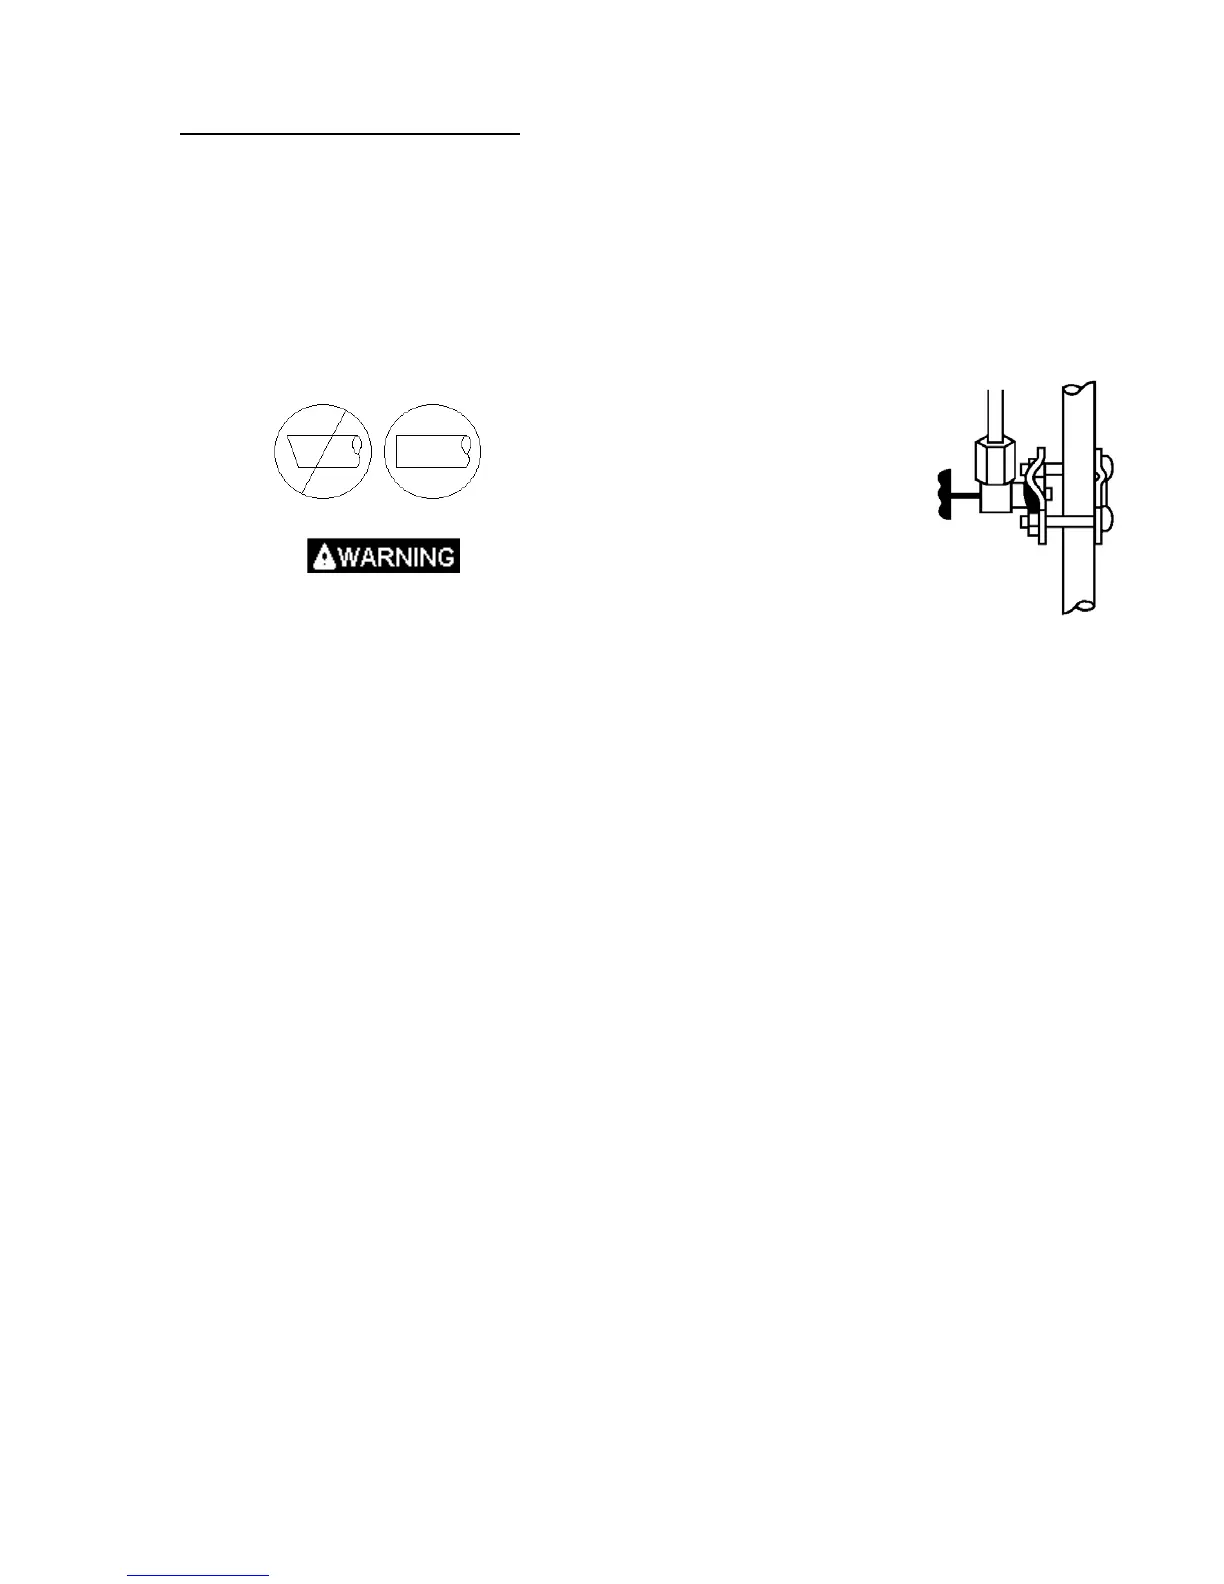
3. Position washer over hole in water
line. Turn saddle valve handle
clockwise to expose piercing lance a
maximum of 3/16” (4.5cm). Align
piercing lance over hole in water
line. Place both halves of saddle
valve bracket against water line.
Turn saddle valve handle clockwise
until piercing lance enters hole in
waterline and is firmly seated. The
saddle valve is now in the closed
position. Tighten packing nut.
Evenly and firmly tighten bracket
screws so washer will
make a water-tight
connection. Do not
over tighten screws:
copper tubing could
be crushed.
4. Check that both ends of
copper tubing are cut
square. Slide
compression nut and sleeve onto
copper tubing. Insert end of copper
tubing completely into valve outlet.
Tighten compression nut to outlet
with adjustable wrench. Do not
over tighten.
5. Turn on main water supply. Check
for leaks. Turn saddle valve handle
counterclockwise to shut off water to
copper tubing.
6. Route copper tubing to refrigerator
area.
7. Leave an additional length of copper
tubing coil fo facilitate moving the
refrigerator out of enclosure for
cleaning or service.
• Do not use plastic water lines between
refrigerator and supply. Plastic water
lines can fail due to fatigue over time
and cause extensive damage to
product and the home.
• Use only ¼” (1.6cm) copper tubing for
water line.
• Do not connect to reverse osmosis
water system.
46