DE5467U 17
This indication will persist as long as the system remains
disarmed, and will disappear once the system is armed.
Note: BYPASS will alternate in the display with other
messages, like: Trouble, Memory and Message.
C. "Unbypass" Procedure
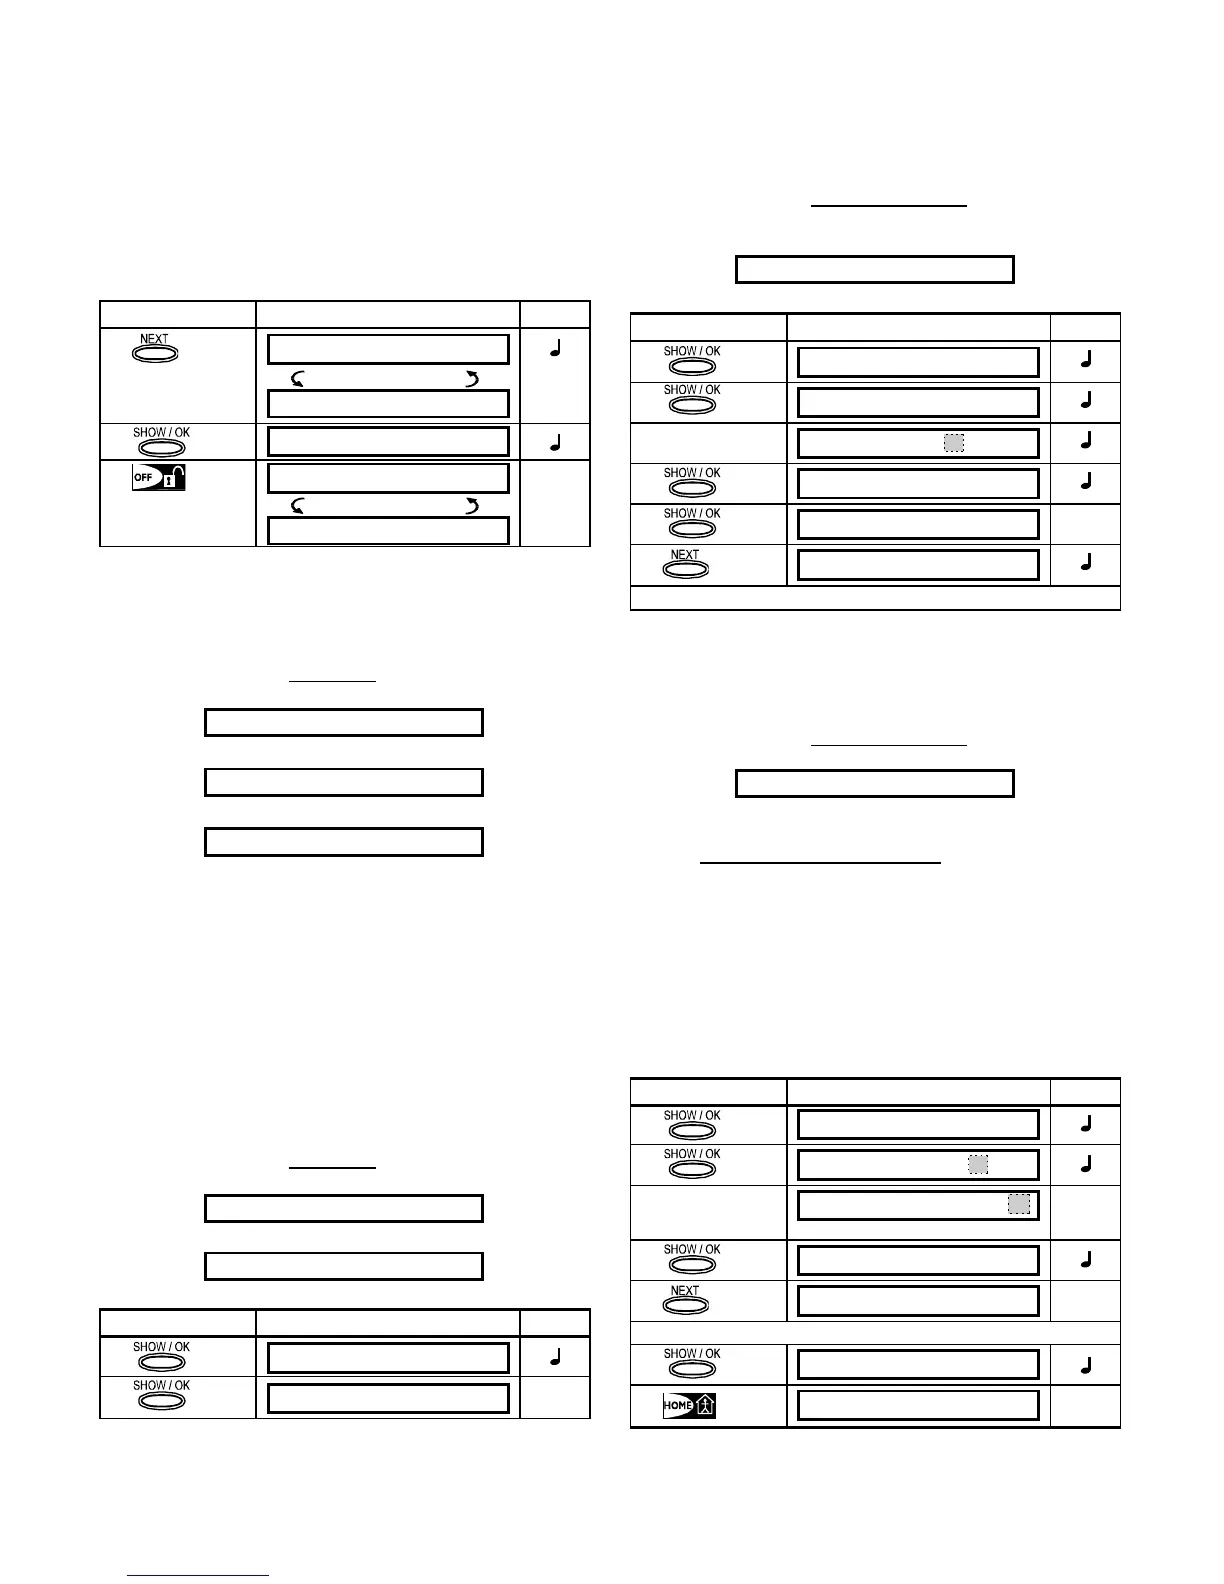
Suppose you wish to restore a zone to service after having
completed the bypassing scheme. Simply re-enter the SET
BYPASS menu (see Para. 7.3B above), and click <
NEXT>
or <
BACK> until the zone you wish to "unbypass" is on
display. Refer to the following steps.
Action Resultant Display Sound
Z22:Bypassed
(alternating)
Living room
<OFF> TO CLEAR
Z22:Functional
(alternating)
Living room
☺
You may now click <HOME> and then select any other item
on the USER SETTINGS menu, or click <
AWAY> to quit
programming. When <
OK> TO EXIT appears - click <OK>.
7.4. Reviewing the Bypassed Zone List
Having entered your user code successfully (see Para.
7.2), the display will read:
SET BYPASS
Click <NEXT> to change the display into:
SHOW BYPASS
Click <SHOW/OK> to change the display into:
BYPASS LIST
If at this point you click <SHOW/OK>, the number, state
and name of the first
bypassed zone will be displayed.
You can now click <
NEXT> repeatedly to review all
bypassed zones, in ascending numerical order. When
done, clicking <
HOME> will get you back to SHOW
BYPASS
and clicking <AWAY> will get you back to <OK>
TO EXIT.
7.5 Recalling the Last Bypass Scheme
Arming the alarm system with several zones in the
bypassed state is in fact "
partial arming". An identical
partial arming may be repeated by recalling the last
bypassing scheme (that was suspended and memorized
upon disarming the system).
Having entered your user code
successfully (see Para.
7.2), the display will read:
SET BYPASS
Click <NEXT> twice to change the display into:
RECALL BYPASS
At this point proceed as follows:
Action Resultant Display Sound
<OK> TO RECALL
RECALL BYPASS
☺
You may now select any other item on the USER
SETTINGS menu or quit programming by clicking
<
AWAY>. When <OK> TO EXIT is displayed - click
<OK>.
7.6 Programming 4 Telephone Numbers
Here you determine the 1
st
, 2
nd
, 3
rd
and 4
th
telephone
numbers to which the system will report event messages
that were defined by the system installer. You can ask the
installer to set part or all the four telephone numbers.
Having entered your Master User Code
successfully (see
Para. 7.2), click NEXT button repeatedly (if necessary)
until the display will read:
SET PHONE NUMBER
You are allowed to program the four numbers as follows:
Action Resultant Display Sound
1st private tel#
XXXXXXXXX
[Tel. No.]
XXXXXXXXX
XXXXXXXXX
1st private tel#
☺
2nd private tel#
Continue the same way up to telephone number 4.
You may now switch to any other item on the USER
SETTINGS menu or quit programming by clicking <
NEXT>
until <
OK> TO EXIT is displayed and then clicking <OK>.
7.7 Setting the User Codes
Having entered your Master User Code successfully (see
Para. 7.2), click <
NEXT> until the display reads:
SET USER CODES
User Code 1 replaces the factory default master user
code, and should be assigned to the master user of the
system. This code can not be erased.
User Codes 2, 3 and 4 can be assigned to additional
users - family members, co-workers etc.
Codes 5 through 8 are assigned to “Latchkey Users” (see
Para. 2.9 for an explanation of the latchkey mode).
CAUTION! Code “0000” is not valid! Do not use it.
Note: The duress code set by the installer (2580 by
default) cannot be selected as a normal user code. Any
attempt to program it will be rejected by the PowerMax+.
To program the codes, proceed as follows:
Action Resultant Display Sound
user code1
____
user code1: