DE5467U 21
7.15 Setting the Date and Date Format
Having entered your Master User Code successfully (see
Para. 7.2), click NEXT button (repeatedly, if necessary)
until the display will read
SET DATE&FORMAT.
From here, proceed as follows:
Action Resultant Display Sound
DATE MM/DD/YYYY
If not satisfied
DATE DD/MM/YYYY
DATE --/--/----
[DATE]
(e.g. 01/01/2002)
DATE 01/01/2002
DATE 01/01/2002
DATE DD/MM/YYYY
☺
You may now select any other item on the USER
SETTINGS menu or quit programming by clicking
<
AWAY>. When <OK> TO EXIT is displayed - click <OK.
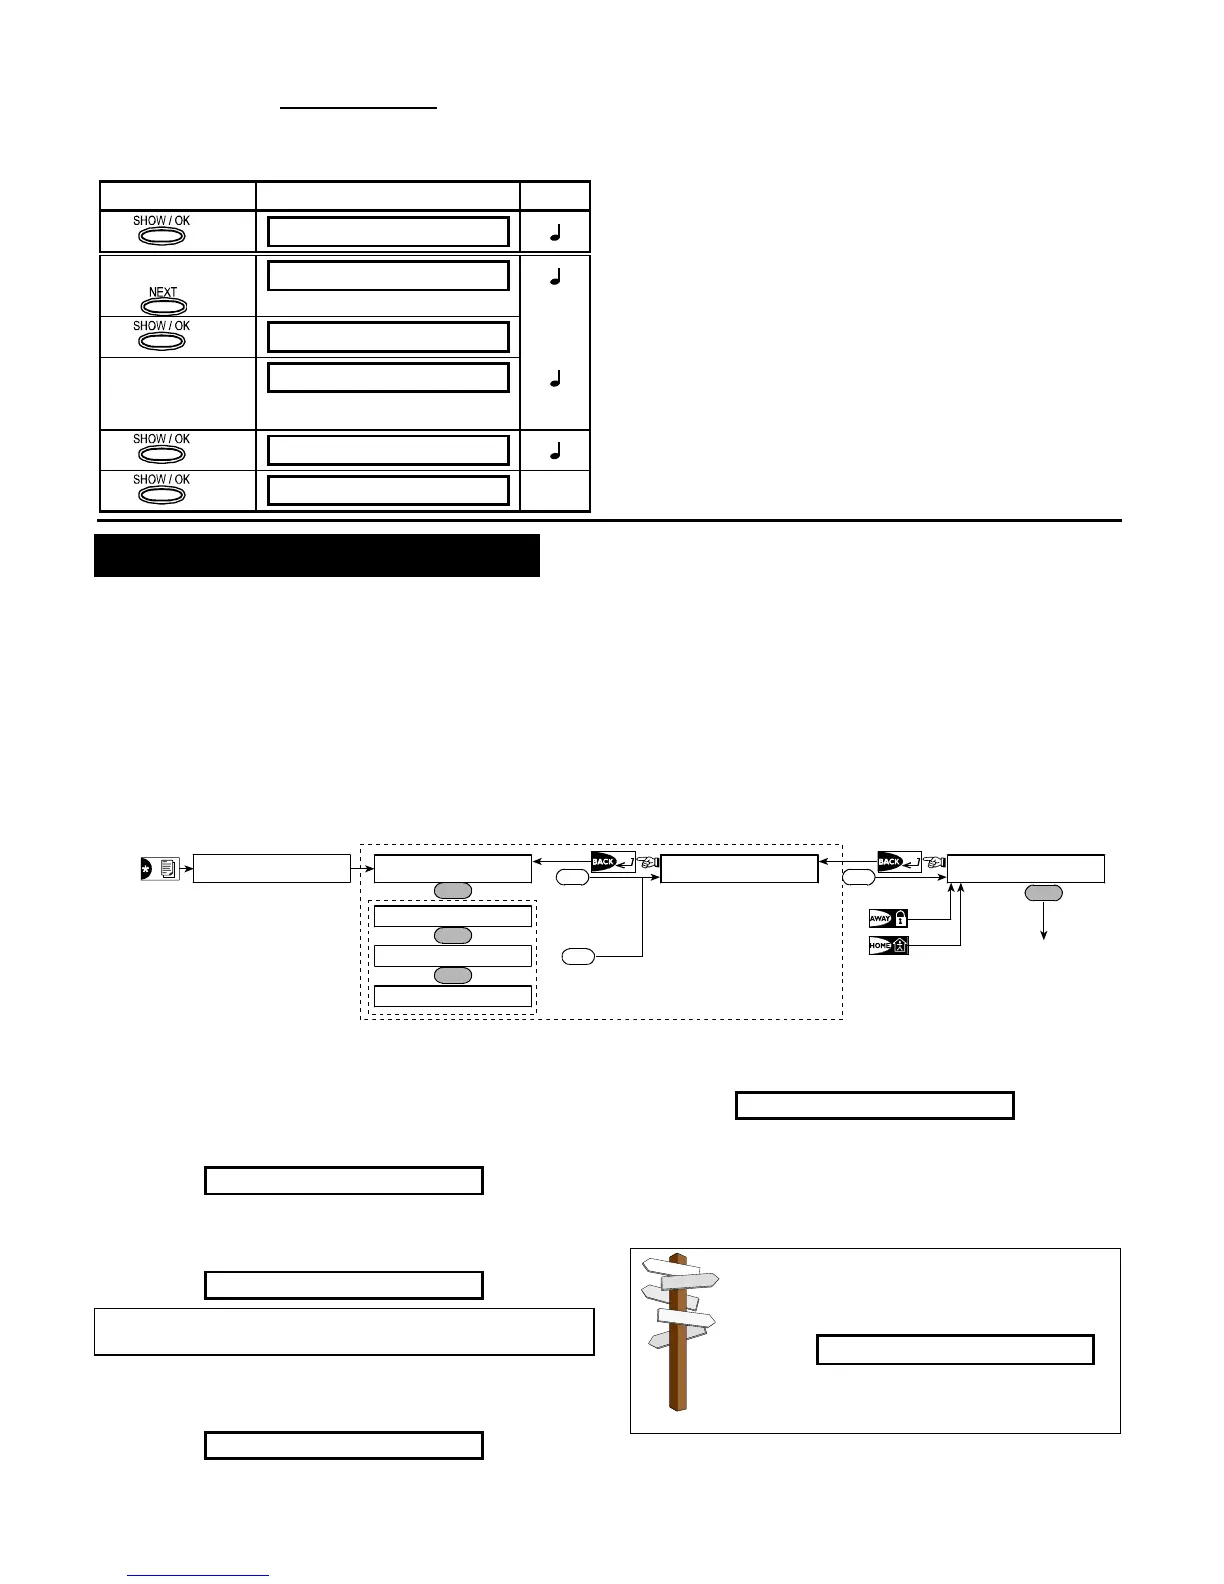
7.16 Scheduler Function
The Scheduler enables to start and stop activity of the
desired devices. You can select the day (Sunday, Monday,
Tuesday, Wednesday, Thursday, Friday, Saturday, or daily)
and then select the scheduled activity start/stop of the
desired device. The process is demonstrated in "figure 8
DETAIL A".
7.17 Installer Mode
If the feature USER PERMIT was enabled by the system
installer, the installer will be able to access the INSTALLER
MODE only by using this menu, meaning that the
INSTALLER MODE (described in the installer guide) can be
accessed only with user permission (by using the user
code).
8. READING THE EVENT LOG
8.1 Event Log Description
All events are memorized in an event log that contains up
to 100 entries. You can access this log, review the events
one by one and draw functional conclusions.
If the event log fills up completely (the number of
registered events reaches 100) it continues to accept new
events at the expense of old events - the oldest event is
deleted upon registration of each new event.
The date and time of occurrence are memorized for each
event. When reading the event log, events are shown in
chronological order - from the newest to the oldest.
Because of the limited display space, the event description
is shown first, then the date and time. The two displays are
shown alternately several times, until you click <
OK> to
move on to an older event, or until the “no action” 4-minute
timeout restores the system to the normal operating mode.
Access to the event log is provided by clicking the asterisk
(
) key and then keying your master user code.
Should you wish to get an overall view of using the
log, refer to Figure 9. The flow chart may even serve as
your only guide to using the event log, instead of
going through the written step-by-step procedure.
Attention: The system
will not allow you to
erase the event log.
Only the installer is
authorized to view and
perform this function
OK
Oldest Event
Event Before Last
Latest Event
LIST OF EVENTS
OK
OK
ENTER CODE _ _ _ _
(Enter 4-digit
master user code)
<OK TO EXIT
CLEAR EVENT LOG
NEXT
NEXT
NEXT
(Return to normal
operation)
OK
Figure 9. Using the Event Log
8.2 Reading Procedure
To read the event log, proceed as follows:
A. While the system is in the normal operating mode, click
the asterisk (
) key. The display will change to:
ENTER CODE_ _ _ _
B. Enter the current master user code. If the code is
correct, the “Happy Tune“ will sound and the display will
read:
LIST OF EVENTS
Important! Entering an incorrect code 5 times in a row will
initiate a 30-second penalty lockout of the keypad.
C. Click <OK>. The latest event will be shown. Suppose
that the latest event was an alarm in zone 13. The
display will now read:
Z13 ALARM
and then:
09/02/99 3:37P
The two displays will be shown alternately until you
click <
OK> again to move to the next event, or until
the event log times out (4 minutes).
D. Click <OK> as many times as necessary to read all the
data you need.
To quit the event log:
- Click <
HOME> or <AWAY> from any-
where within the log. The display will read:
<OK> TO EXIT
- Click <OK>. The system will return to the
normal operating mode.