7
STEP 8
STEP 9
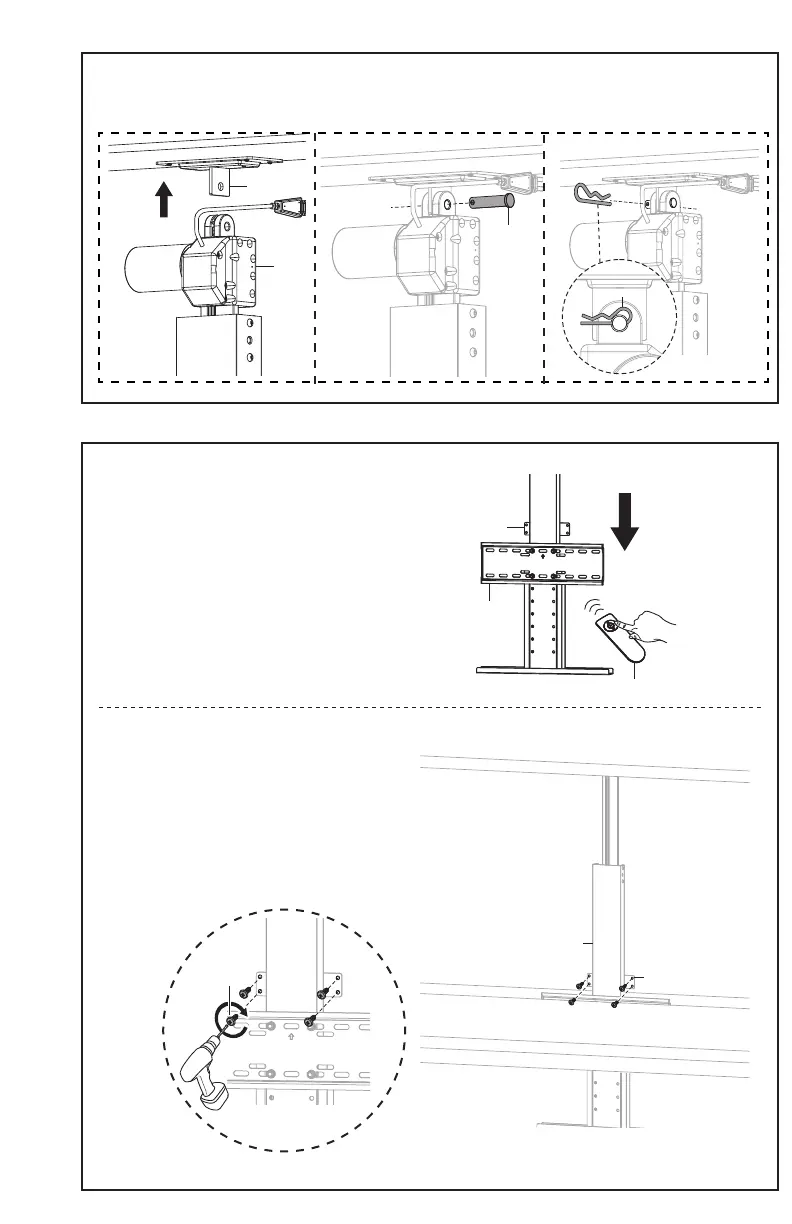
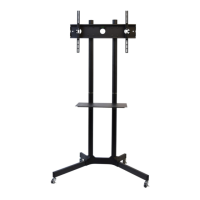
Align the holes from Li Column (A) and Ceiling Plate (I). Insert Clevis Pin (S-A) through the motor and
Ceiling Plate (I). Insert Cotter Pin (S-B) into Clevis Pin (S-A) to secure.
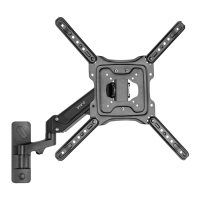
Ensure that Wall Mounting Plate (A1) is not blocked by
VESA Plate (B). If hidden, press the down arrow on RF
Remote (H) to lower the mount to provide better access.
A
S-A
S-B
I
B
H
A1
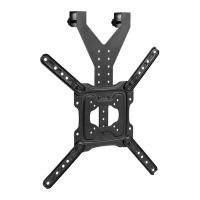
Wood Installation:
Secure Li Column (A) by installing
ST5.5x16mm Screws (W-A) into Wall
Mounting Plate (A1) using a drill.
W-A
A
A1