Do you have a question about the Vivo STAND-V002F and is the answer not in the manual?
General safety precautions and advice for installation and use of the desk stand.
Precautions to prevent tipover injuries, including extending arms carefully and not allowing children to climb.
Warning about small parts being a choking hazard for children under 3 years.
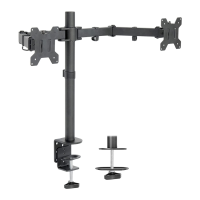
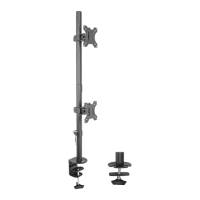
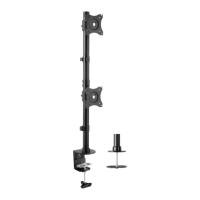
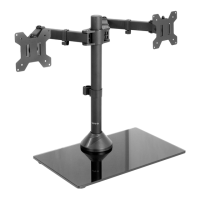
Install the pole (A) to the base (B) using M5x14 bolts (E) and the Allen wrench (H).
Slide swivel arm (C) onto the pole and attach wire clips (G1, G2) for cable management.
Attach VESA plates (D) to flat back monitors using M4x12 thumb bolts (I).
Attach VESA plates (D) to curved back monitors using M4 spacers (K) and M4x30 bolts (J).
Slide monitors onto swivel arm heads and install security nuts (F) before rotating.
Fix tilt angle and adjust monitor height using Allen wrench (H) and security nuts.
Adjust swivel joints with Allen wrench (H) and manage cables using wire clips (g1).
Caution to be careful not to extend arms too far forward or backward to prevent tipping.
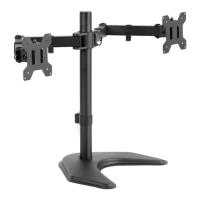
| Model | STAND-V002F |
|---|---|
| Category | Racks & Stands |
| Brand | Vivo |
| Material | Steel |
| Color | Black |
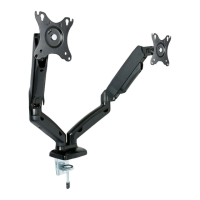
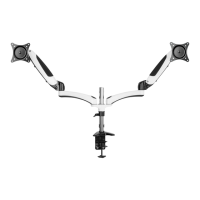
| Number of Monitors | 2 |
| VESA Compatibility | 75x75mm and 100x100mm |
| Height Adjustment | Yes |
| Type | Dual Monitor Stand |