Do you have a question about the Vivo STAND-V002JW and is the answer not in the manual?
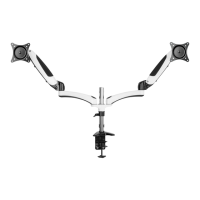
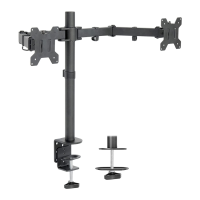
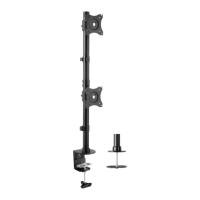
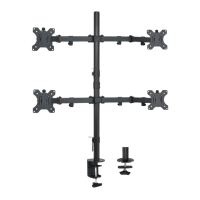
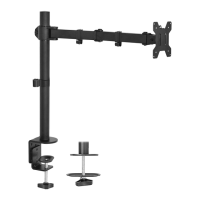
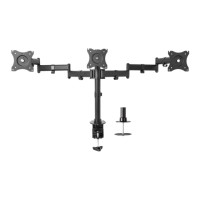
Secure the clamp (A) to the desktop and tighten the grub screw in the base.
Fasten the clamp to the desktop, using the 5mm allen wrench for thicker surfaces.
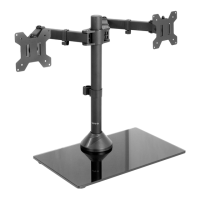
Set locating ring height and secure aluminum support bracket using handle and allen wrench.
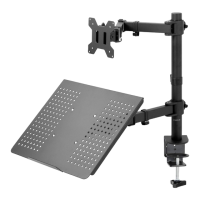
Mount extension arms (C) onto the bracket, securing with bolts (K) and plastic caps (L).
Attach VESA plates to monitors, using spacers (I) and screws (F) for curved backs if needed.
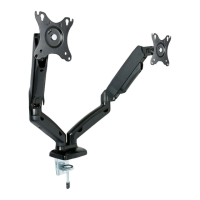
Connect arms (B) to extension arms (C) using bolts (K) and plastic caps (L).
Adjust spring tension in arms (B) using the 5mm allen wrench (H) based on monitor weight.
Adjust arm tension with 3mm wrench (G) and monitor bracket tension with 5mm wrench (H).
Insert cables into arm covers, leaving slack, and secure with cable clip (J) to the pole.
| Model | STAND-V002JW |
|---|---|
| Category | Racks & Stands |
| Type | Monitor Stand |
| Material | Steel, Aluminum |
| Color | White |
| VESA Compatibility | 75x75mm, 100x100mm |
| Height Adjustment | Yes |
| Rotation | 360° |
| Mounting Options | Desk Mount |
| Compatibility | Compatible with most monitors up to 27 inches |