Do you have a question about the Vivo STAND-V004 and is the answer not in the manual?
Details risks of serious or fatal crushing injuries from tipover and how to prevent it.
Alerts about small parts being a choking hazard for children under 3 years old.
Attaches a plastic cap to the top of the pole for finishing.
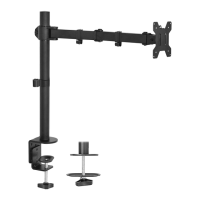
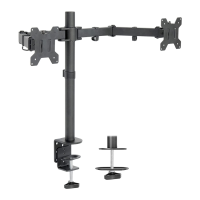
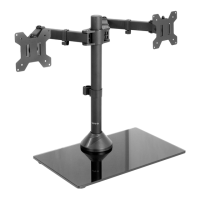
Installs the clamp or grommet base to attach the mount to the desk.
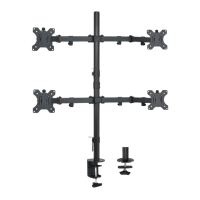
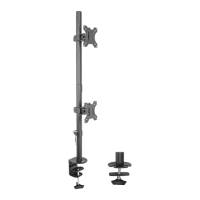
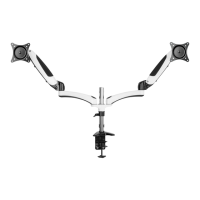
Slides cable clips and arms onto the main pole, then attaches pole adapter and pole.
Attaches another set of cable clips and arms to the pole.
Attaches VESA plates to flat or curved monitors using specific screws and washers.
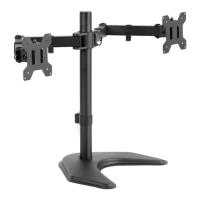
Slides the VESA plates with attached monitors onto the monitor mount arms.
Uses VESA caps and small screws to secure the monitors to the mount.
Manages cables using clips and stores allen wrenches in clips.
Warns against extending arms too far forward or backward.
Provides guidance on monitor adjustments like tilt, swivel, and rotation.
| Model | STAND-V004 |
|---|---|
| Brand | Vivo |
| Maximum Load Capacity | 44 lbs |
| Material | Steel |
| Color | Black |
| Height Adjustment | Yes |
| Tilt | Yes |
| Swivel | Yes |
| Cable Management | Yes |
| VESA Compatibility | 75x75mm and 100x100mm |
| Tilt Range | -15 to +15 degrees |
| Compatible TV Sizes | 13" to 42" |
| Weight Capacity | 44 lbs |