Vixel 9000 Series Installation & Configuration Guide CHAPTER 6 Zoning
38
3. Click View Zones (next to the desired Zone Set).
4. If you want to create a Zone, type the desired name and click Add Zone.
5. Click View Members (next to the desired Zone).
A WWPN textbox appears; if the switch is aware of attached devices, a table
appears below the textbox.
6. For each member you would like to add to this Zone, do one of the following:
— If the “Attached Device WWPN” table is available, select the desired
WWPN from the table and click Add.
Note: The Web Manager
ignores spaces in entered
WWPNs.
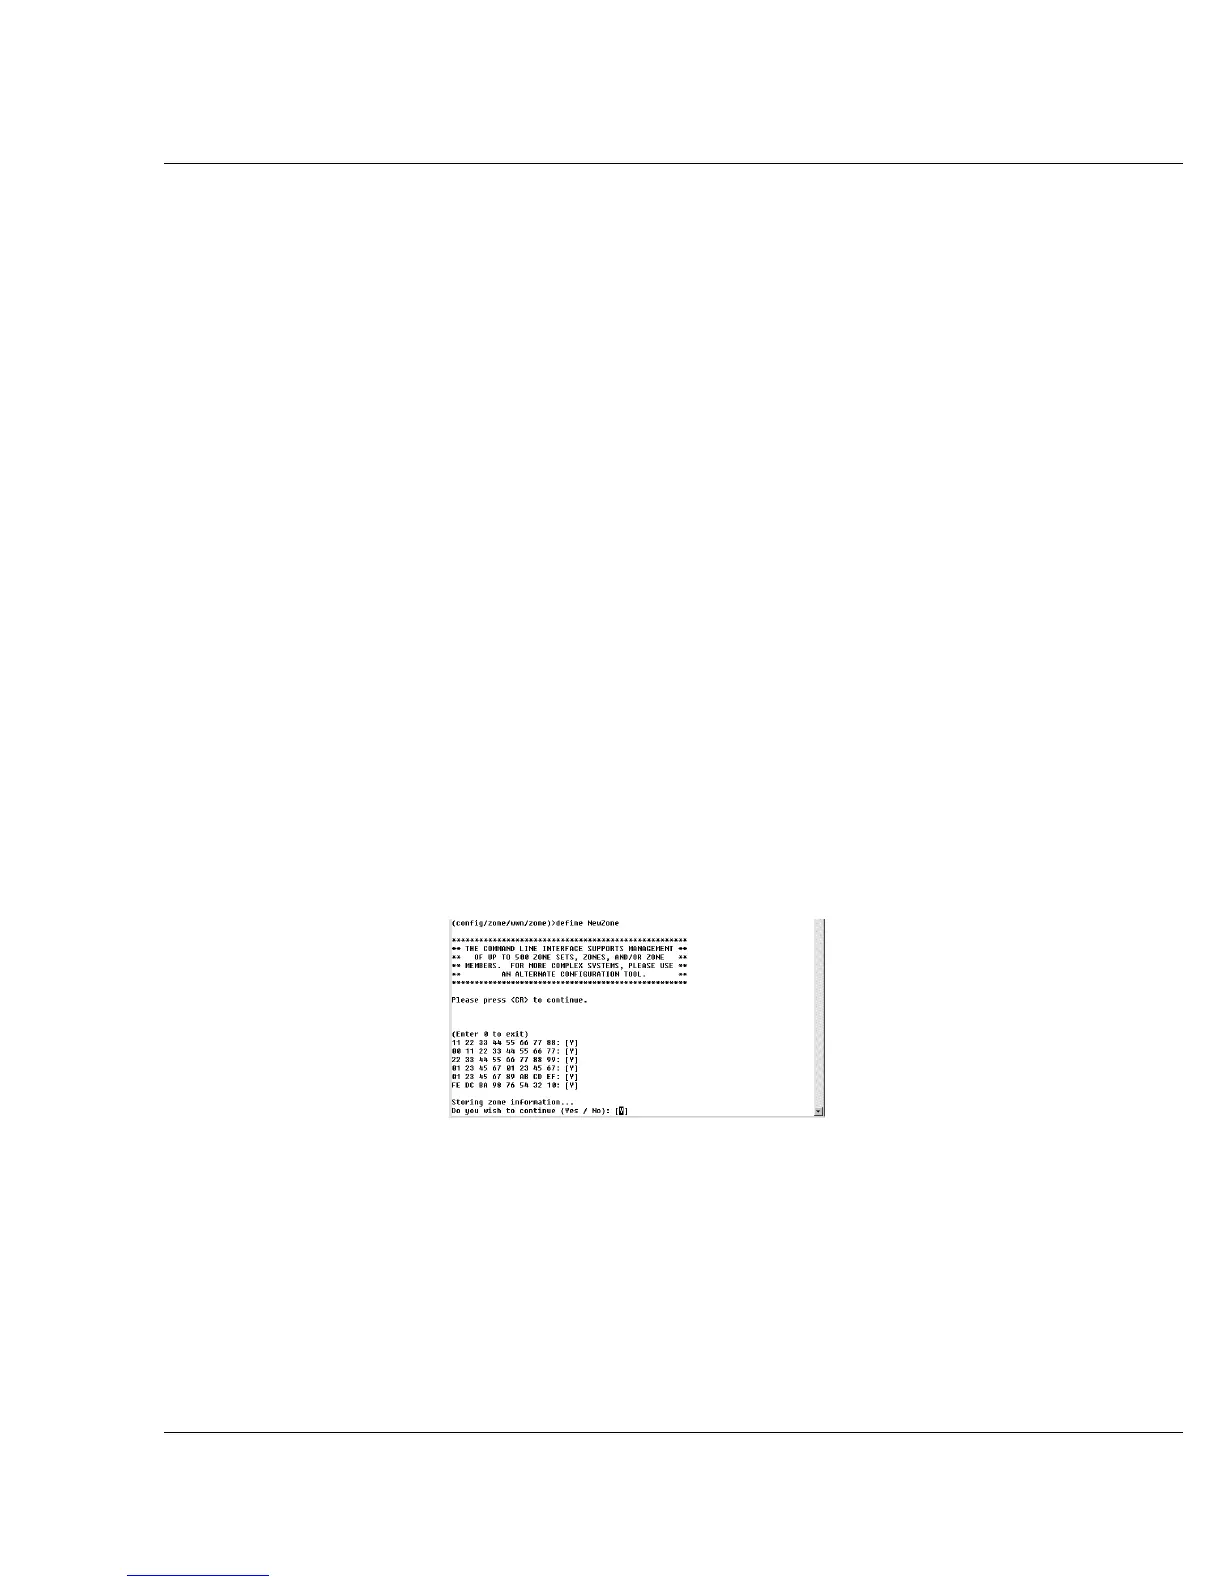
— Manually enter the desired WWPN—for example, “21 00 00 E0 8B 02 A0
60”—and click Add Member.
WWN zoning is now configured. To put WWN zoning in effect, activate a Zone
Set.
To activate a Zone Set from the Web Manager, go to the Zoning page (or click Zone
Sets to return to the initial Zoning page) then click Activate (or Re-Activate) for the
desired Zone Set. Click OK in the displayed warning message. (There is no need to
de-activate the currently active Zone Set before activating a new Zone Set.)
The switch activates the Zone Set on itself (as indicated by “Active” in red, left of
the Zone Set) then attempts to force the Zone Set onto other switches in the fabric.
If the attempt is unsuccessful, error messages appear, event messages are logged, and
an isolated E_Port condition occurs, as indicated by a blinking-green-LED-and-
solid-amber-LED combination on the affected port.
To verify that the Zone Set is enforced throughout the fabric, click View Enforced
Zone Set. If the Zone Set is not enforced, click System, then Events to review the
Event Log for relevant messages.
CLI Instructions
Examples follow each step.
To configure WWN zoning through the CLI:
1. From the zoneset menu (config/zone/wwn/zoneset), create empty Zone
Set(s):
add ZoneSetName
(where ZoneSetName is the name of the empty Zone Set)
(config/zone/wwn/zoneset)>add “Backup”
 Loading...