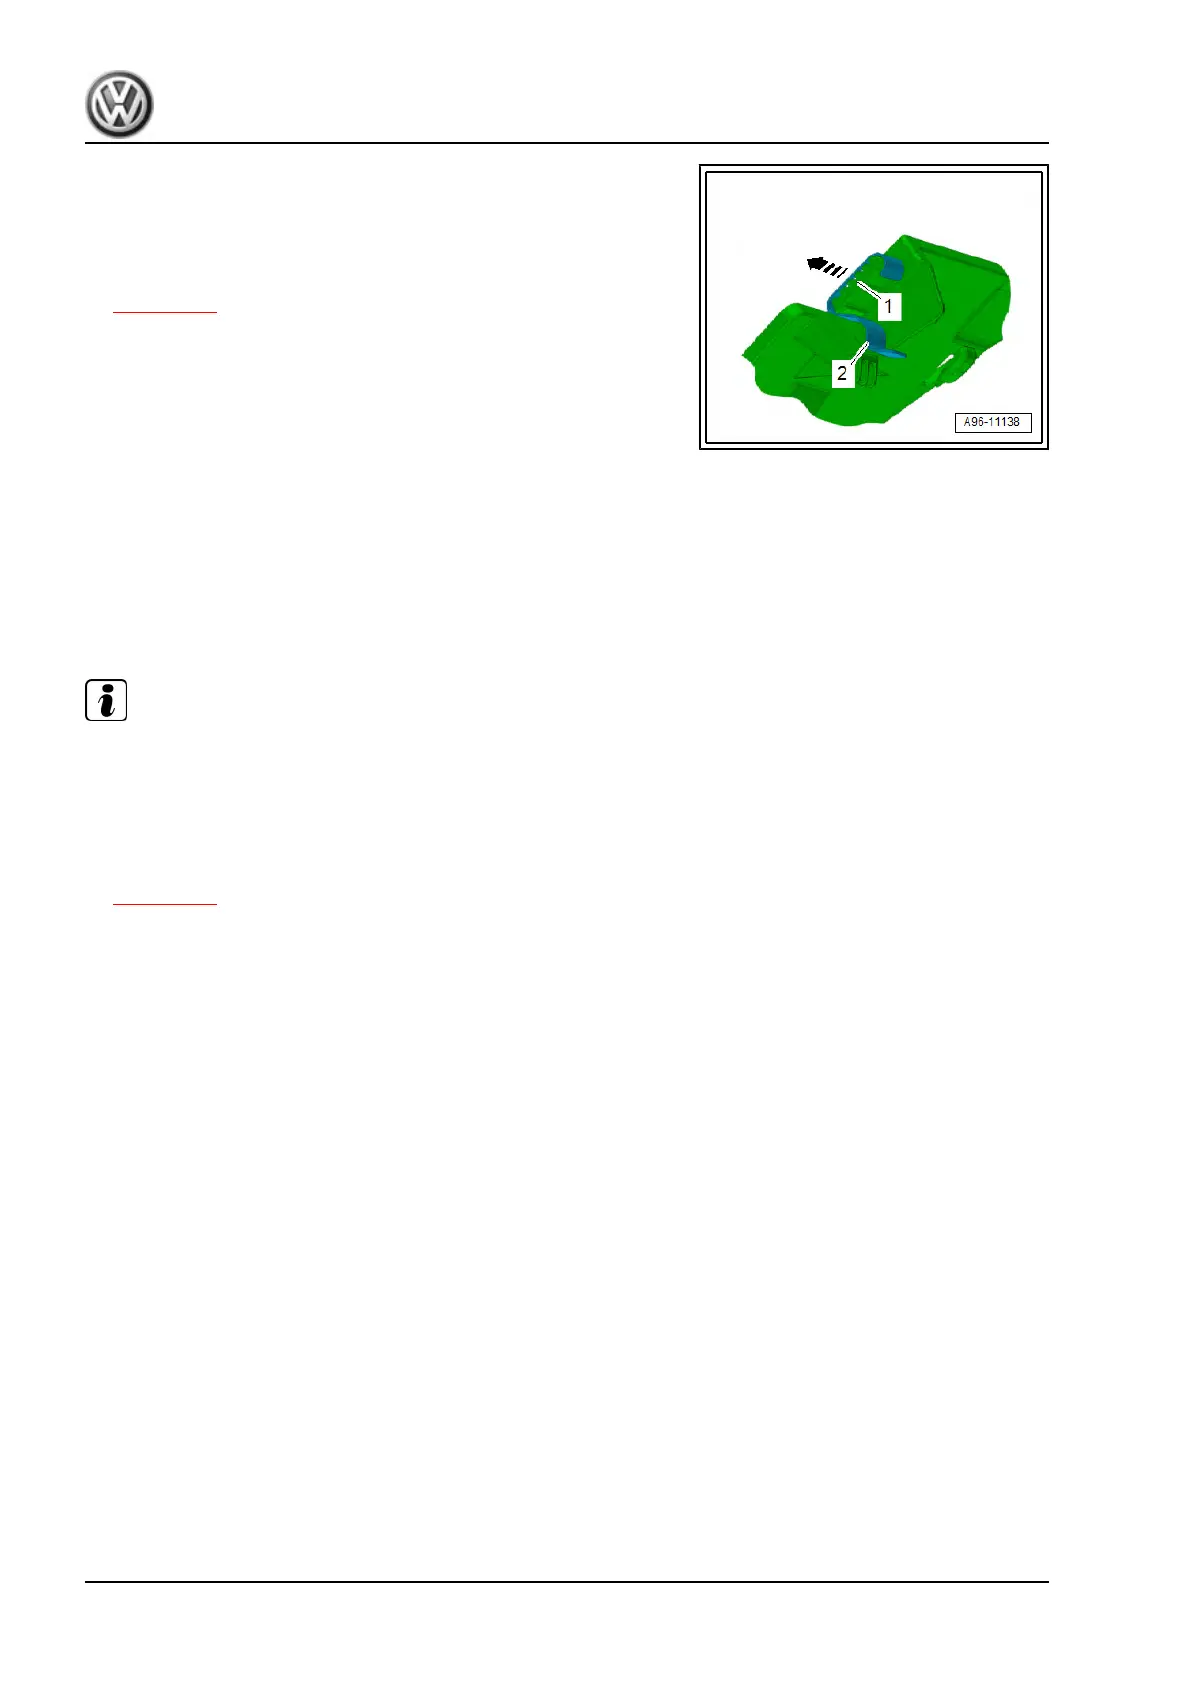
– Remove retaining clip -2- from receiver -1- in direction of
-arrow- and insert new retaining clip.
– Clean the field of view of the windscreen with cleaning solution
⇒ Electronic parts catalogue (ETKA) .
– Calibrate front camera for driver assist systems - R242-
⇒ page 136 .
4.3 Calibrating front camera for driver assist
systems - R242-
The following situations can cause the camera function to be im‐
paired by sustained poor visibility of the lane marker lines:
♦ Contamination or icing over of camera's field of view.
♦ Field of view of camera is covered with condensation.
Note
The camera’s viewing window must be cleaned manually if there
is heavy soiling on the inside of the windscreen in the field of view
of the camera.
– To do this, the camera and lens hood must be removed and
the windscreen cleaned using cleaning solution. Remove front
camera for driver assist systems - R242- and lens hood
⇒ page 134 .
If one of the following conditions is met, front camera for driver
assist systems - R242- must be calibrated:
♦ Entry in event memory of front camera for driver assist sys‐
tems - R242- “has no active or an incorrect basic setting/
adaptation”.
♦ Windscreen has been removed and installed or renewed.
♦ Front camera for driver assist systems - R242- has been re‐
moved and installed or renewed.
♦ Bracket for front camera for driver assist systems - R242- has
been removed and installed or renewed.
♦ Backlight masking screen has been removed and installed or
renewed.
♦ Electrical wire for front camera for driver assist systems -
R242- has been renewed.
♦ Electrical connector for front camera for driver assist systems
- R242- has been touched.
♦ Rear axle toe has been adjusted.
♦ Alterations to the running gear have been carried out that af‐
fect the height of the vehicle.
up! 2017 ➤ , up! 2020 ➤
Electrical system - Edition 10.2019
136 Rep. gr.96 - Lights, bulbs, switches - interior
 Loading...