26 561810 - 04.2021 - V1
INSTRUCTION MANUAL VOSS.FARMING POULTRY KIT
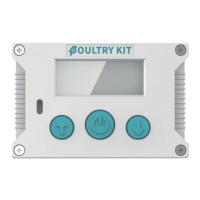
7.3 START-UP SETTINGS AND CONNECTING THE DEVICE TO THE DOOR
1. Press any button.
The display lights up.
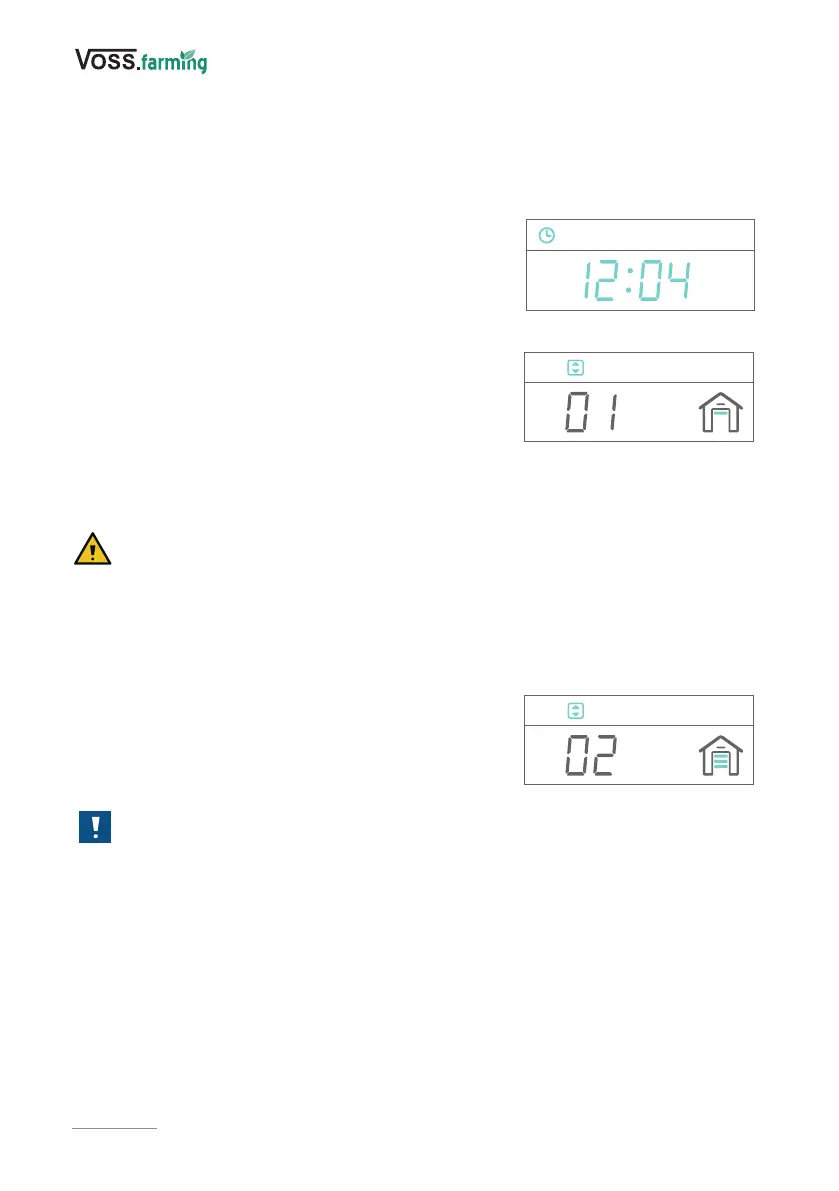
2. To start setting the time, press the conrmation button (4).
The time symbol lights up and the display changes to the
time setting (24h).
3. Set the current time (hours and minutes) with
the setting buttons (3) and conrm each entry by
pressing the conrmation button (4) (Fig. 4).
The time is set.
The door height adjustment symbol lights up, a door
opening animation is shown and the display changes to
the door opening height adjustment (Fig.5).
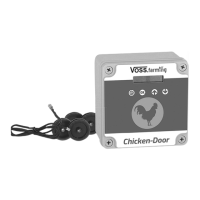
The unit can now be connected to the door.
4. To connect the unit to the door, use the setting
buttons (3) to adjust the cord to a suitable length and attach the cord to the
receptacle of the closed door.
CAUTION
Danger of crushing. Keep any parts of your body and loose objects (e.g. jewellery)
away from the device and the door during the opening and closing process.
5. Once the cord is connected to the door, use the setting buttons (3) to move the door
to the uppermost position and conrm by pressing the conrmation button (4).
The height setting for opening the door is saved.
A door closing animation is shown and the display
changes to the height setting for closing the door (Fig.6).
6. To move the door to the lowest position, use the
adjustment buttons (3) and conrm the setting by
pressing the conrmation button (4).
NOTICE
Make sure that the cord is taut. If the cord is loose, it is possible that it cannot be
rolled up correctly.
The height setting for closing the door is saved.
You can now set the desired mode for opening/closing the door.
Fig. 4
Fig. 5
Fig. 6
 Loading...