19
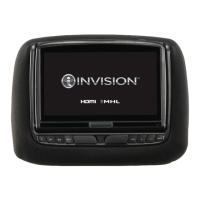
8” MONITOR REAR SEAT VIDEO HEADREST SYSTEM Owner’s Manual
HR8AD
SYSTEM SUBMENUS
1. Press the SYSTEM MENU button on the
Remote Control (Figure 25) or touch
the SETTINGS (
) icon to display the
SYSTEM MENU.
2. Use the UP and DOWN direction buttons
on the remote control to select and enter
the desired SYSTEM SUB-MENU or touch
the desired SYSTEM SUB-MENU:
• PICTURE
• WFMM (Only M1 mode)
• LANGUAGE
• DEFAULT DVD/Android
• IR TRANSMITTER
NOTE: Selected items in the SYSTEM
MENU and the Sub-Menus will be
highlighted in orange.
3. Use the UP, DOWN, LEFT and RIGHT
direction buttons to adjust or select an
item in the Sub-Menu screen and then
press the OK button on the Remote
Control (Figure 25).
4. Touch the Home icon on the screen to
return to the MAIN Menu and save the
setting.
NOTE: The system will exit the SYSTEM
MENU screen or the SYSTEM SUBMENU
screens and return to the MAIN MENU
after 6 seconds if no selection is made.
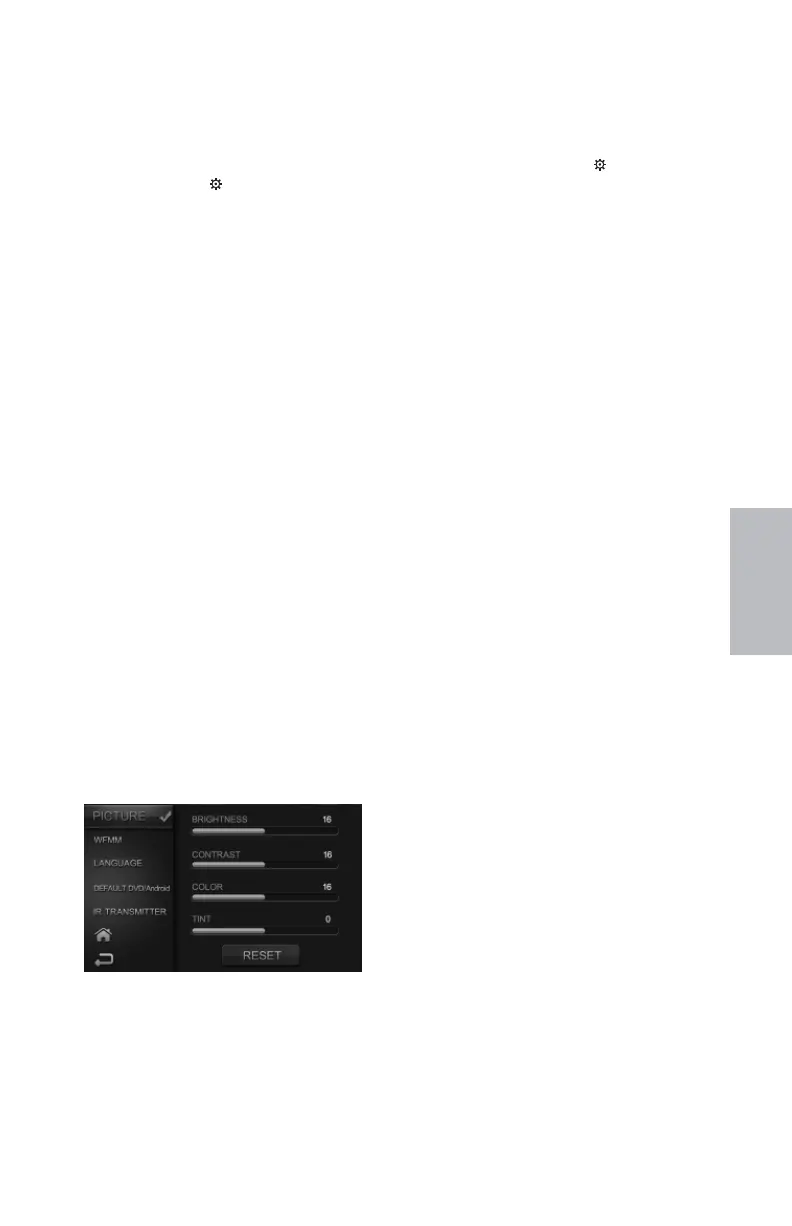
PICTURE CONTROL
HR8AD Picture Control Menus
Figure 26
HR8AD SYSTEM SETUP SUBMENUS
PICTURE CONTROL from the Touch
Screen (M1 and M2):
1. Touch the SETTINGS ( ) icon to display
the SYSTEM MENU.
2. Touch PICTURE to enter the Picture
Control menu and select BRIGHTNESS,
CONTRAST, COLOR or TINT to adjust
the level of the picture setting chosen.
(Figure 26)
NOTE: Levels are set from “0” to “32” for
Brightness, Contrast and Color. The level
for Tint is set from “-16” to “+16”. No Tint
Control in PAL Mode.
3. Touch the Home icon on the
screen to return to the MAIN
Menu and to save the settings.
NOTE: The system will exit the SYSTEM
MENU screen or the SYSTEM SUBMENU
screens and return to the MAIN MENU
after 6 seconds if no selection is made.
PICTURE CONTROL from the Remote
Control:
1. Select “M1” or “M2” on the Remote
Control.
2. Press the SYSTEM MENU or PIX button to
enter PICTURE CONTROL then press the
OK button to enter the Sub-Menu
3. Use the UP and DOWN direction buttons
to select one of the ve selections in the
Sub-Menu (Brightness, Contrast, Color,
Tint and Reset).
4. Use the LEFT and RIGHT direction buttons
to adjust the picture setting levels.
NOTE: Levels are set from “0” to “32” for
Brightness, Contrast and Color. The level
for Tint is set from “-16” to “+16”. There is
no Tint Control in PAL Mode.
5. Select Reset to return the picture setting
control back to factory defaults.
128-9406B HR8D, HR8A and HR8AD AUDIOVOX 05-20-2015.indd 519128-9406B HR8D, HR8A and HR8AD AUDIOVOX 05-20-2015.indd 519 5/20/2015 5:03:27 PM5/20/2015 5:03:27 PM