33373-001 Version A
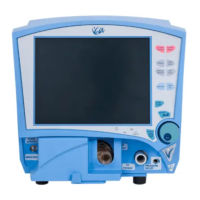
Removal
1. Remove the power cable.
2. Remove the (4) Phillips pan-head screws in the back panel.
3. Remove the (3) screws from the bottom of each side of the ventilator (if present).
4. When all screws have been removed, slide the top cover towards the rear of the unit and lift off.
Installation
Follow removal process in reverse order
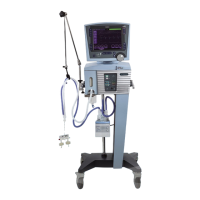
3.3.3 Battery Tray P/N 16049 (Reorder P/N 16048)
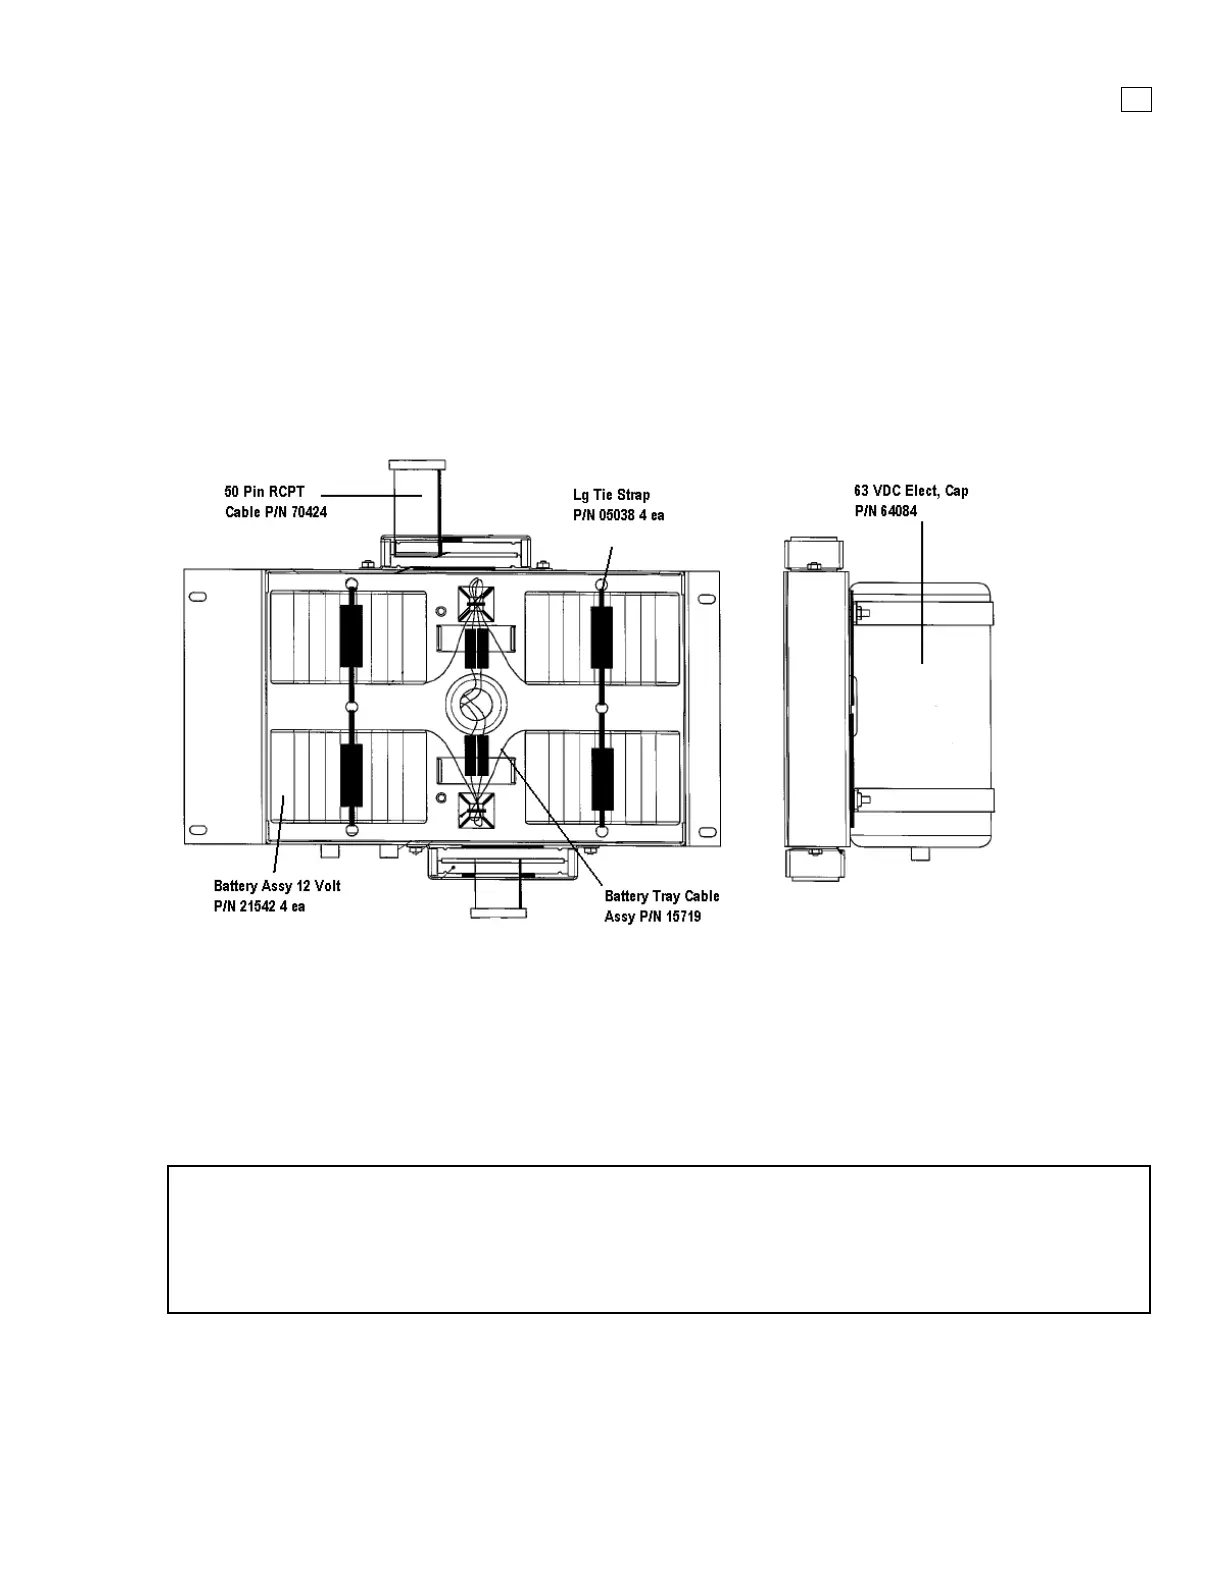
Figure 3-4. Battery Tray assembly
Removal
1. Remove the power cable and top cover.
2. Remove the (4) Phillips pan-head screws in the battery tray.
3. Lift the battery tray out of the unit.
4. Disconnect the batteries from the white Molex DC power connector
NOTE
When the batteries are disconnected, the system will automatically re-set the battery status
memory and will initiate a 30-hour recharge cycle upon reconnect. If the DC status light is not
green after the initial charging period has expired, contact Vyaire tech support as described in
Appendix A.
Installation
Follow removal process in reverse order
 Loading...