Utility stitches
Using a Pattern
95
Manual • Sewing machine W6 N 2000 Exklusive W6 N 2000 Exklusive • 27/04/2018 • 1.0 • GBR
Carry out the following steps:
1.
W6 Tip
Take note:
It must be ensured that the thread take-up lever, covered by the head
cover, and the needle are in a particular position before threading and any
program change.
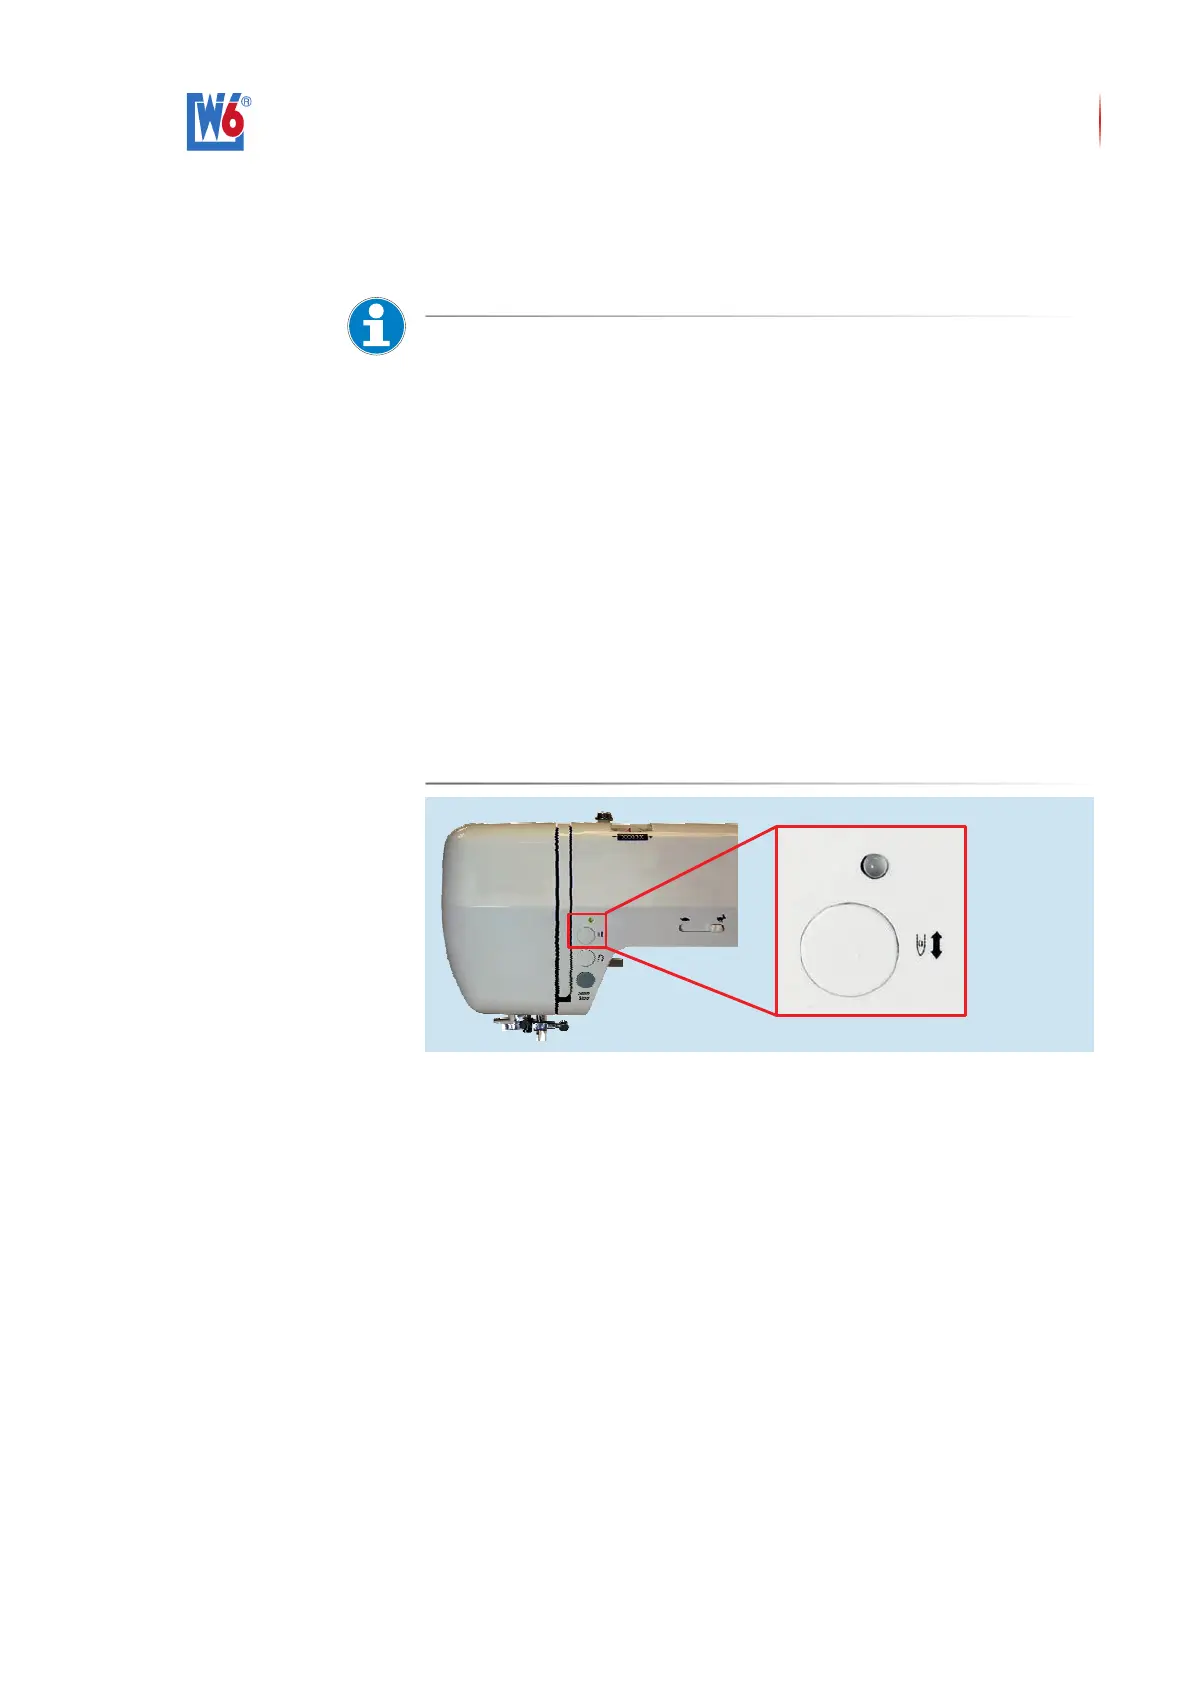
In order to fulfil this requirement, press the “Needle Up - Needle Down”
button twice. The thread take-up lever and the needle are moved
automatically to the correct starting position.
• Failure to do so will always lead to a sloppy seam, blockages or damage
to the sewing machine. In the event of any lack of clarity, further informa-
tion can be found at the VIDEO menu item at www.w6-wertarbeit.eu: Cri-
teria for optimal threading.
The lower thread has been pulled tightly and carefully to the 7 and 9 o’clock
positions in the silver slot of the black hook race. When pulling it in, you will
hear a definite clicking at the 7 and 9 o’clock positions. Lower thread
tension is active. You have performed a tension test.
• Failure to do so will always lead to a sloppy seam, blockages or
damage to the sewing machine. In the event of any lack of clarity,
further information can be found at the VIDEO menu item at www.w6-
wertarbeit.eu: Criteria for optimal threading.
Press the Needle Up - Needle Down button twice
2. Tack and iron the pieces of fabric before sewing.
3. Select a straight stitch pattern program.
4. Please use two layers of fabric.
! Use a cotton fabric of medium quality. In the case of thicker fabrics,
such as denim, increase the stitch length to 4.
5. Place the fabric on the ‹needle plate›.
! Take care that the edge of the fabric lies at least 5 stitch-lengths
behind the sewing needle, to enable backward sewing.
6. Sew 2 to 3 stitches backwards.
7. Sew forwards. Towards the end of the seam, seduce the sewing
speed.
8. Sew 2 to 3 stitches backwards.
» The seam has been sewn using the straight stitch pattern.
 Loading...