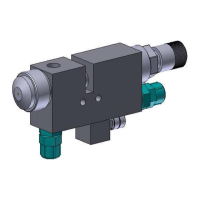
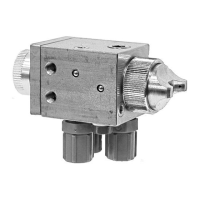
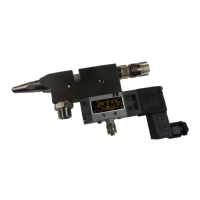
Assembly Instructions - Spray Valve SMS-22
Walther Systemtechnik GmbH – D 76726 Germersheim
Telefon: +49 (0)7274-7022-0 Telefax: +49 (0)7274-7022-91
http://www.walther-2000.de – info@walther-2000.de
8.4 Replacing the Sealing Screw
Take off pressure from all connections and disconnect material supply! Remove plastic sleeve (1). Loosen
locking screw (5). Important! Carefully remove locking screw as it is under spring pressure! Carefully
pull out nozzle needle (4) from main body (2). Loosen sealing screw (3) with a slot screwdriver and unscrew
from main body (2). Reassemble in reverse order.
IMPORTANT
Sealing and gaskets can be easily damaged. Therefore do not use any sharp-edged or metal
tools for removing and inserting the gaskets.
8.5 Replacing the Sealing Elements of the Sealing Screw
Remove the old sealing elements (1,2,4) from the sealing screw (3). Carefully install the sealing elements
(1,2,4) with petrolatum on the sealing screw (3). Cover the sealing screw (3) with petrolatum so that sealing
elements will not be damaged when mounting the sealing screw in the main body.