8.0 REPLACEMENT OF PARTS
VL
2
VAL.130.--.M.EN Issue: A1
09.16
47
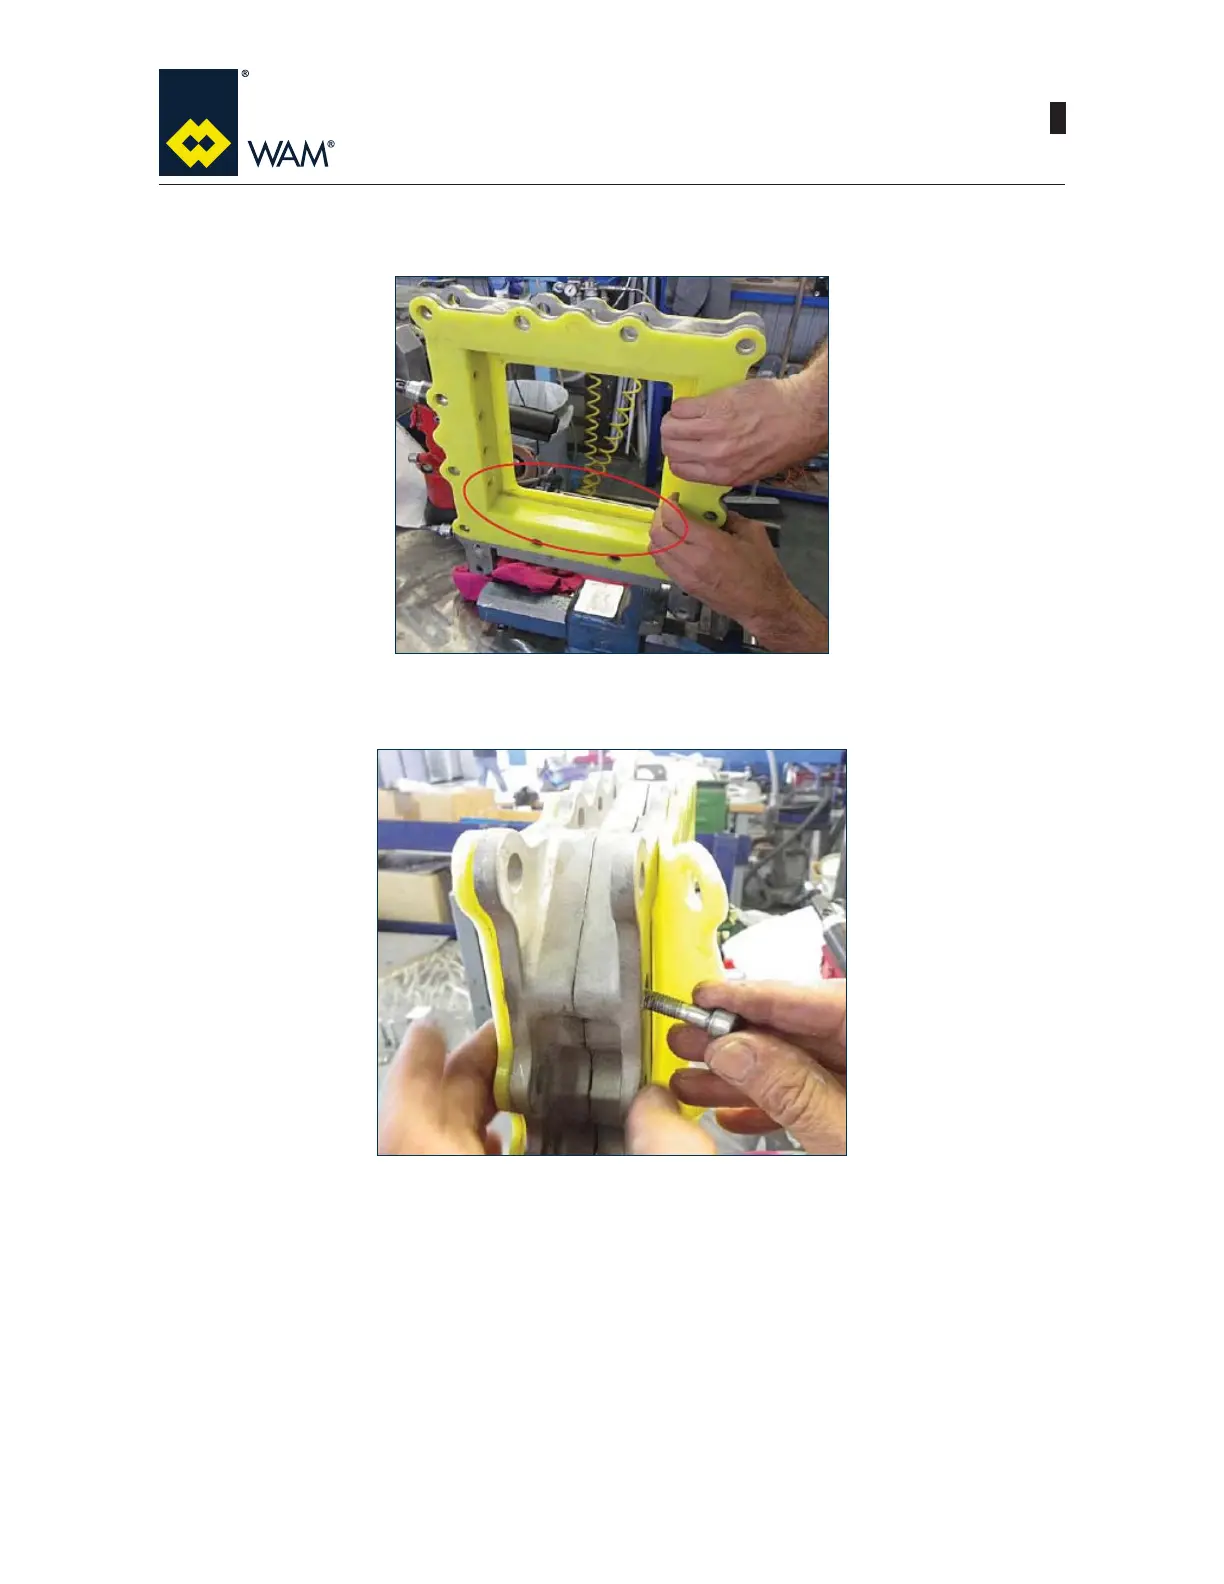
14) Fit the seal to the half-bodies made from aluminium by matching the bores and positioning the gap of the
blade down.
15) Insert the nuts and the screw and tighten.
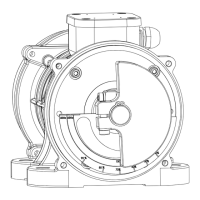
16) Assemble the bearings with screw and bush in the seats of the valve body. (Fig. 10)
17) Remove the blade and insert it into the valve body through the gap at the bottom, by sliding them on the
bearings. Abut the blade to close the valve. (Fig. 9)
NOTE: The blade must be assembled by keeping the beveled side to 20 ° on the front, facing the opposite
side of the bearings.
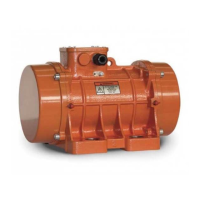
18) Fit the steel body on the aluminium valve body by centring the bores and abutting it. Use a rubber hammer
if necessary. (Fig. 8)
19) ,QVHUWWKH¿[LQJVFUHZVDQGWLJKWHQ)LJ