8 9
• After installation is complete, rotate bypass handles to bypass mode (see Fig.2 on page 4).
• Turn on water and check for leaks.
• Fully open a cold water faucet — preferably a laundry sink or bathtub without an aerator.
• Allow water to run until clear to rid pipes of debris which may have occurred during installation.
System regeneration sequence is in the following order. (If it is desired to change this sequence, please refer to the
Dealer Manual or contact the manufacturer.)
1) BRINE TANK REFILL
2) 4 HOURS (240 minutes) OF SOFTENING MODE WHILE SALT IS DISSOLVING
3) BACKWASH
4) BRINE DRAW AND SLOW RINSE
5) FAST RINSE
6) END (return to service)
The system is now ready for filling with water and for testing.
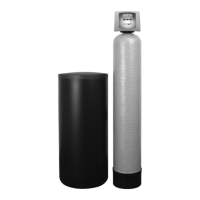
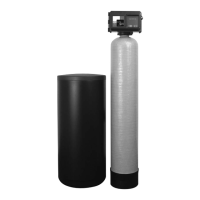
1. With the softener in the bypass mode (Fig. 2 on page 4) and the control valve in normal operation where the
display shows either the time of day or the gallons remaining, manually add 3” of water to the regenerant tank.
NOTE: If too much water is put into the brine tank during softener start up, it could result in a “salty water”
complaint after the first regeneration.
During the first regeneration the unit will draw out the initial volume of brine/regenerant and refill it with the correct
preset amount.
2. With the softener in bypass mode, press and hold the
regen button until the motor starts. Release button. The display
reads “FILL” and the remaining time in this step is counting down. Since the regenerant tank was already filled in Step 1
press regen again and the display will read SOFTENING 240 (During a full regeneration this will be a 4 hour period
for salt to dissolve). Press regen again to put the valve into “BACKWASH.” Once valve has stopped in position, unplug
the transformer so that the valve will not cycle to the next position. Open the inlet handle of the bypass valve very slightly
allowing water to fill the tank slowly in order to expel air.
CAUTION: If water flows too rapidly, there will be a loss of media to the drain.
3. When the water is flowing steadily to the drain without the presence of air, slowly open the inlet valve.
Restore power and momentarily press the regen button to advance the control to the “BRINE” position.
4. The bypass is now in the diagnostic mode (Fig. 3 on page 4). Check to verify that water is being drawn
from regenerant tank with no air leaks or bubbles in the brine line. There should be a slow flow to the drain.
5. Momentarily press regen again until the display reads “RINSE.” There should be a rapid flow to the drain.
Unplug transformer to keep the valve in the “RINSE” position. Allow to run until steady, clear and without air.
While the unit is rinsing load the brine tank with water softener salt. Restore power.
6. Place bypass valve in the normal operating mode (Fig. 1 on page 4) by opening the outlet bypass handle.
Press regen and the unit will return to the service position with time of day being displayed.
START-UP INSTRUCTIONS
 Loading...