leakage from the detector or drip tray located above the column compartment to pass through the
integrated leak management system within the CH-A rear enclosure and into the sample
manager's upper drip tray.
Required tools and materials
• T20 TORX driver
• Flat-blade screwdriver
• CH-A start-up kit
To install the CH-A onto the system stack:
Notice: To avoid damaging the electronic components of the sample manager and the
column heater, always power-off the sample manager before connecting or
disconnecting the column heater's interconnect cable.
1. Power-off the sample manager.
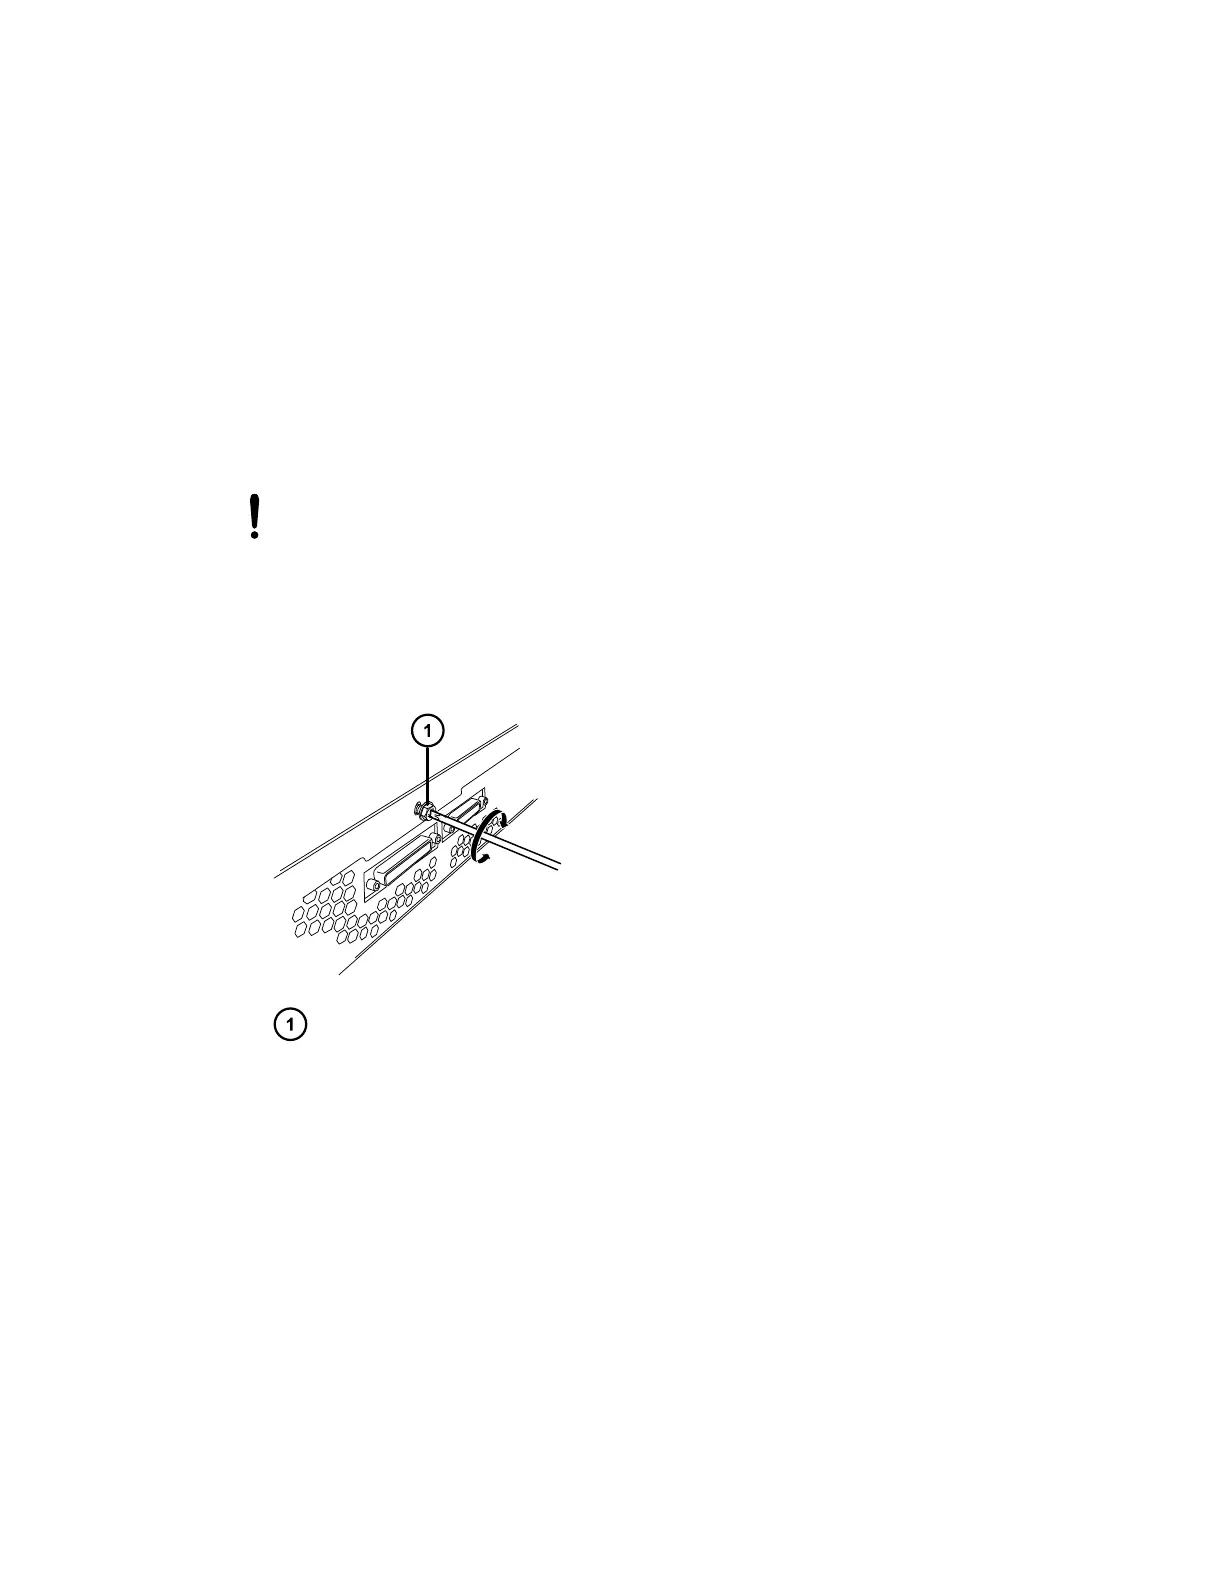
2. Remove the TORX screw from the center of the sample manager's rear panel.
Figure 2–1: Removing the TORX screw
TORX screw in sample manager's rear panel
3. From the CH-A start-up kit, locate the CH-A-to-SM retainer bracket and supplied TORX
screw.
December 4, 2019, 715005052 Version 02 (previously released as Rev.B)
Page 19