2.2.3 Installing the CH-A in the extended position
After preparing the CH-A and installing the MS-extension bracket and column-heater housing,
follow these instructions for completing the extended column compartment installation.
Warning: To avoid personal contamination with biologically hazardous, toxic, and corrosive
materials, wear chemical-resistant, powder-free gloves when performing this procedure.
Warning: To avoid eye injury, use eye protection when performing this procedure.
Required tools and materials
• Chemical-resistant, powder-free gloves
• Protective eyewear
• 4-mm open-end wrench
• T20 TORX driver
To install the CH-A in the extended position:
1. Verify that the CH-A interconnect cable is routed through the slot in the MS-extension
bracket.
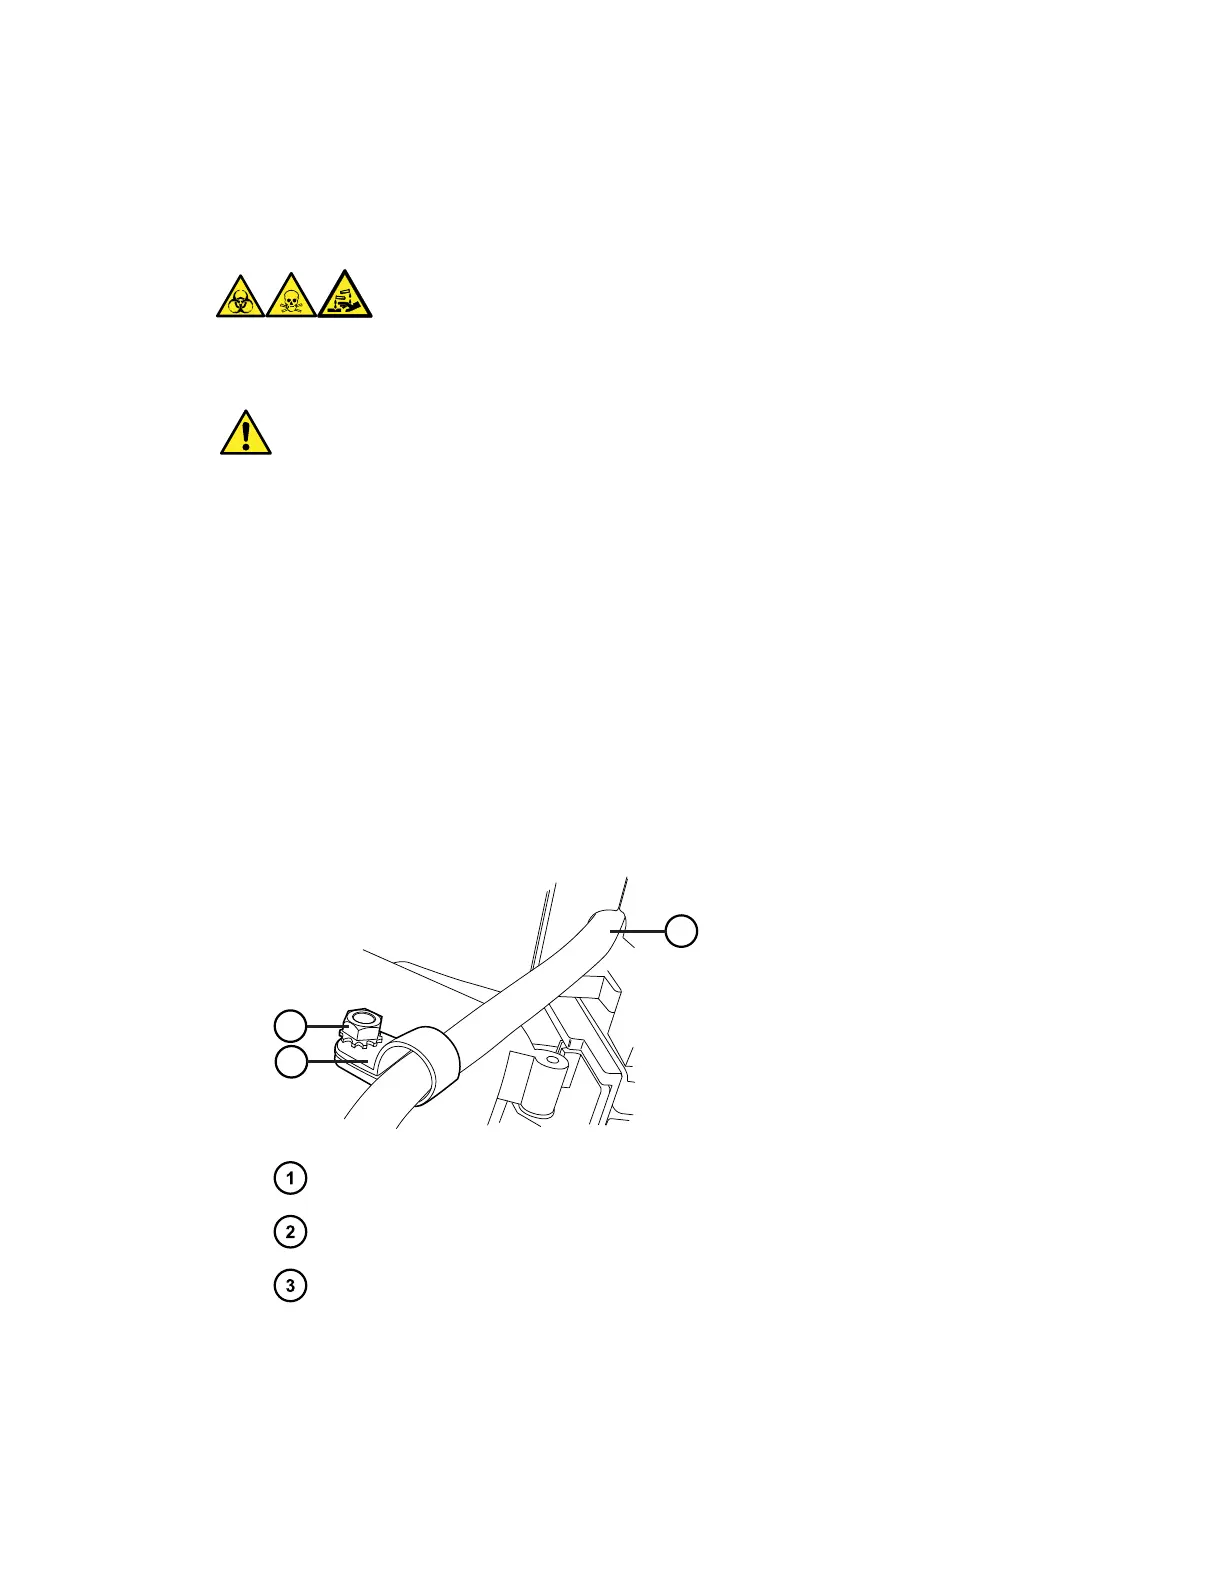
Figure 2–23: Routing and securing the CH-A interconnect cable
CH-A interconnect cable routed through slot
Cable clamp on threaded stud in column-heater housing
Cable clamp 4-mm nut
2. Secure the CH-A interconnect cable into the supplied cable clamp.
3. Install the cable clamp on the threaded stud inside the column-heater housing, and then
thread the 4-mm nut onto the stud.
December 4, 2019, 715005052 Version 02 (previously released as Rev.B)
Page 36