4. Tighten the cable clamp nut with the 4-mm wrench.
5. Insert the tab on the left-hand side of the column heater into the slot on the left-hand side
of the housing.
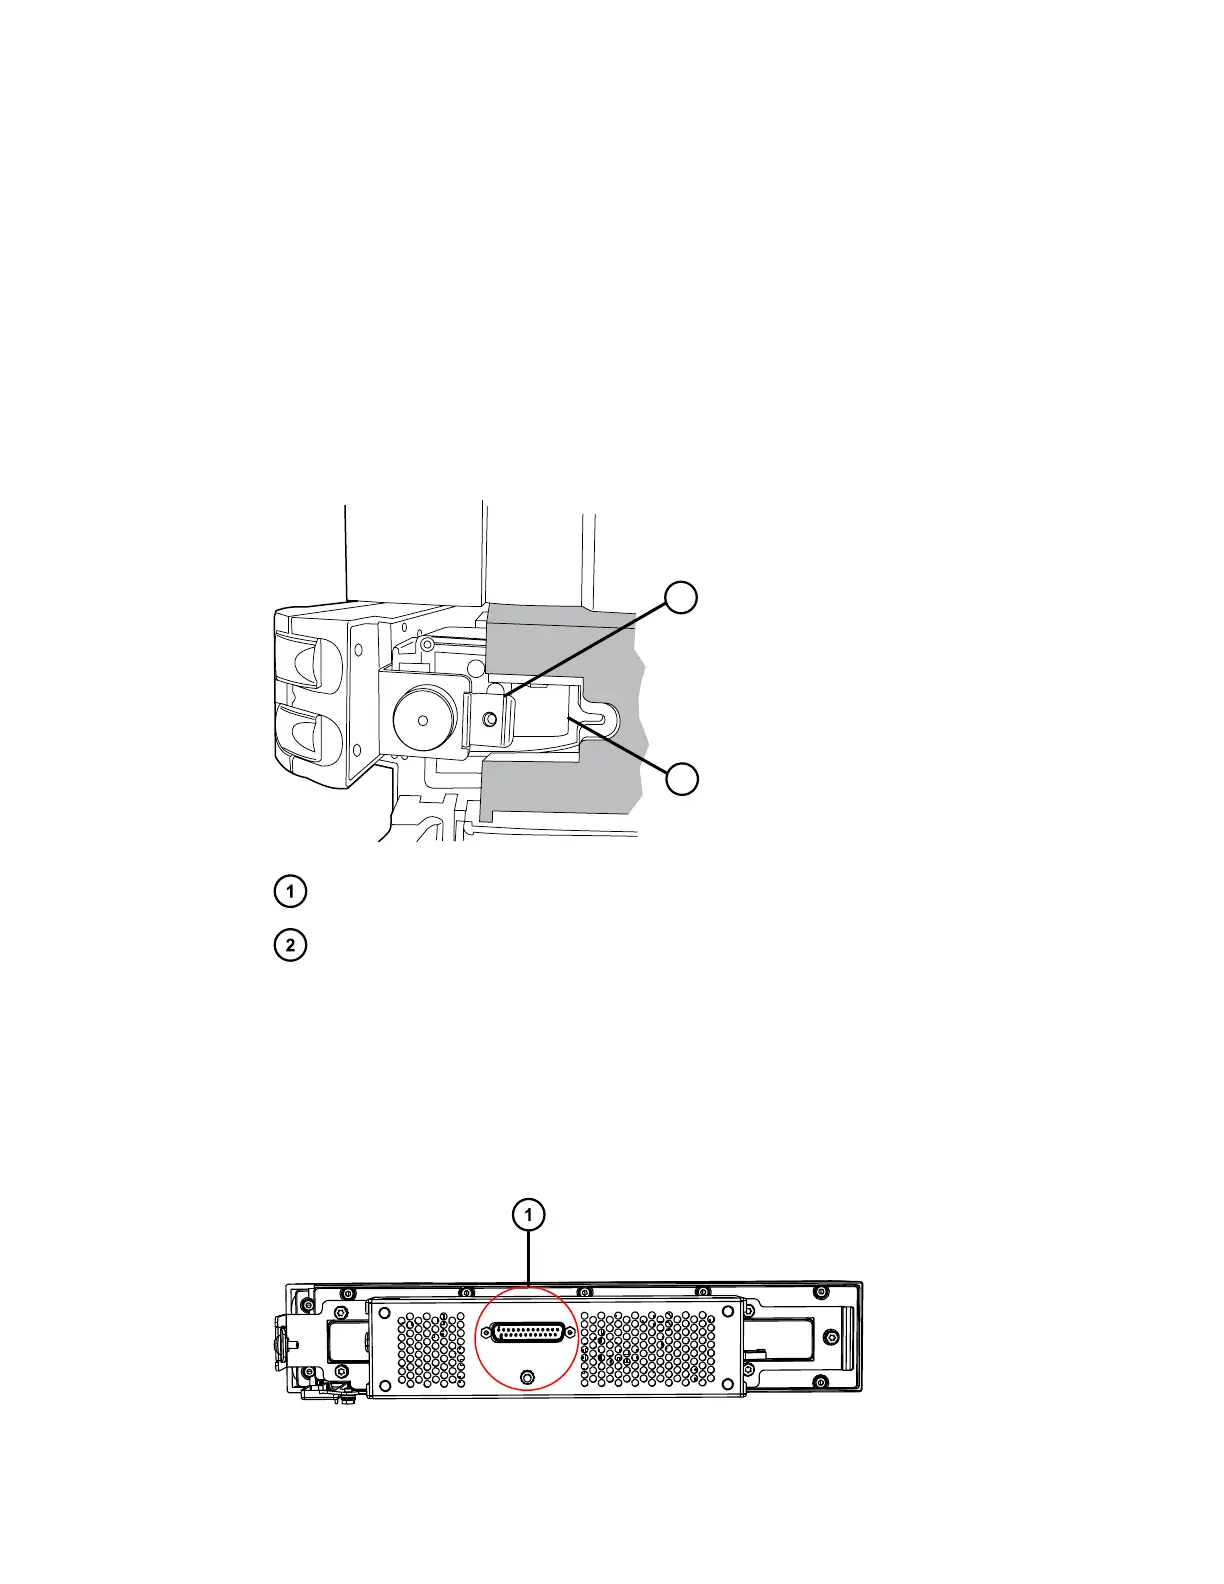
6. Hold the left-hand side of the column heater into the slot and guide the eCord tab, on the
right-hand side, into the cutout in the column-heater housing.
Tip: If you are unable to seat the column heater into the cutout in the column-heater
housing, use the T20 TORX driver to loosen the TORX screw that holds the tab on the left-
hand, rear side of the column heater. Then, press the right-hand side of the column heater
into the housing. Tighten the TORX screw to secure the tab.
Figure 2–24: Guiding the eCord tab into the column-heater housing
Tab
Cutout
7. Install the TORX screw in the tab and tighten the screw.
8. Insert the CH-A interconnect cable's 25-pin connector into the D-sub receptacle on the rear
of the column heater and, using the flat-blade screwdriver, tighten the two retaining screws
to secure the connector.
Figure 2–25: Rear view of column heater showing D-sub receptacle
December 4, 2019, 715005052 Version 02 (previously released as Rev.B)
Page 37